DIY Patchwork Tree Skirt Tutorial
With the holidays quickly approaching, you may be thinking about what to wear for the holidays. For me, I usually opt for the stretchiest pair of leggings I can find paired with a chic oversized sweater, perfect for maximized feasting capacity. But have you thought about what your tree will wear? You heard me - your tree needs something trendy, something modern, something festive. Your tree needs... A DIY Patchwork Tree Skirt!!
If you've been sewing SQ patterns for a while, you're probably familiar with the Perennial quilt pattern. This modern quilt featuring equilateral triangles is SUCH a fun make, and has lots of videos, tips, and tricks to help you out every step of the way.

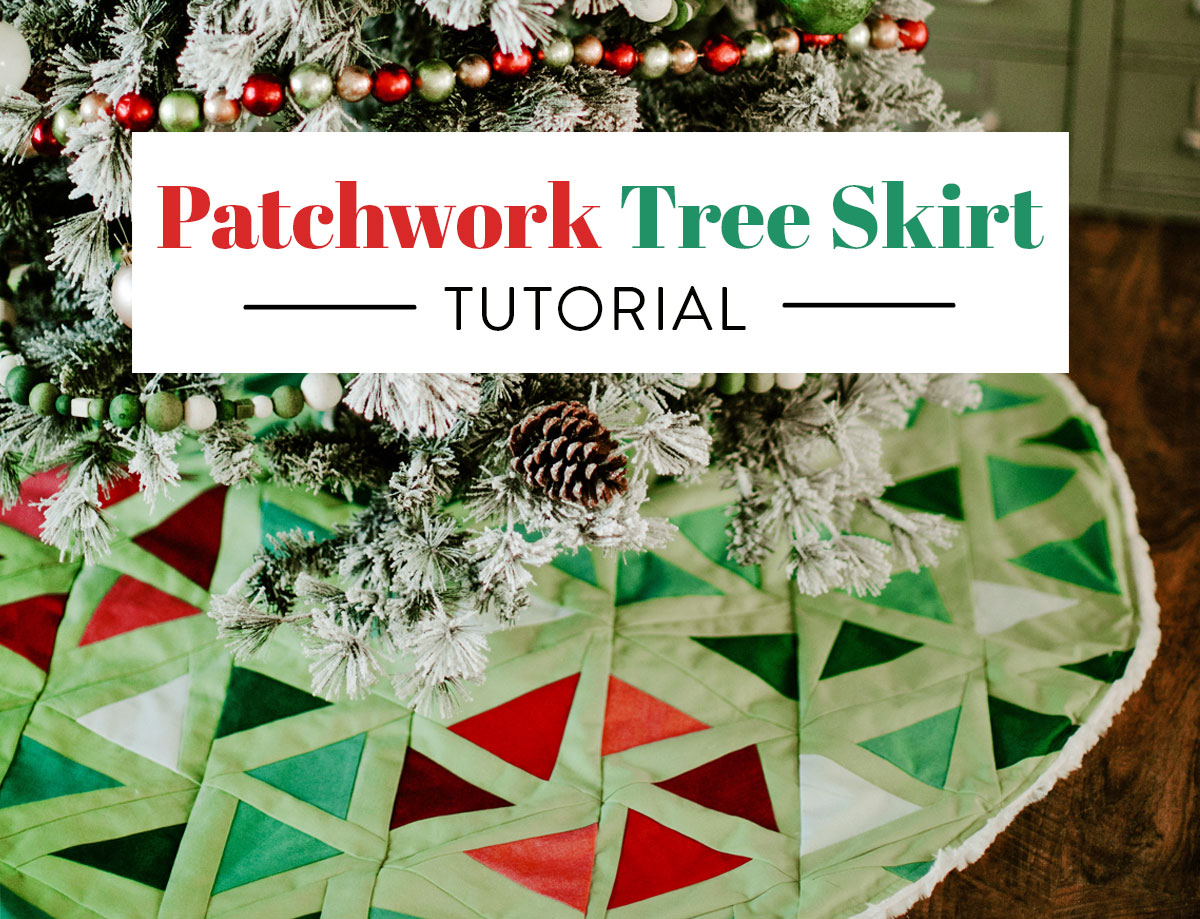
This DIY patchwork tree skirt tutorial walks you through using the Perennial quilt pattern to make a 49" tree skirt that will add some fun and pizzaz to your Christmas decor!
We teamed up with Fiskars to bring you the tools you need to create a gorgeous one-of-a-kind tree skirt certain to turn heads and spark joy!
You May Also Like...

Supplies for DIY Patchwork Tree Skirt
- Perennial quilt pattern
- Fabric - Follow the fabric requirements for the Throw Size Perennial Quilt (there will be a bit left over since the tree skirt is a bit smaller than the throw size quilt)
- Cutting mat
- Rotary cutter
- Scissors
- Ruler
- Temporary marker
- Equilateral triangle ruler
- Tailor's Clapper
- Simple Sewing Machine
- Thread
- Straight pins
- Iron & ironing board or pressing mat
- String


For this quilt, I opted to go with shot cottons by Windham for the top, and a creamy, dreamy faux fur for the backing. Not only did this give the skirt a nice weight, it also gave it the most perfect fur edging for a cozy detail.
Trending patterns!


Quilt Patterns


Quilt Patterns


Quilt Patterns


Quilt Patterns


Quilt Patterns


Quilt Patterns


Quilt Patterns


Quilt Patterns


Quilt Patterns
I didn't quilt this DIY patchwork tree skirt, but you could certainly add a layer of batting and quilt it if you wanted yours to have a little more substance – especially if you choose to use quilting cotton for both the top and backing.


Step 1: Cut Your Pieces
First, press your fabric, and cut them into rectangles and Template B pieces. For the patchwork tree skirt, you will need 122 pieces of Template B, and 244 rectangles. There aren't any specific requirements for colors of Template B, but I opted to have enough red pieces to make 3 poinsettias, and a mixture of green and light blue for the remainder.
For tips and a video on cutting, check out Week 3 of the Mod Mountains sew along. Even though this is for a different pattern, post designs use the exact same wonky triangle block.

Step 2: Assemble the Blocks
After cutting your pieces, it's time to sew your blocks! The Perennial quilt pattern does a great job of showing you step by step how to assemble the blocks, and if you need even more help, there's a whole blog post on just how to sew these adorable wonky triangles.
It may seem like an intimidating pile of pieces to sew, but chain piecing makes it go quickly! Don't they look a bit like mini Christmas trees?

Step 3: Trim Your Blocks
The Perennial blocks require two steps for trimming - one after adding the first rectangle, and one to trim it into Template A after adding the second triangle. As a mom, I'm always multitasking, so this Fiskars foldable cutting mat paired with their ruler and rotary cutter let me bring my trimming up to the kitchen with me while my kiddo played by herself (a rare occurrence, I know!)
This mat would be so handy for a quilting retreat, or if you're taking your sewing projects with you while traveling. It folds in half, making it easy to store, and ideal for projects on the go!


Step 4: Assemble the Tree Skirt Top
After you've sewn, pressed, and trimmed all of your Template A Triangles, it's time to assemble the top!

This looks like a funky looking quilt, but assemble the following shape, being sure to line up the triangles as shown. This will maximize the usage of blocks when we trim the patchwork tree skirt into a circle. Orientation of the triangles does not matter, just arrange them however feels best to you!
Row 1: 10 blocks
Row 2: 13 blocks
Row 3: 15 blocks
Row 4: 16 blocks
Row 5: 16 blocks
Row 6: 16 blocks
Row 7: 15 blocks
Row 8: 13 blocks
Row 9: 8 blocks
If you need a video tutorial on sewing triangles into rows, check out Weeks 6 and 7 of the Mod Mountains sew along.

Sew the blocks into rows, then sew the rows together. It's all coming together now!

Step 5: Marking the Patchwork Tree Skirt Outline
Place your backing fabric face up and your patchwork tree skirt top face down, so that they're RST. I seriously can't tell you how much I adore this faux fur I used for my backing! It's certainly not as scary as it sounds to work with, and if you want a bit of extra help, I'd highly recommend the two "unsung heroes of sewing with faux fur" in the photo below.


Now, we're going to assemble our protractor! Oh protractors - I bet you haven't thought about those since your high school math class. Since none of us have a giant 25" protractor laying around in their sewing room, this little hack works just as well.
Take a fork pin (a straight pin would work too, you'll just have to tie your knot a bit tighter) and tie one end of your string in a knot, around it, leaving a loose enough loop that the string will pivot around freely. Measure out 25" from the knotted loop, and tape that point to your temporary marker.

Stick your pin into what looks like the center of patchwork tree skirt top. To check if this point will work as the center, pull the string taut and without marking anything, move the marker around the perimeter of the circle, making sure that it never goes off of the top. You may have to move it around a bit until you find the perfect center point.

Once you've found the perfect center point, trace a large circle while keeping the string taut.

After you've drawn the large circle, leave your pin in place, but tape the string so that there's 2 1/2" of string between the pin and the temporary marker. Keeping the string taut, draw a smaller circle. This will be the center of the tree skirt that fits around the base of the tree.

Next, take a ruler and mark a straight line from the center circle to the outer circle. This will be the seam that allows the skirt to open when fitting it around your tree, so do it in a location that will be the "back" of the tree skirt.

Step 6: Cutting Out the Patchwork Tree Skirt
Now it's time to cut along the lines we've drawn. I'm pretty obsessed with these sparkly Fiskars scissors that make me feel extra glamorous whenever I'm using them! Plus, how perfect would they be as a stocking stuffer for the craft lover in your life??

Cut along the large circle, the straight line drawn between the circles, and the small circle. If you're using faux fur, you may want to vacuum a bit as you go, or your sewing room may start to look like you recently acquired several large, fluffy, shedding dogs.


Step 7: Pin!
After you've cut along your lines, it's really worth pinning all the raw edges before sewing. This keeps the layers from shifting, which can get extra slippery if you're using a soft fabric such as faux fur.

Step 8: Sewing the Top and Backing Together
Now that your patchwork tree skirt is pinned perfectly together, sew along the raw edges with your walking foot using a 1/2" seam allowance, and leave an 8" gap along one of the edges. If you used faux fur, this step may remind you a bit of driving through a snowstorm at night, with bits of fur flying into your eyes as you zip along.
Okay, maybe that's a bit of an exaggeration, but I'd recommend having your vacuum or lint roller handy to keep your space tidy during this step too.

Step 9: Topstitch
The end is in sight!! Turn your patchwork tree skirt right-side-out by turning it through the 8" gap. Finger press the seams out, taking time to poke out the corners. Topstitch around the top of the skirt using a 1/4" seam allowance, and your tree skirt is complete!!

So even if your tree is the only one who dresses up for Christmas this year, this DIY patchwork tree skirt tutorial can ensure that it has enough fashion to cover everyone!


Wow!!! what a fun tree skirt. Have all the materials, (even the faux fur-from another project). I’ll have this (hopefully) finished before the tree goes up.
Thanks for another great tutorial. “Merry Christmas”
Wow! This came out great! As a new quilter circles have been coming out winking and rippled. This system of measuring worked amazingly well for me.
That’s wonderful!
Cool tip to cut the circles, but it’s a compass you’ve created, not a protractor. A protractor measures angles; compasses draw circles.
This is fabulous. I have collected all the materials to make this tree skirt. The method which you have used is very easy to understand for a person like me how doesn’t know a lot about sewing.
What kind of fur did you use for the project?
Hi! Do you think this would be difficult to size up? I am looking to make an extra large tree skirt, like 78”-80”
Hi Kelsey! The Twin size of the Perennial quit is 74″ x 93″, so you could try making your tree skirt following those piecing instructions instead of the Throw size and it would get you almost to your desired size. Good luck and enjoy your tree skirt!