Fireside Pattern Variations
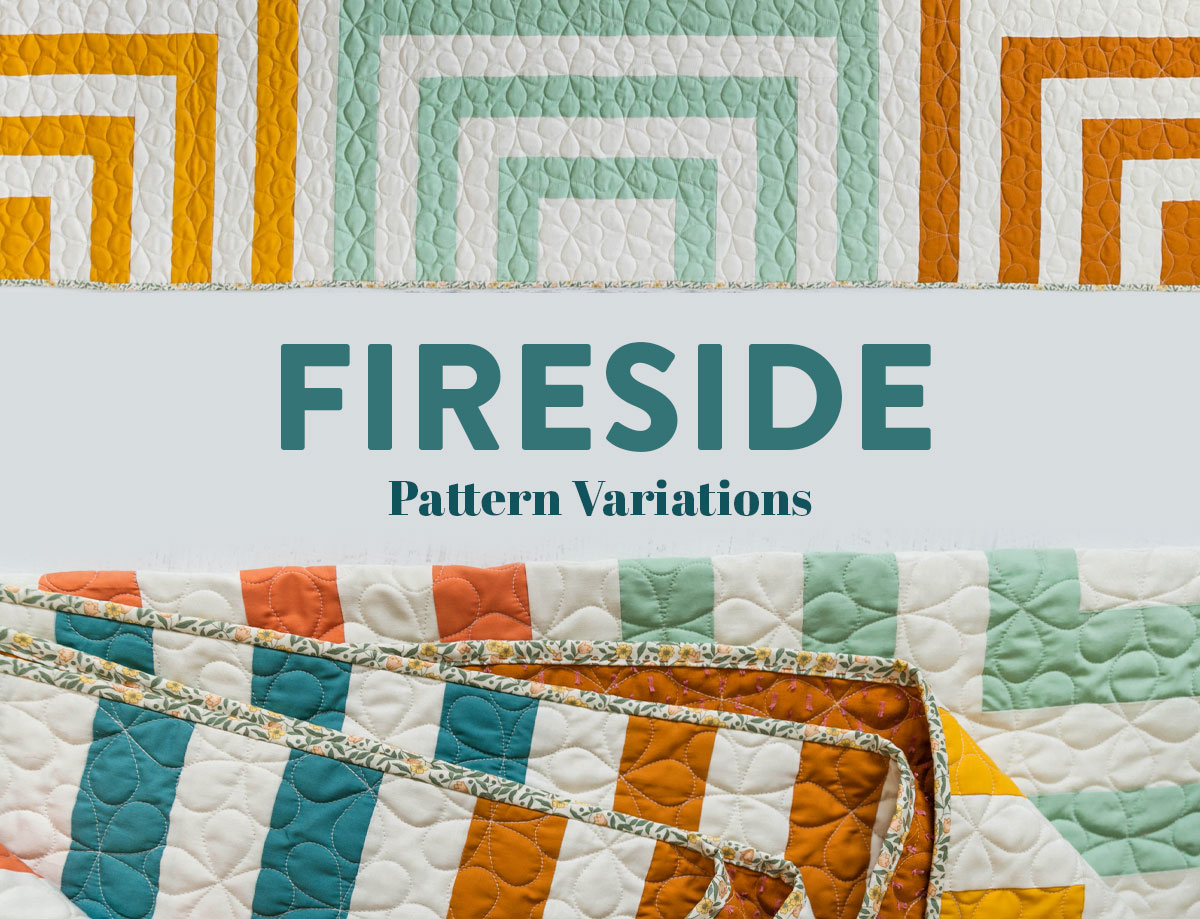
The Fireside quilt pattern is now available! Even though the pattern includes fabric requirements and instructions for both a multi-color version and a limited-color version, there are still some beautiful variations you can make yourself!
In this post, I will take you on a tour of some of the limited-color variations and layout variations. A few of you have asked if this pattern is jelly-roll friendly. The answer is no, however it is very scrap friendly. The baby size, in particular, uses thin enough strips that if you have some yardage remnants you could put together a beautiful, scrap-tastic Fireside quilt.
So without further ado, let's jump into some limited-color Fireside quilts.
You May Also Like...
Fireside Fabric Requirements


Limited-Color Fireside Quilt
First up is a stunning emerald green Fireside quilt made and quilted by Lilo of Trace Creek Quilting. She used the panto Chunky Knit by Simply Fabulous Quilting and sized it to fit the strip width exactly. Don't you just love the texture it brings? It makes it look like an actual sweater!
Depending on the size you make, Lilo is able to change the width of this panto to line up with your strips. As mentioned in a previous post, the width of the strips in the Fireside design changes proportionally based on the size you are making. For example, the strips in the queen size are much wider than the strips in the baby size.
Trending patterns!


Quilt Patterns


Quilt Patterns


Quilt Patterns


Quilt Patterns


Quilt Patterns


Quilt Patterns


Quilt Patterns


Quilt Patterns


Quilt Patterns
This quilt was made with a kit from Sarah Made. It includes:
- Color 1: Art Gallery Fabrics solid Spruce
- Color 2: Art Gallery Fabrics solid Zambia Stone
- Color 3: Moda Bella Eggshell


You've already seen this quilt in a previous post, but it's so pretty I have to include it again. This extra cozy lavender beauty was made by Kim Vogelsang with a kit from Crimson Tate. It was quilted by Heather Alexander using the panto Boxed Twig and wool batting for added fluffiness. Isn't it gorgeous?
Joanna sure likes it.


Fireside Multi-Color Variation
This multi-color variation combines half of the colors into "background" fabric. That means rather than picking 10 colors, you only pick 5. Each block is then made from one color fabric and one background fabric. Even though this quilt uses a cream background color, your background fabric can be anything.
Our Creative Contributor, Erin, made this quilt using a kit from Sarah Made. The quilting was done by Trace Creek Quilting using the panto Cartwheels by Julie Hirt/627 Handworks.

The fabric for this quilt breakdown looks like this:
- Color 1: Art Gallery PURE solid Dried Carrot
- Color 2: Moda Bella Eggshell
- Color 3: Moda Bella Eggshell
- Color 4: Art Gallery PURE solid Swimming Pool
- Color 5: Moda Bella Eggshell
- Color 6: Art Gallery PURE solid Tender Green
- Color 7: Art Gallery PURE solid Raw Gold
- Color 8: Moda Bella Eggshell
- Color 9: Art Gallery PURE solid Turmeric
- Color 10: Moda Bella Eggshell


Fireside Limited-Color Variation
These next two variations take a bit more planning, but we're here to help. Instead of three colors, which is how the limited-color version is in the pattern, this first one is four.
Fireside Limited-Color Variation #1
To make a four-color Fireside throw-sized variation and get this diamond look, follow the Limited-Color fabric requirements, cutting instructions, and instructions. Colors 1 and 2 will be exactly the same!

This black and white monochromatic beauty was made by Laura, Suzy Quilts Creative Operations Manager, using a kit from Global Fibers and quilted with the panto Paradoxical by Jess Zeigler.
The deviation from the pattern happens in Color 3 — turn Color 3 into two colors. Here are the fabric requirements for Colors 3 and 4:
- Color 3: 1/2 yd.
- Color 4: 1/2 yd.
The cutting instructions for Colors 3 and 4 look like this:
- Color 3: cut 6 - 2.5" x WOF strips
- Color 4: cut 6 - 2.5" x WOF strips
When piecing your blocks, your two Color 1/2 blocks will stay exactly the same as in the pattern. Instead of making two Color 1/3 blocks, you should make Color 1/3/4 blocks following the assembly instructions in the pattern but with the color placement in the diagram below!

Fireside Limited-Color Variation #2
This next variation is exactly like the one above except it uses a fifth color for the center rectangles. I will also note that I changed the strip sewing order after seeing this variation, so this quilt is slightly different than the instructions on the one above.
This quilt was made and quilted by Sandy of Thai Charm. You can also get the kit from Sandy too!


I would like to buy a Fireside quilt kit but I can’t seem to find the finished size of the throw quilt. Can you help or tell me where to find the dimensions? Thanks
The Throw size is 62″ x 66″. Enjoy making your quilt!
I would love to make the fireside in king size. Are there fabric requirements for this size?
So glad that you like Fireside! The largest size that the Fireside quilt comes in is Queen/Full, but if you’d like to make it larger, our best recommendation is to add borders to the largest size until it reaches the dimensions you’d like! Enjoy 🙂
Suzy’s email said there would be 20 quilt kits available in this newsletter. I think I am missing where they are shown?
Hey Deb! Yep, there are 20 different Fireside kits in the email that went out today! There’s a graphic that says “KITS!” and then you can click on each picture below that to head to the shops offering the kits you like. If you don’t see that kits graphic, there might be something at the bottom of your email that says something like “View entire message.” If your email server cut off the message, you can click view entire message and it will show you the full email 🙂
I’ve bought the pattern. Now to decide which gorgeous version I want to make! Probably a planned scrappy version with Kona pepper or other dark gray.
Oh my goodness! So many choices and so many inspirations!
What is the finished size of Fireside variation? It looks square…
All the variations are the same size as the pattern! No changes are made to the size of the quilt, just the layout 🙂
I am totally missing where to find the free pattern for the sewing machine dust cover. It would be a great Christmas gift.
Here you go! You can always find our latest blog posts on the blog page of our website or by entering what you’re looking for in our search bar if you ever need to find this post again! Have fun making this sewing machine cover 🙂 https://suzyquilts.com/diy-sewing-machine-cover-with-the-fireside-pattern/
hi! i love this! how can i learn to make the leafy style quilting on the purple one?
Happy to hear that! The quilting on the purple quilt is done by a longarm quilter. That one specifically was quilted by Heather Alexander using the panto Boxed Twig. Here’s an old blog post we have about how to hire a longarm quilter! https://suzyquilts.com/hiring-a-longarm-quilter-an-in-depth-guide/
Hi, Laura, Related to the top/side blocks in your black/gray/white version of Fireside: Did you sew the first strips to the top/bottom of the center rectangle instead of the sides? Is that what you meant when you said you changed the order of the strips? Thanks for your help!
Hey Suzanne! The assembly instructions are exactly the same, the only thing that changes is where you place the colors. Here’s some info from the blog post that should help! “When piecing your blocks, your two Color 1/2 blocks will stay exactly the same as in the pattern. Instead of making two Color 1/3 blocks, you should make Color 1/3/4 blocks following the assembly instructions in the pattern but with the color placement in the diagram below!”