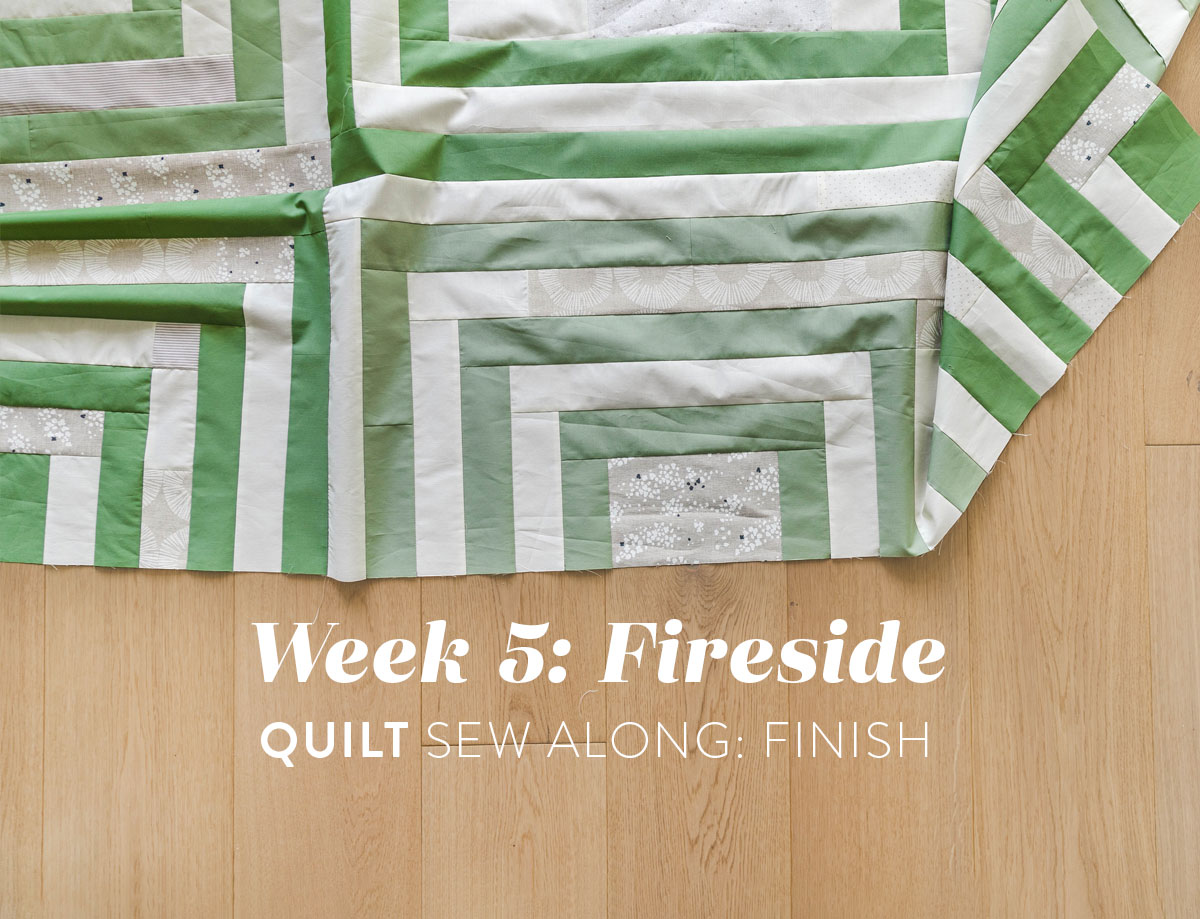
Fireside Quilt Sew Along Week 5: Finish
Welcome to the final week of the Fireside sew along! You did it!! This week we will assemble our blocks into a quilt top. I have lots of troubleshooting tips this week (including a video) because I had lots of trouble! haha 😉
The reason for my trouble was that I had a friend help me sew just one of these Fireside blocks. What I realized is that seam allowance can be a lot like penmanship — everyone's is a little bit different. My sewing helper's seam allowance was ever so slightly wider than mine, so the block she made turned out a 1/2" smaller than the blocks I made.
Am I worried? Nope! There's a workaround for that. Let's dive into all the fun nuts and bolts so I can show you. And as a recap, here's our sew along schedule along with links to our past posts. Like always, ask any questions you have in the comments and The Suzy Quilts team will respond as quickly as we can.
Fireside Sew Along Schedule
- Week 1, September 23: Pick Fabric
Prize sponsor: Global Fiber Textiles & Notions - Week 2, September 30: Cut fabric
Prize sponsor: Crimson Tate - Week 3, October 7: Make Blocks 1
Prize sponsor: Quilts Made with Love - Week 4, October 14: Make Blocks 2 and 3
Prize sponsor: Sewing Arts Center - Week 5, October 21: Assemble quilt top
Prize sponsor: Trace Creek Quilting
Discounts
The following longarmers will be offering 25% off longarm quilting on all Fireside quilts for at least three months after the sew along:


Week 5 Assignment: Finish that Quilt Top!
Hey Fireside Friends, typically I start off your weekly assignment with tips, but this week I'm going to introduce Week 5 with some troubleshooting. If your blocks all came out to approximately the same size (give or take a 1/4"), simply skip this part. 😉
Trending patterns!


Quilt Patterns


Quilt Patterns


Quilt Patterns


Quilt Patterns


Quilt Patterns


Quilt Patterns


Quilt Patterns


Quilt Patterns


Quilt Patterns
Troubleshooting Tip!
So you've made all of your blocks and uh-oh...they are not the same size. Oops! My first troubleshooting tip is to relax. This block variation can happen from slight differences in cutting, to sewing wider or narrower seam allowances, or even from ironing some blocks with steam and others without.
The takeaway here is that Fireside is labeled a beginner pattern for a reason and there are some easy workarounds to make sure your quilt top still looks fantastic in the end. Because I figured this may be an issue for some of you, this post will be mostly dedicated to troubleshooting tips.

As I mentioned before, in this example I made the limited-color version. I had some sewing help in the form of a friend making one block for me while I made the other three. Because her seam allowance was wider than mine, the block she made came out a 1/2" smaller than mine. You can see the dark green runty one in the photo above.
Since just one of my blocks is a different size than the other three, I'm going to cut that one up for corner blocks so I have to do less trimming.
Tip #1: Lay out your blocks BEFORE cutting them.
This is important because one block you cut horizontally and one you cut vertically. I don't want you to accidentally cut it wrong and then be sad.

I laid out my center, top, and bottom blocks. Before moving the blocks to my cutting mat, I finger pressed them where they will be cut.

At this point, if you have the blocks laid out on the floor, it may be easier for you to slide your cutting mat underneath the blocks rather than picking them up and carrying them to a cutting table. Do whatever you find easiest, just be safe with your rotary cutter.

Tip #2: Use the guide marks on your ruler to keep your cuts straight.
After making a clearly visible crease, I placed my ruler along it and squared up the strips with multiple guide marks on the ruler.

My ruler is shorter than the block (these blocks are BIG!) so after making one cut, I moved it up, realigned, and made a second cut.


If you are making the limited-color version, you need to cut your fourth block twice to get four corner blocks. Do it the same way you did it before. You got this!


And what do you know, now it's looking like a quilt! Wahoo!

Troubleshooting Tip!
That runty block is back and causing trouble again. In the photo below you can see how far off it is. Since it's a 1/2" off, I'm going to trim the larger block a little bit to make them closer in size. I don't want this to be noticeable, so I'm not going to trim more than a 1/4".
That still means the light green block will be a 1/4" larger, but I can fix that through pinning (watch video below.)

You can trim either the interior side of the block or the exterior side. It's up to you. Since you are only trimming a 1/4", neither will be noticeable.

Be sure to line up the guide marks on your ruler so you know where to trim. I'm lining up the ruler marks so this outer strip will be 2" unfinished once trimmed.

Now they're a little bit closer in size, but still off. That's OK. We can work with that. 😉

In this video, I show you how I "ease" the fabric together by lining up the edges and then pinning A LOT. You may get some slight rippling, but that won't be noticeable once the quilt top is finished and quilted.
Once your three rows are sewn together, it's time to finish the quilt top by attaching your rows. I have one final tip...

Tip #3: Nest your seams.
There are only four intersections in this quilt that really need to line up — it's the four corners of the central block. To get the most accuracy, nest your seams together, which means you need to plan ahead when pressing.

In my quilt, I pressed the seams toward the corner blocks on the top and bottom rows. In the center row, I pressed my seams toward the central block. That way when sewing the rows together, the matching seams are facing opposite directions.
3 Ways to Pin for Accuracy
- Fork Pins: I used fork pins in this example and highly recommend them. Fork Pins: The Best Way To Match Seams Perfectly
- Glue Baste: Yes, you can use simple water-based glue, just be sure to set the glue with your iron. A Complete Guide To Glue Basting Seams
- Straight Pins: I will only do this in a pinch because sometimes even when I pin really well the fabric can still move. When doing this, pin both sides of the seam as I did in the Instagram reel.
Troubleshooting Tip!
In my top and bottom rows, I trimmed the two center blocks so they could fit together, but that still leaves the center row a 1/4" off on both sides. What I'm going to do is pin and sew my rows together anyway. Once the rows are attached and the quilt top is finished, I will press and then trim off the overhanging block on the sides.

So many pins! Ha ha!

Below you can see my finished quilt top and oop! look at those center-side blocks. They need a 1/4" haircut 😉


Snip, snip and voilà! My green and cream Fireside quilt top is finished!

Week 5 Sponsor & Prize
Trace Creek Quilting is our sponsor this week! Lilo, the woman behind Trace Creek Quilting, quilted this very Fireside for me using one of my favorite motifs—Rosemary.

I love working with TCQ because I can trust that Lilo will do a beautiful job. She also gives great advice on thread color and quilting motifs if I ever find myself scratching my head in uncertainty.
Additionally, you can get 25% off longarm quilting on all Fireside quilts through January 2023. Find TCQ on Instagram @tracecreekquilting.
How to Win
- Post a pic to Instagram. The photo prompt for Instagram this week is to post a picture of your finished Fireside quilt top. Use #FiresideQuiltSA in the caption.
- You must have a public Instagram profile to participate.
- Each photo posted is an entry and you can enter as many times as you want in a single week. Once the week is over, those posts do not count in the next week's giveaway. Every week we start fresh.
- Your photo must be posted between Friday, October 21 and Friday, October 28. The winners will be picked randomly from all qualifying posts and announced at approximately 4:00 p.m. on Friday, October 28. Good luck!


