Free Color Block Apron Tutorial
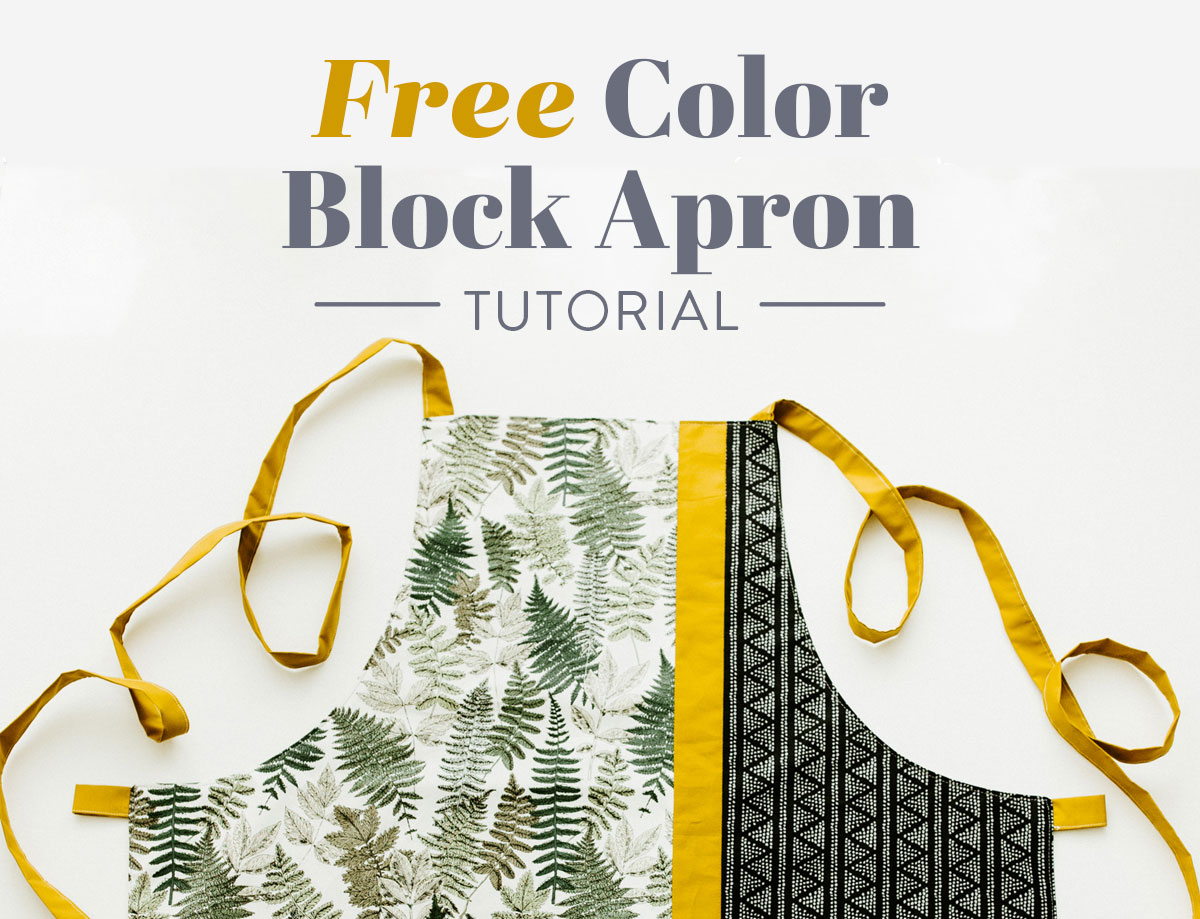
In so many ways, baking and quilting go hand in hand. They are both comforting and cozy, and the fruits of your labor make for the sweetest gifts! So whether you’re cookin’ up treats in the kitchen or at your sewing machine, appropriate attire is a must. Previously on the blog, we made a patchwork apron, so now, to keep your wardrobe fresh, let’s add this stylish color block apron!
Just like our first apron tutorial, this one works great with most fabrics and is a wonderful project for beginner sewists. You could even reduce the measurements and make some aprons for the young chefs in your life. How cute!

You Might Also Like...

Modern Patchwork Apron Supplies
- 2 printed apron template
- Fabric A* (White foliage print in this apron): 18" x 36"
- Fabric B* (Center stripe): 2" x 36"
- Fabric C* (Black print): 12" x 36"
- Backing Fabric* (Black foliage print): 31" x 36"
- Fabric for Ties and Loops: 1/4 yd. (I used more of Fabric B for my ties and loops. If you want to do the same, you’ll need 1/3 yd. total for the center stripe, ties, and loops.)
*If you are using directional fabrics, be aware of their orientation in the apron.
- Simple sewing machine
- Thread
- Cutting mat
- Rotary cutter
- Ruler
- Straight pins
- Iron and ironing board or pressing mat
- Scissors
- Large sheet(s) of paper (I used wrapping paper, but posterboard or a roll of paper would work, too.)
- Tape (basic Scotch tape is perfect)
- Point turner or chopstick

Step 1: Assemble the Apron Template
First things first, let’s assemble our template! If you made the patchwork apron tutorial, you can use the same template you created for that. If this is your first apron, it’s very simple to create the template for this color block apron.
Using a large sheet(s) of paper (I used the back side of wrapping paper), cut out one rectangle that is 21 1/2" x 27 1/2" and one square that is 11 1/2" x 11 1/2". Fold both of these pieces in half (the rectangle should be folded along the 27 1/2" side) and crease. Place the square on the top of the rectangle, aligning the creases, then tape together.
Trending patterns!


Quilt Patterns


Quilt Patterns


Quilt Patterns


Quilt Patterns


Quilt Patterns


Quilt Patterns


Quilt Patterns


Quilt Patterns


Quilt Patterns
Next, print two copies of the apron template and cut them out along the solid line. Tape one piece face up in the right armpit and one piece face down in the left armpit.
If your template wants to curl (the wrapping paper was notorious for this!), use pattern weights or large washers to weigh it down along the edges.

Step 2: Mark the Template
Next up, it’s time to mark the template to align the center stripe on the front of the apron. It will seem like we’re aligning the strip to the left, but since the front unit will be cut face down, we’re actually aligning it to the right.
On the top of the square on your template, make marks at 2" and 3 1/2" in from the upper-left corner. On the bottom of the rectangle, make marks at 10" and 11 1/2" in from the bottom-left corner.


Step 3: Create the Loops and Ties
After you’ve assembled and marked your template, cut three 2 1/2" x WOF strips from your loop and tie fabric, and join them as if you were prepping binding for a quilt. Then, cut the strip down to two 50"-long strips that will form the ties and two 3 1/2"-long strips that will form the loops.


Next, use your iron to turn and press 1/4" along the length of each strip on each side. TIP! Use a tailor’s clapper for these steps to keep everything super flat!
On the two 50" strips, press the corners in 1/4" as shown in the photo, then press the mitered end over to the back side of the strip. Do not do this end-folding step to the 3 1/2" strips.
Press all strips in half widthwise, then sew close to the edge to secure, making sure to catch both sides with your needle. You may need to use leaders and enders so the fabric doesn’t get caught in your machine.


Step 4: Assemble the Color Block Apron Front
Let’s get to the good stuff and start sewing our color block apron front together! This pattern uses a 1/4" seam allowance. First, lay out Fabric A, B, and C side by side to make sure the orientation of your prints is running the correct direction (if applicable).
Then, sew your 2" x 36" of Fabric B to the right side of the 18" x 36" piece of Fabric A. Press your seam open. Next, sew the 12" x 36" piece of Fabric C to the other side of Fabric B. Press the seam open.

Your finished unit for the front of the color block apron will look like this!

Step 5: Cut Out the Apron
We’re cooking right along! Place your color block apron front right sides together with your 31" x 36" piece of backing fabric. Be sure the apron front is on top.


Place your apron template on top of your apron front. Remember those marks we made on the template? Align the marks with the seams of the center stripe at the top and bottom of the apron front. Use pattern weights or pins to hold your apron template in place.

Using scissors or a rotary cutter, cut around the template, cutting through the front and backing fabrics. You could also trace your template, then cut it out, but I found this to be easier.

Step 6: Pin the Loops and Ties
After you’ve cut your apron out, it’s time to add the loops and ties! Take your 3 1/2" loop strips and fold them in half lengthwise. With your apron front and back still right sides together, pull back the apron front a bit in one armpit corner and pin one loop strip 3/8" down from the armpit point on the side of the apron back, aligning the raw edges. Fold the apron front back down so the loop is on the inside of the apron sandwich.
Repeat on the other side with the second loop.

Now, take one of your long tie strips and align the raw-edge end 3/8" from the top corner on one side of the top of your apron. Pin in place. Repeat with the other tie strip on the other top corner. Tuck the tails inside the apron, making sure they won’t be in your way while sewing the edge seam of the apron.
Pin around the entire perimeter of the apron to prepare it for sewing.

Step 7: Sew the Apron Front and Back Together
Using a 1/4" seam allowance, sew around the perimeter of the apron, leaving a 6" gap at the bottom. When you come to a loop or tie, you may want to backstitch over it as a bit of added reinforcement before you continue sewing.

Step 8: Turn, Press, and Topstitch
We’re almost done! Turn your apron right side out through the 6" gap at the bottom of the apron and push out the seams and corners. I found it helpful to lightly press around the perimeter of the patchwork apron to keep it nice and flat.
Lastly, topstitch around the perimeter of the color block apron to finish it off and close the 6" gap.

And just like that, you’ve sewn a quick, creative, and fun apron that’s as easy as pie! This color block apron tutorial is one you’ll want to make again and again. Share the aprons you cook up on Instagram or our Facebook group by tagging us @suzyquilts!


Any chance we can get a pdf of this pattern so we can print it out? I want to do one of two college fabrics for some members of my family. Thanks!
Hi Mary! You can download a PDF of the pattern piece for the apron if you click where it says “2 printed apron template” under supplies. Enjoy making it!
This is a great looking apron but the pattern download doesn’t seem to work. It only downloads one page. Is there any way to fix that?
Hi Michael! The pattern is right–you’ll print the single page two times and place one right side up and the other upside down. Under Step 1 of the instructions you can read more about how to put the pattern together, and right above that there is a picture that should help. Enjoy making your apron!
I am probably asking a super silly question here, but I am a brand new sewing crafter. Please forgive my dumb. I am fat. Will this apron fit someone who is on the large side?
Hi Alyssia, that’s not a silly question at all! On the contrary, it’s a very practical question, thanks for asking! And welcome to sewing, we hope you’ll find lots of fun things to make on the Suzy Quilts website. The apron is about 27″ wide, so you could measure across your waist to see how it will fit, keeping in mind that the straps are adjustable and can even be made longer if needed. One thing that garment sewists like to do before making a pattern is to do a mock-up using muslin, which is an affordable and thin fabric often used for testing patterns that you can find at any big box store like Joanns. You could make a quick sample apron using muslin to test out the sizing of this pattern, and then you’ll be able to see if you need to make any adjustments by lengthening the measurements before cutting into your nice fabric! I hope that helps and that you have fun making your apron 🙂 Feel free to email us at [email protected] if you have any other questions while you’re making your apron!
I just made this apron yesterday. I kept the 11.25″ square the same size (since that fit me when I measured across my collarbone area) but I increased the 27.5″ side of the bigger rectangle to about 40.5″. That measurement fit me better when i measured around my waist. The 21.5″ length of the rectangle still fit me well in regards to length, but that might want to be something you alter as well if you’re taller or shorter.
I didn’t make a mockup, just did measurements and held my pattern up to me to make sure it fit properly, and the finished product was the perfect size!
If you already made the project I hope it turned out well, otherwise just wanted to offer my experience for you or anyone else reading later 🙂
Thank you for asking myself that question. I was just sitting here wondering if I would need to make it larger for my size since I wear a size 18/20. My question has been answered. Thanks so much!
What is the seam allowance? Or did I mis it somewhere in the tutorial?
This pattern uses a 1/4″ seam allowance. I’ll add that to the top instructions so it’s easier to find. Right now that only shows up in Step 7. Thanks!
The instructions say to fold the square and the rectangle in half width-wise and then align the creases. I am wondering if this is a error and you mean to fold the rectangle and square legnthwise so you know where the center of each is and then aligned them so the square is centered on the rectangle. Could you please clarify? Thanks!
Susanna, you’re right that the wording was confusing. Sorry about that. I’ve updated the post to be clearer. It now says, “Using a large sheet(s) of paper (I used the back side of wrapping paper), cut out one rectangle that is 21 1/2″ x 27 1/2″ and one square that is 11 1/2″ x 11 1/2″. Fold both of these pieces in half (the rectangle should be folded along the 27 1/2″ side) and crease. Place the square on the top of the rectangle, aligning the creases, then tape together.” Hope that helps! Enjoy your apron!