Free Modern Patchwork Apron Tutorial
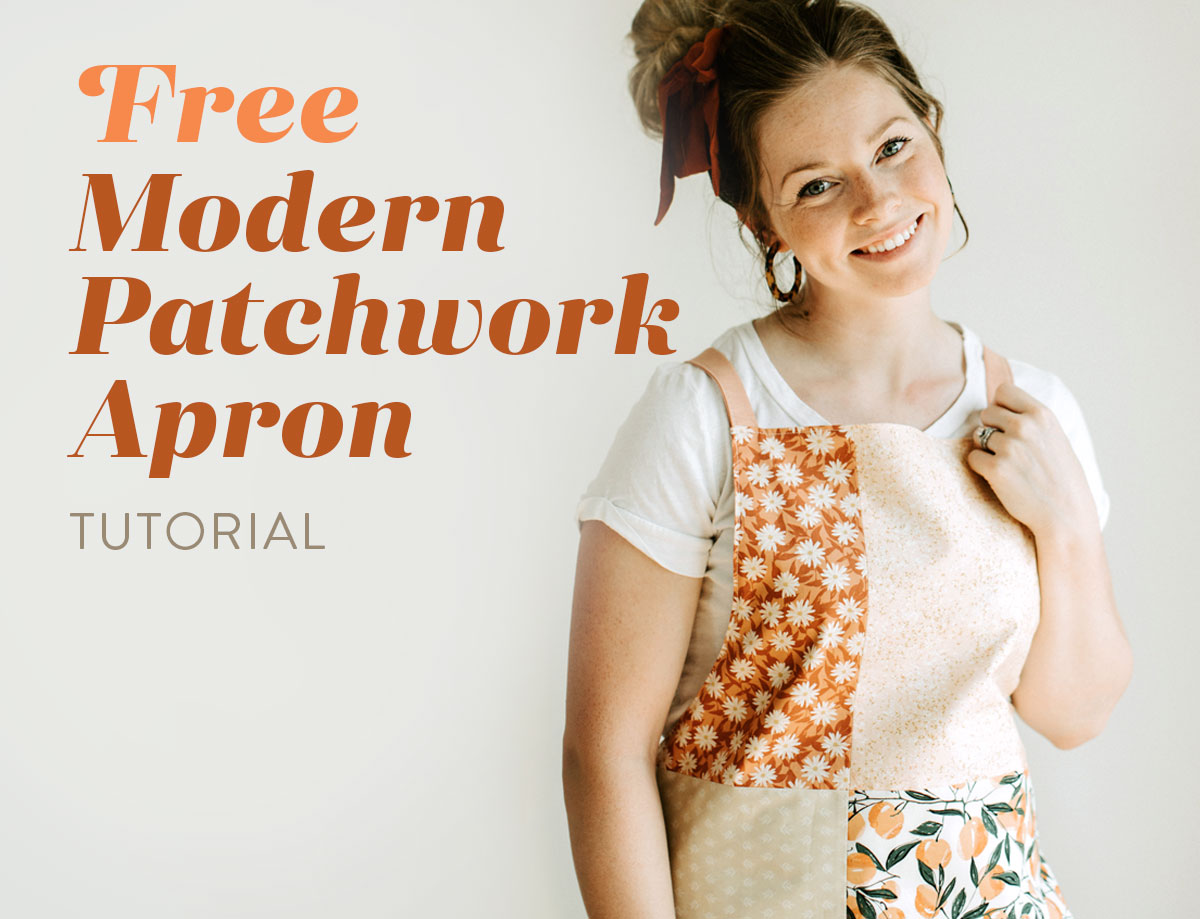
Today on the blog is a FREE step-by-step tutorial on how to make an adorable modern patchwork apron! This is a beginner-friendly sewing pattern that uses only the most basic sewing supplies.
You know those projects that you make a dozen of for Christmas gifts... the night before Christmas?? For me, 2016 was the year of the zipper pouch, 2017 was the year of the bucket tote, 2018 was the year of the oven mitt, and 2019 was the year of the Maypole pillow. Well, get ready, because 2020 is the year of the modern patchwork apron, and you still have six months before Christmas!
These aprons come together SO quickly, and are tons of fun to make! Just wait - you'll be an apron-making factory in no time.

You May Also Like...

One of my favorite things about these aprons is how personalized you can make each one! Does your dad need a new apron for flipping burgers on game day that also features his favorite sports team? Does your grandma have a soft spot for all things floral?
Or do you yourself need something to protect you from the inevitable mess when your toddler is "helping" you mix up a batch of cookies? (*Raises hand*) Well you can pick four fun fabrics for each apron to meet all of those needs.
Trending patterns!


Quilt Patterns


Quilt Patterns


Quilt Patterns


Quilt Patterns


Quilt Patterns


Quilt Patterns


Quilt Patterns


Quilt Patterns


Quilt Patterns

Modern Patchwork Apron Supplies
- 2 printed apron template
- 1 FQ Fabric A*
- 1 FQ Fabric B*
- 1/2 yd Fabric C*
- 1/2 yd Fabric D*
- 1 yd Backing Fabric*
- 1/4 yd Fabric for Ties and Loops
*If you are using directional fabrics, be aware of their orientation in the apron. Scroll down to Step 3 to see the layout diagram. You may need a larger cut of fabric if the print is running the wrong way.* - Simple sewing machine
- Thread
- Cutting mat
- Rotary cutter
- Ruler
- Straight pins
- Iron & ironing board or pressing mat
- Scissors
- Large sheet(s) of paper - I used wrapping paper, but posterboard or a roll of paper would work too
- Tape (basic Scotch tape is perfect)

Step 1: Pick Your Fabric!
Picking fabric is my favorite part of any sewing project, and this modern patchwork apron is no exception! Choose four coordinating fabrics for the front of your apron, one for the back, and one for the ties.
I went with five prints from Bonnie Christine's latest line for Art Gallery Fabrics called Her & History - it's seriously one of my favorite collections EVER! Plus, AGF has the silkiest smoothest cottons that are a dream to sew with no matter what project you're working on.
I chose an AGF denim for the ties since it's a little heavier and also is a wider than your typical 42" quilting cotton, which means I didn't have to piece the ties together.
Step 2: Assemble the Apron Pattern
Instead of giving you lots of annoying template pieces to cut out and assemble, let's keep it simple. Using some large sheet(s) of paper (or that ugly wrapping paper that you know you'll never actually wrap gifts with,) cut out one rectangle that is 21 1/2" x 27 1/2" and one square that is 11 1/4" x 11 1/4". Fold both of these pieces in half widthwise, and align the creases. Tape the square to the top of the rectangle, keeping the creases aligned.
Next, print two of the apron template found here, and tape one piece face up in the right armpit, and one template face down in the left armpit. Voila! Your apron pattern is assembled and ready for use!

Step 3: Cut and Piece the Patchwork Top
As a graphic designer, I've always loved bold color blocking. This modern apron uses four color blocks that intersect right at the waist, to be the most flattering proportions. Everytime I finish one I feel like I should be presenting it to Tim Gunn on Project Runway!
Once again, refer to the diagram for piecing, and be mindful of the orientation of directional fabrics.
- Cut Fabric A to 13 1/4" x 12 1/4"
- Cut Fabric B to 16 1/4" x 12 1/4"
- Cut Fabric C to 13 1/4" x 22 1/2"
- Cut Fabric D to 16 1/4" x 22 1/2"
Next, sew Fabric A to Fabric B (RST) along the 12 1/4" sides. Sew Fabric C to Fabric D along the 22 1/2" sides. Press seams open, then sew Unit AB to Unit CD, matching up the seams. This finished unit will be slightly larger than your apron pattern to give you a bit of wiggle room when cutting.
If your backing has a print that runs horizontally, you'll need piece it so that it is the same height and width as your pieced top . If the print runs v ertically, you're in luck and won't need to piece. Want to be sure you're matching up that pattern perfectly? Check out a blog post on just that here!

Step 4: Cut and Sew Loops and Ties
Things are "cooking" right along on your modern patchwork apron (definitely had to sneak that pun in there!) Next up, cut two 2 1/2" x 50" strips and two 2 1/2" x 3 1/2" strips from your ties and loops fabric.
If you are working with a standard width of fabric, it may work best to cut three 2 1/2" x WOF strips and join them as if you were prepping binding for a quilt. Then cut it down to the two 50" and two 3 1/2" strips.
After that, use your iron to turn and press 1/4" along the length of each strip on each side. (Hint: use a tailor's clapper for these steps to keep everything super flat!) On the two 50" strips, press the corners in 1/4" as shown in the photo, then press the mitered end over to the back side of the strip.
Do not do this end-folding step to the 3 1/2" strips. Press all strips in half widthwise, then sew close to the edge to secure, being sure to catch both sides with your needle.

Step 5: Cut the Patchwork Apron Out
Place your backing fabric and patchwork apron top wrong sides together with the apron top facing up. Next, take your assembled apron pattern, and place it on top of the apron top. Shift the placement of the template until it is straight, then pin it in place around the perimeter, being sure to catch the pattern and both layers of fabric with the pins.
Aligned the armpit corners to be 1/4" below the pattern corner, as shown in the photo. This way, once it is sewn, that corner will become a perfect point in the patchwork.

Once everything is pinned together, take your scissors and cut out your apron!

Step 6: Pin It All Together
Unpin the pattern from your apron top and backing, and place the apron front and backing right sides together (I didn't have you cut them right sides together so that you could easily see where your seams were to get everything straight.)
Next, take your 3 1/2" strips and fold them in half. Tuck and pin one 1/4" down on either side of the armpit point so that the loop is on the inside of the apron.

Now, take your 50" strips and align the raw edge end 3/8" from the top corner on either side of the top of your apron. Pin in place, and be sure the tails are tucked inside the apron and will not be in your way while sewing the edge seam of the apron.

Finish off by pinning around the perimeter of the apron.

Step 7: Sew!
Using a 1/4" seam allowance, sew around the perimeter of the apron leaving a 6" gap at the bottom. When you come to a loop or tie, you may want to backstitch over it then continue sewing as a bit of added reinforcement.
Step 8: Turn and Press
We're nearing the end! Turn your apron right side out, and push out seams and corners. I found it helpful to press around the perimeter of the patchwork apron to keep it nice and flat for the next step.

Step 9: Topstitch
Last but not least, topstitch around the edge of the apron to give it a nice finish and close the 6" gap.


Now you're ready for any culinary challenge, cookout, or only have 11 aprons left on your Christmas sewing list! These beauties are addicting, so take my advice and GIVE IN! Just keep making!
I can't wait to see what color combos you come up with, so use #SQPatchworkApron on Instagram or Facebook. Enjoy!


Adorable!
I love the apron
Thank you
AWSOME, making for my
daughter ‘s B-day.
Thanks for the pattern,and sharing your skill 👏. Can’t wait to get started.
What a great gift! Enjoy!
Beautiful apron realy love them. Thanks
Thanks for the pattern. I would love to make a Mother & Daughter (i.e. child) apron for my daughter-in-law and granddaughters. How would you convert pattern to child’s size?
I think if you proportionally shrink the template and dimensions by 75% or 50% based on the size of the child it would be perfect.
This looks like a fun project. I see sister and daughter Christmas presents in my sewing future! Thanks for the pattern and tutorial, Suzy.
Love this contemporary yet traditional apron.
I’m going to use fat quarters for all the front pieces, since it only will be short 1/2″ or so in length.
Now to decide which FQs to use!!
Genius! And all this with FQ!
Hi Suzy,
I love your website and your emails. I am most definitely not a seamstress, but consider myself a decent quilter. I love the colors and pattern of this apron and think that I will give it a try. Wish me luck! I think that my Mother will love it!
If I wanted my apron to be a little heavier than quilting cotton would you use interfacing of some sort or would you use home decor fabric?
Thanks!
Great question! I think you could go about it a couple different ways. The easiest way would be to just use a heavier fabric such as canvas or home dec. I would try that first. If it’s not feeling sturdy enough, add some light interfacing OR you could add a thin layer of batting and quilt it.
Cutest apron I’ve seen! So so cute! I’ve cute out 6 for my sisters and sister in laws! Such a great gift! Thank you very much for sharing!!
I love this apron!! I see fun Christmas fabric aprons for all the grandkids!!
Hello, I don’t know what I’m missing….but the length of the pattern exceeds the length of the patchwork front: Fabric 22.5 + 12.25 = 34.75 (less seam allowances) and Pattern: 27.5 +11.25 = 38.75.
Did I go wrong somewhere? Isn’t the fabric front supposed to be larger than the pattern?
Thank you for your help.
Madeline
It looks like your math is correct, however you are orienting the rectangle part of the template incorrectly. 27.5 is the width, 21.5 is the height. With that math, 21.5 + 11.25 = 32.75 which makes the paper pattern smaller than the fabric blocks.
Ooooohhhh THANK YOU!! I’ve been going nuts trying to figure out why my arm piece didn’t fit like your picture ~ you have the rectangle written as 21.5×27.5 … which I see as wide x length. So it’s really 27.5 x 21.5 – a WIDE rectangle opposed to a long one & we’re to fold the 27.5 side in half. Very happy I came to read the comments!
I made this apron today. Wonderful!
Do you offer your patterns in paper?
At this time they are just sold as digital PDFs.
I might be missing it, but I am not seeing what size to cut the backing. Is it 34.5 tall by 29 wide? I would like to be as accurate as possible, since I want to make multiple with the yardage I bought. Thanks!
Also, do you have any suggestions for adding a pocket?
The width of pieces A plus B is 29 1/2”, right? Why is the pattern top only 11 1/4” wide!. I’m also having a terrible time placing the armhole pattern. It is only 11” long (or less, maybe, if I cut borders away), yet the top is 12 1/4” long, also where along the 13 1/4” width do I place that pattern?
I’m missing the same thing Carley. Did you figure it out? I was just going to put the top on the backing fabric and cut it out using the front as a template?
Hi Terri & Carley!
1 yard of fabric (36″) will be perfect for the backing! I did exactly what you did – place the top on the backing and cut them both at the same time.
Enjoy!
When I tap on the 2 printed apron template, it won’t download. How can I get the template?
Here is a direct link – https://suzyquilts.com/wp-content/uploads/2020/06/PatchworkApron-Pattern.pdf
Mahalo for the direct link for apron templates.
This is such a cute pattern! I can’t wait to try it! But I was wondering if you would suggest changing any measurements in the case of making it for a man?
I am a bit confused on how to put the pattern together. What do you mean when you say ;’align the creases. Tape the square to the top of the rectangle, keeping the creases aligned.
Hello there! I’m about to make this for someone who is Plus Size (2-3x)… and I really don’t want to ask how wide her chest & hips are. What measurements would you use for the top & bottom? Oppose to the full fabric color blocking I’m separating the bib & bottom. THANKS!!
I just a quick search and it looks like someone who typically wears a 2X measures 46-48″ in the chest/bust area. 3X measures 50-52″ chest/bust.
Would love a suggestion on how to add a pocket!
Did you ever figure out pocket placement? I love this apron, but wish it had pockets.
Hey! I’m making this right now, but I’m confused. What do you mean when you say, “fold in half widthwise and align the creases”? Do you fold the square in half, or just the rectangle. Also, what measurments did you use to make the armhole? I’m unable to print it. Thank you SO much for your help!!!
Hi! Love this apron, which fabrics did you use?
Here’s some information about the fabrics from Step 1 of the tutorial!
“I went with five prints from Bonnie Christine’s latest line for Art Gallery Fabrics called Her & History – it’s seriously one of my favorite collections EVER! Plus, AGF has the silkiest smoothest cottons that are a dream to sew with no matter what project you’re working on. I chose an AGF denim for the ties since it’s a little heavier and also is a wider than your typical 42″ quilting cotton, which means I didn’t have to piece the ties together.”
Thanks for this pattern. I’m making it as Xmas gifts for my friends, using materials I already have in my stash!
Ditto to Laura Hopper’s post! AGF is amazing!! I was so proud of myself because I had Gingibar’s Dwell in Possibility panel. (If you haven’t seen them, they are literary quotes done in a darling panel. (I had 4 different ones.) I cut them up and used the quote panels on the lower left of the apron. They have to be the cutest aprons ever!! However, maybe it’s just me but I find the ties to be a little cumbersome. Did anyone else think that? No matter, wonderful, clever quilt pattern. Thanks so much for sharing!!
So happy to have a pattern that doesn’t hang the apron off the neck! Super cute ty!