Glitter & Glow Quilt Pattern – Use Your Scraps!
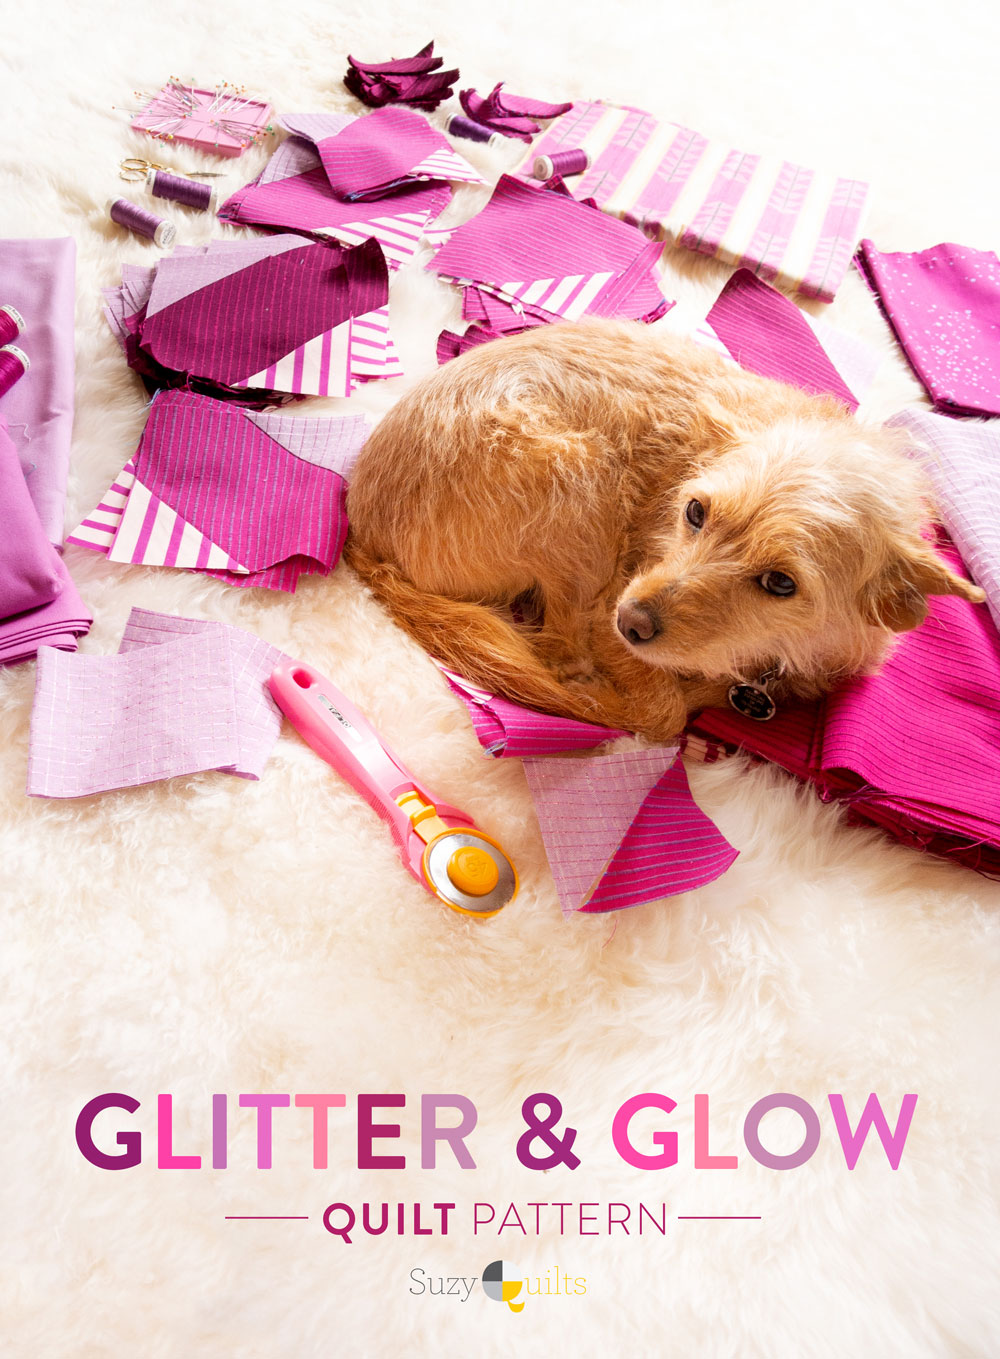
Do you glitter? Or do you glow? Those are the questions to ask yourself with this exciting new quilt pattern. The Glitter & Glow quilt is designed to work with any and all fabric sizes – yardage, fat quarters, scraps, it's up to you!
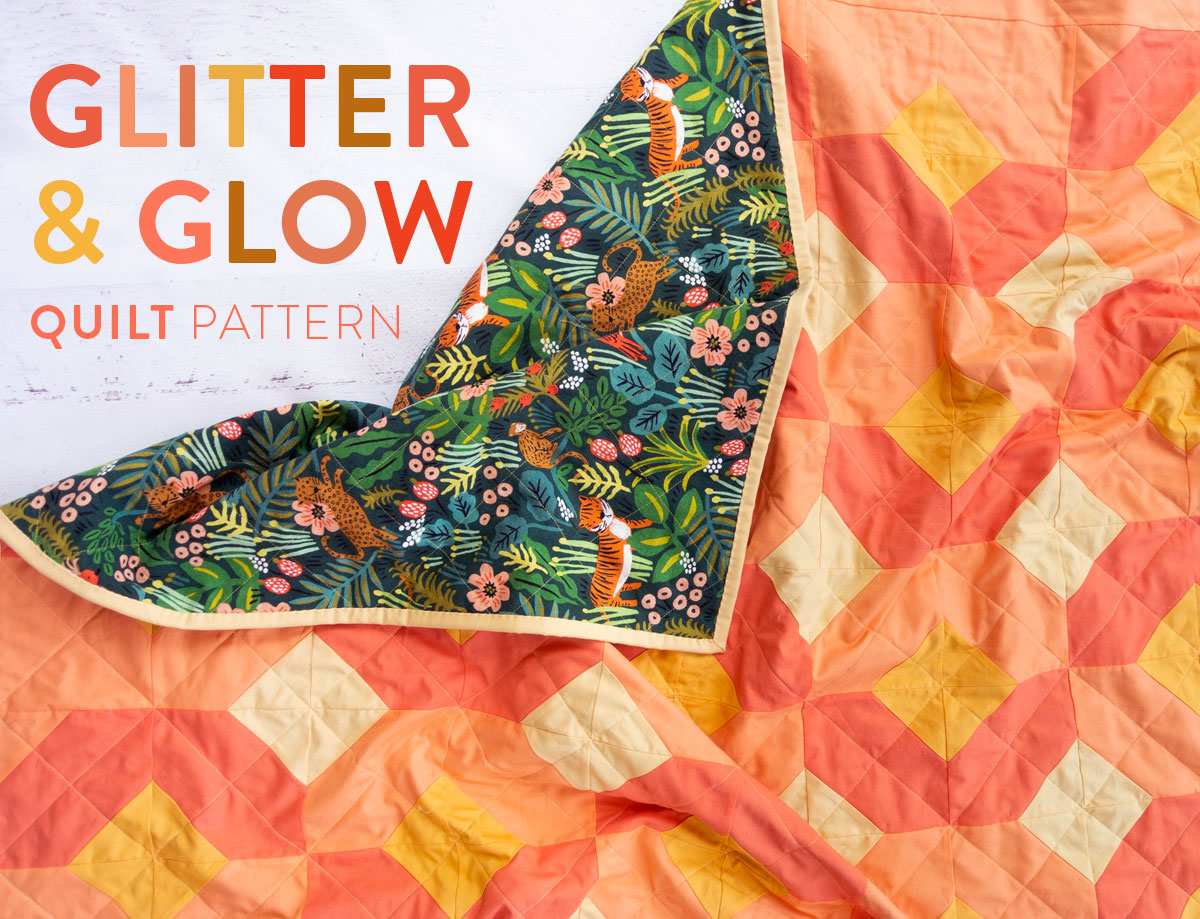
The basic pattern, Glow, is simple and easy to follow. The Glow quilt is made with yardage of 4 different colors. Purple Passion Glow Baby and Mango Peach Glow Throw show you how dynamic just 4 fabrics can be.
But are you like me and get drawn to shiny things? I can be a bit of a fabric magpie, so to make a Glow quilt Glitter, substitute the yardage with smaller cuts of fabric. This versatile design truly sparkles with your own unique twist!
A Quick Cutting Hack
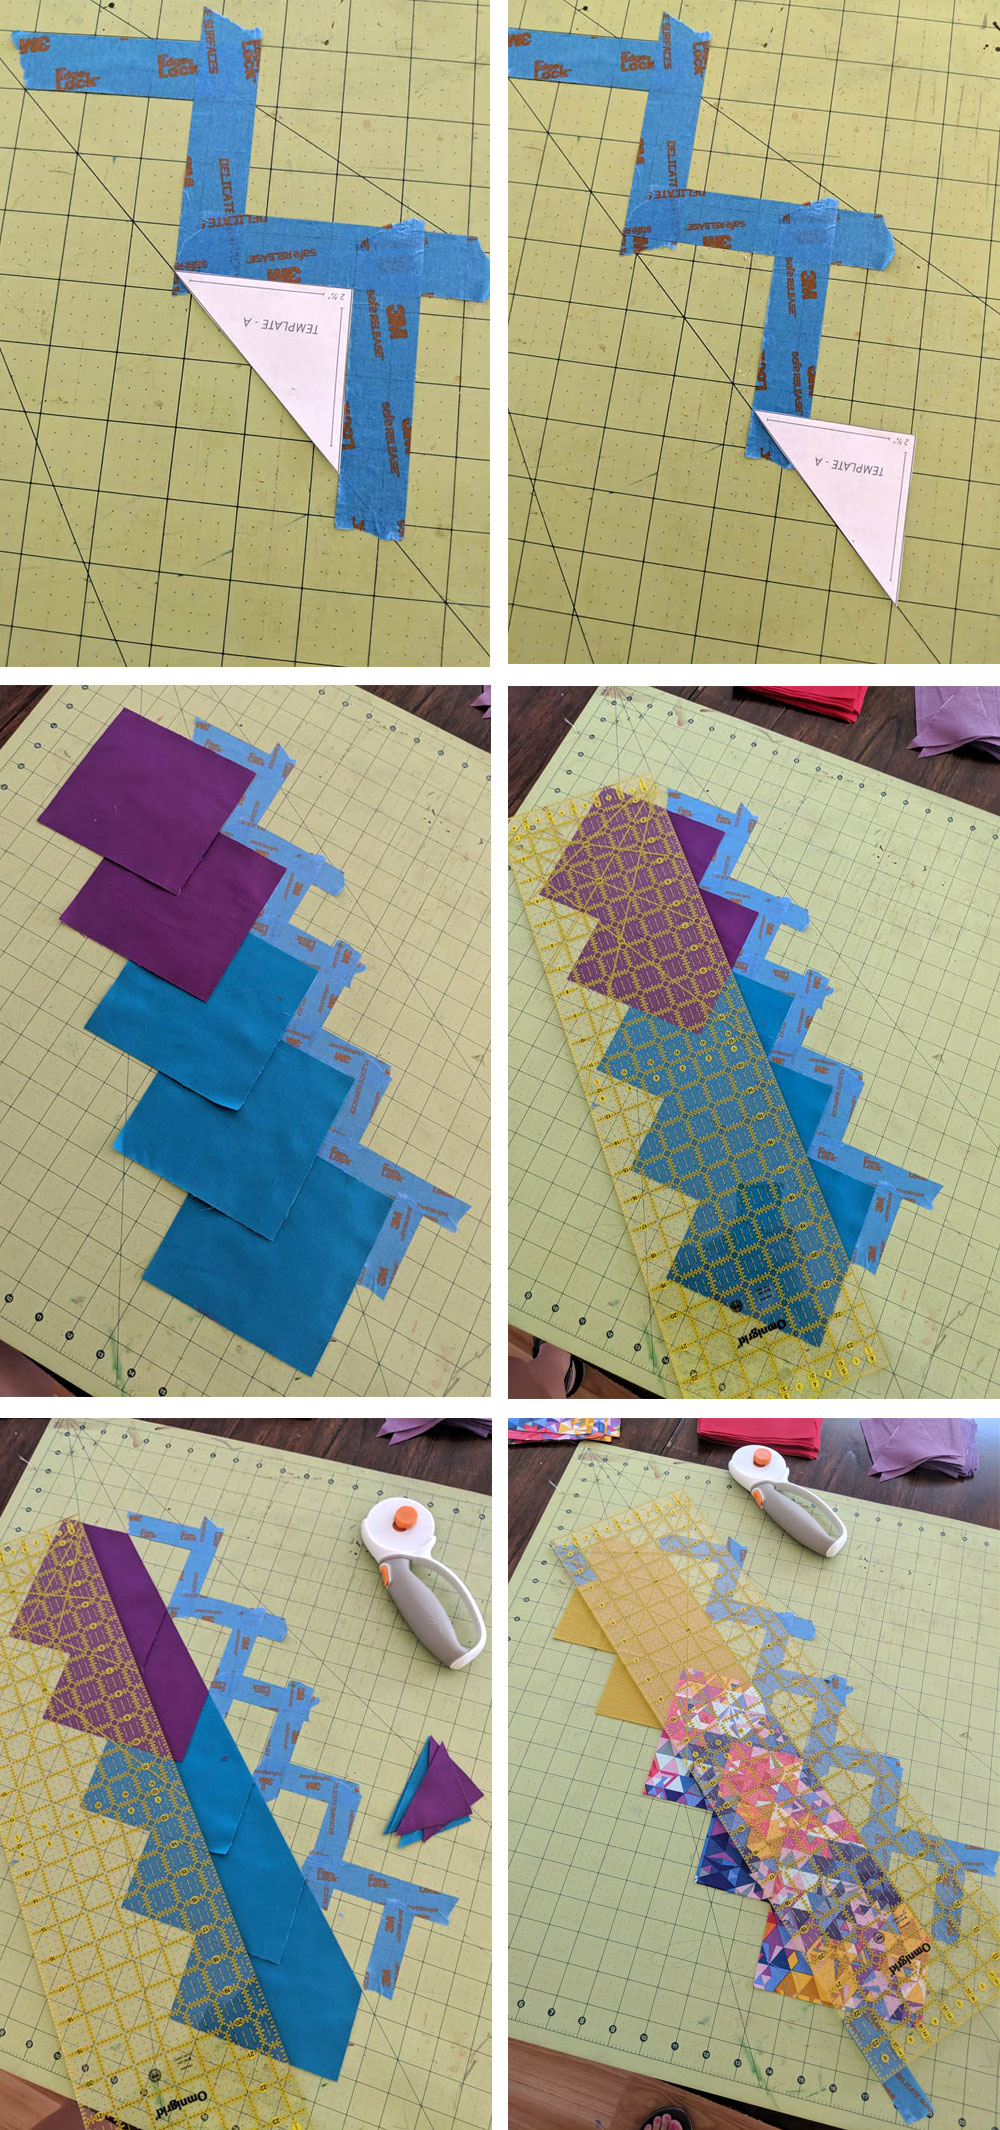
Before diving into all of the different color variations for this quilt, I want to show you an ingenious cutting hack one of my pattern testers came up with. Caitlyn (you can see her baby quilt below), is one of my oldest friends and so very very clever. She took photos of how she used painter's tape to create guides on her cutting mat. If you were to stack two or three squares in each spot, you could get through all of your cutting in a snap!
Trending patterns!
Caitlyn, for being so dang smart, I'm going to buy you a new cutting mat. 😉
Purple Passion Glow Baby
Are you ready for some yummy scrummy texture in all the right places? Purple Passion Glow Baby ties in texture at every turn – from fabric to batting and even to the thick, yarn-like thread!
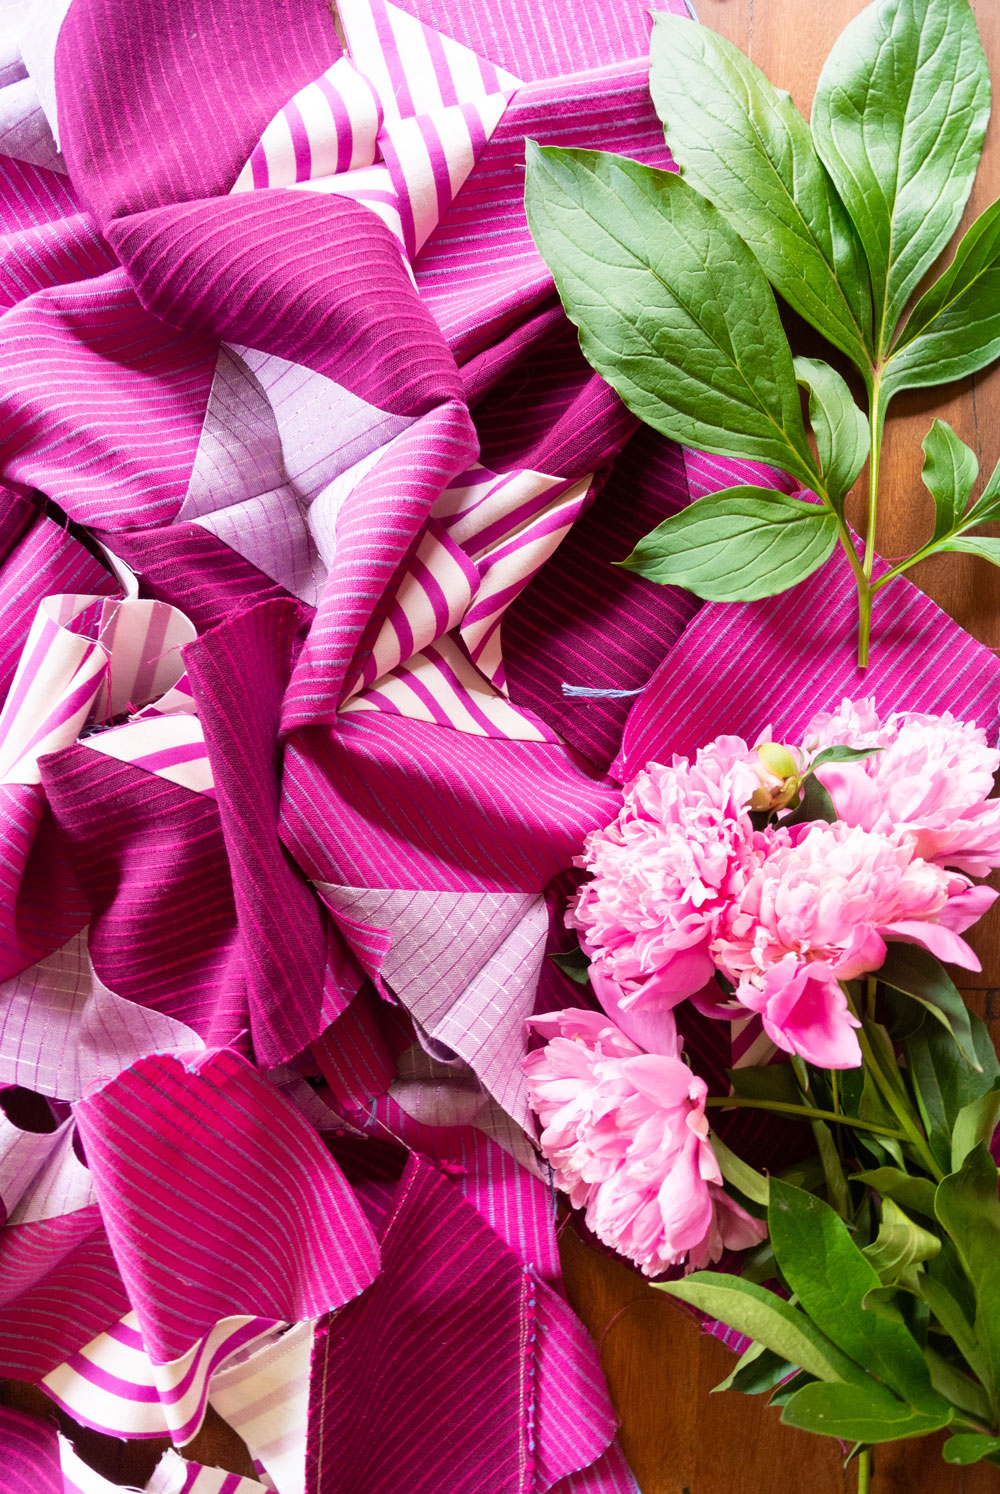
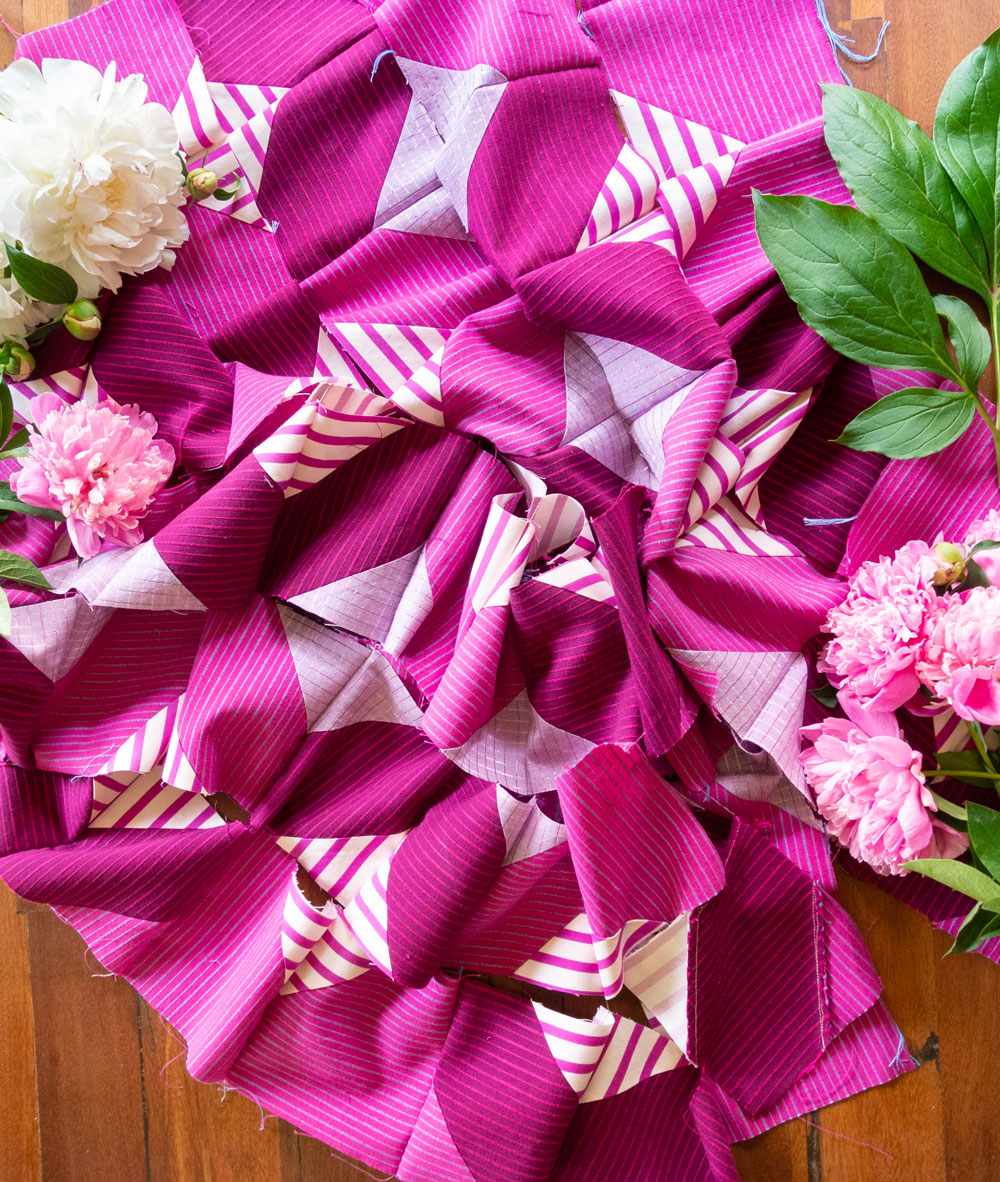
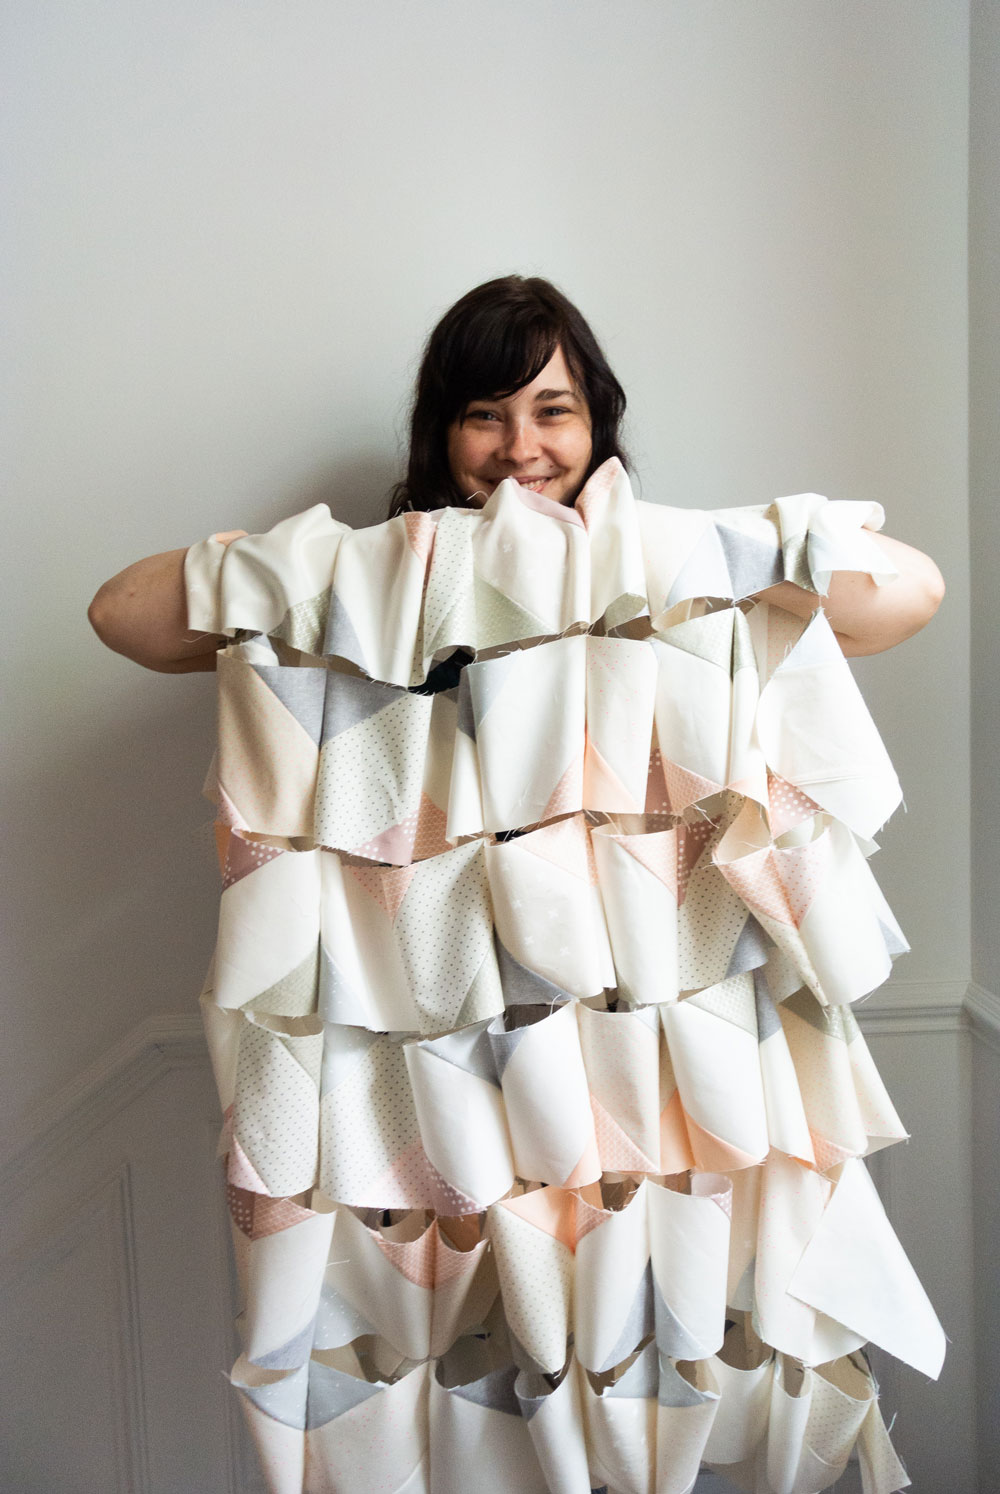
The Glitter & Glow quilt pattern is perfect for chain piecing rows. If you haven't tried that before, check out this video to see how your sewing time can be cut in half!
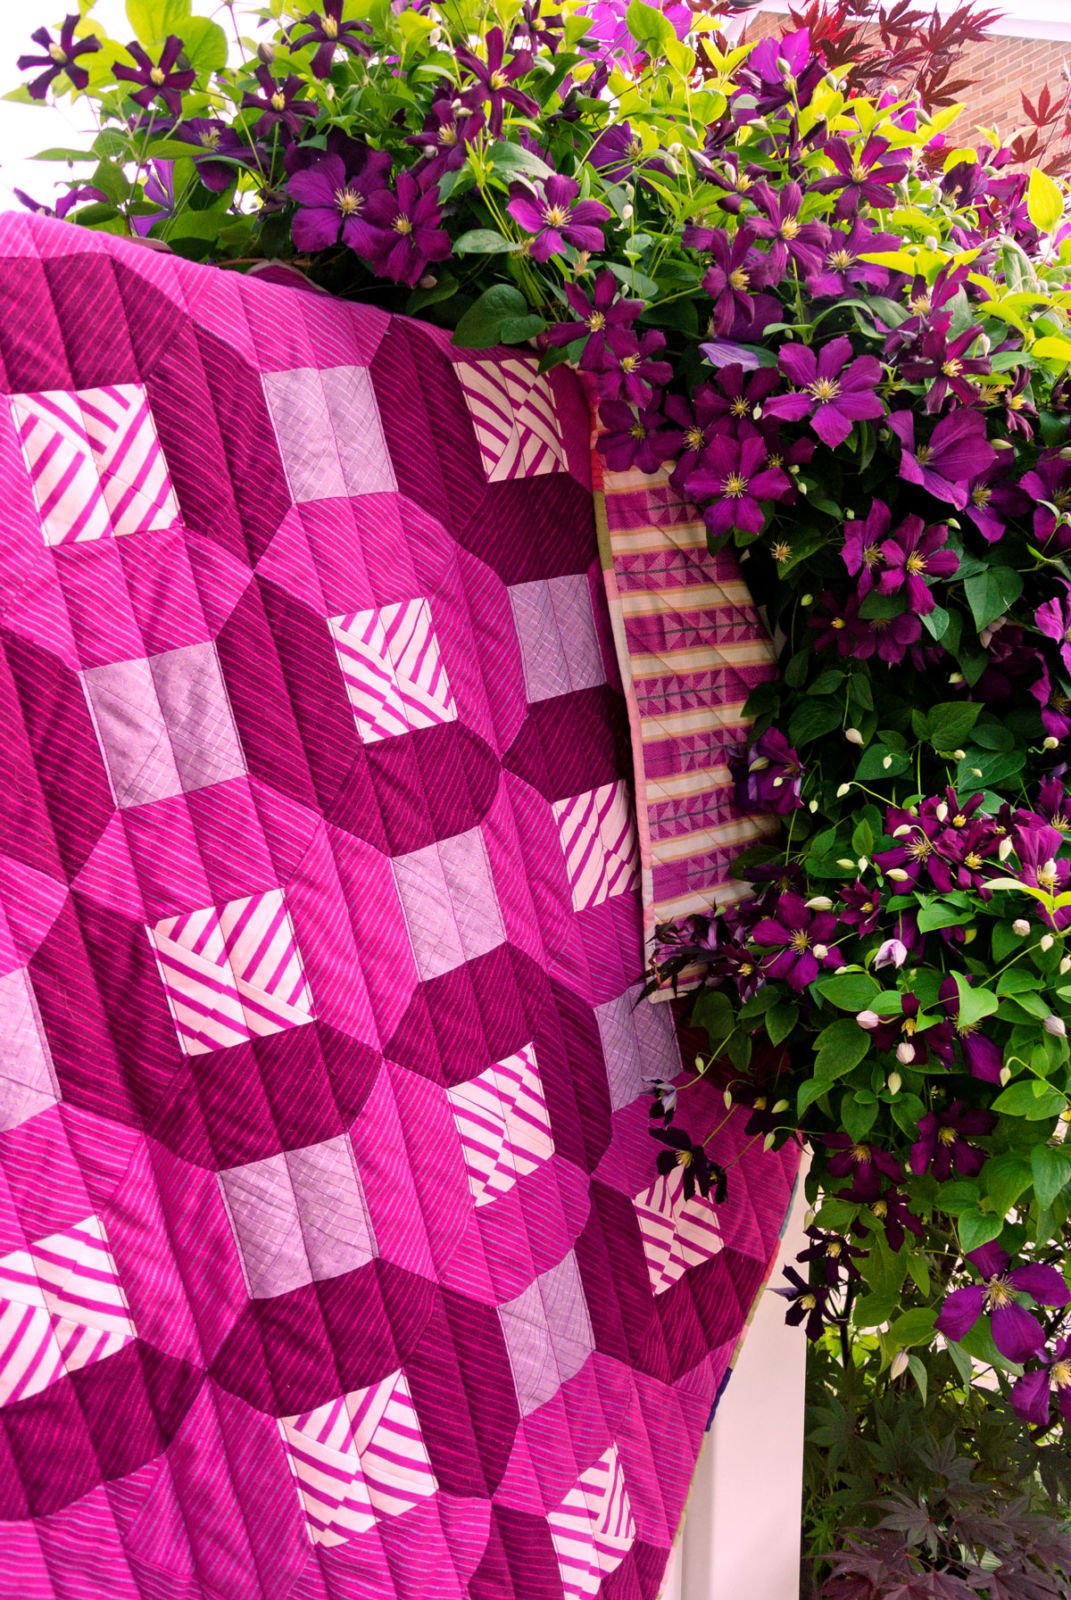
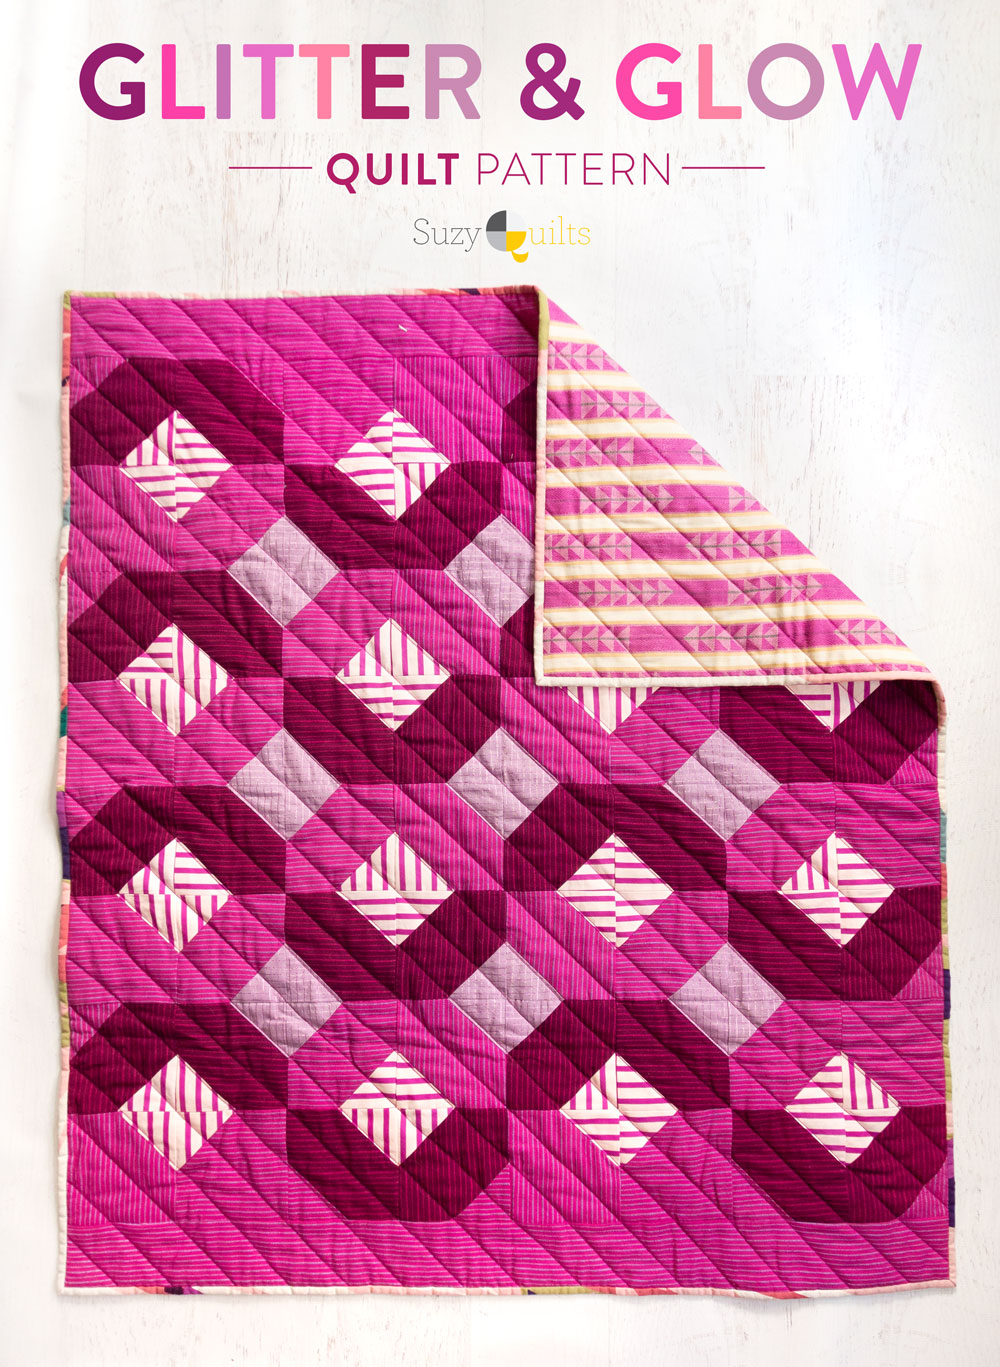
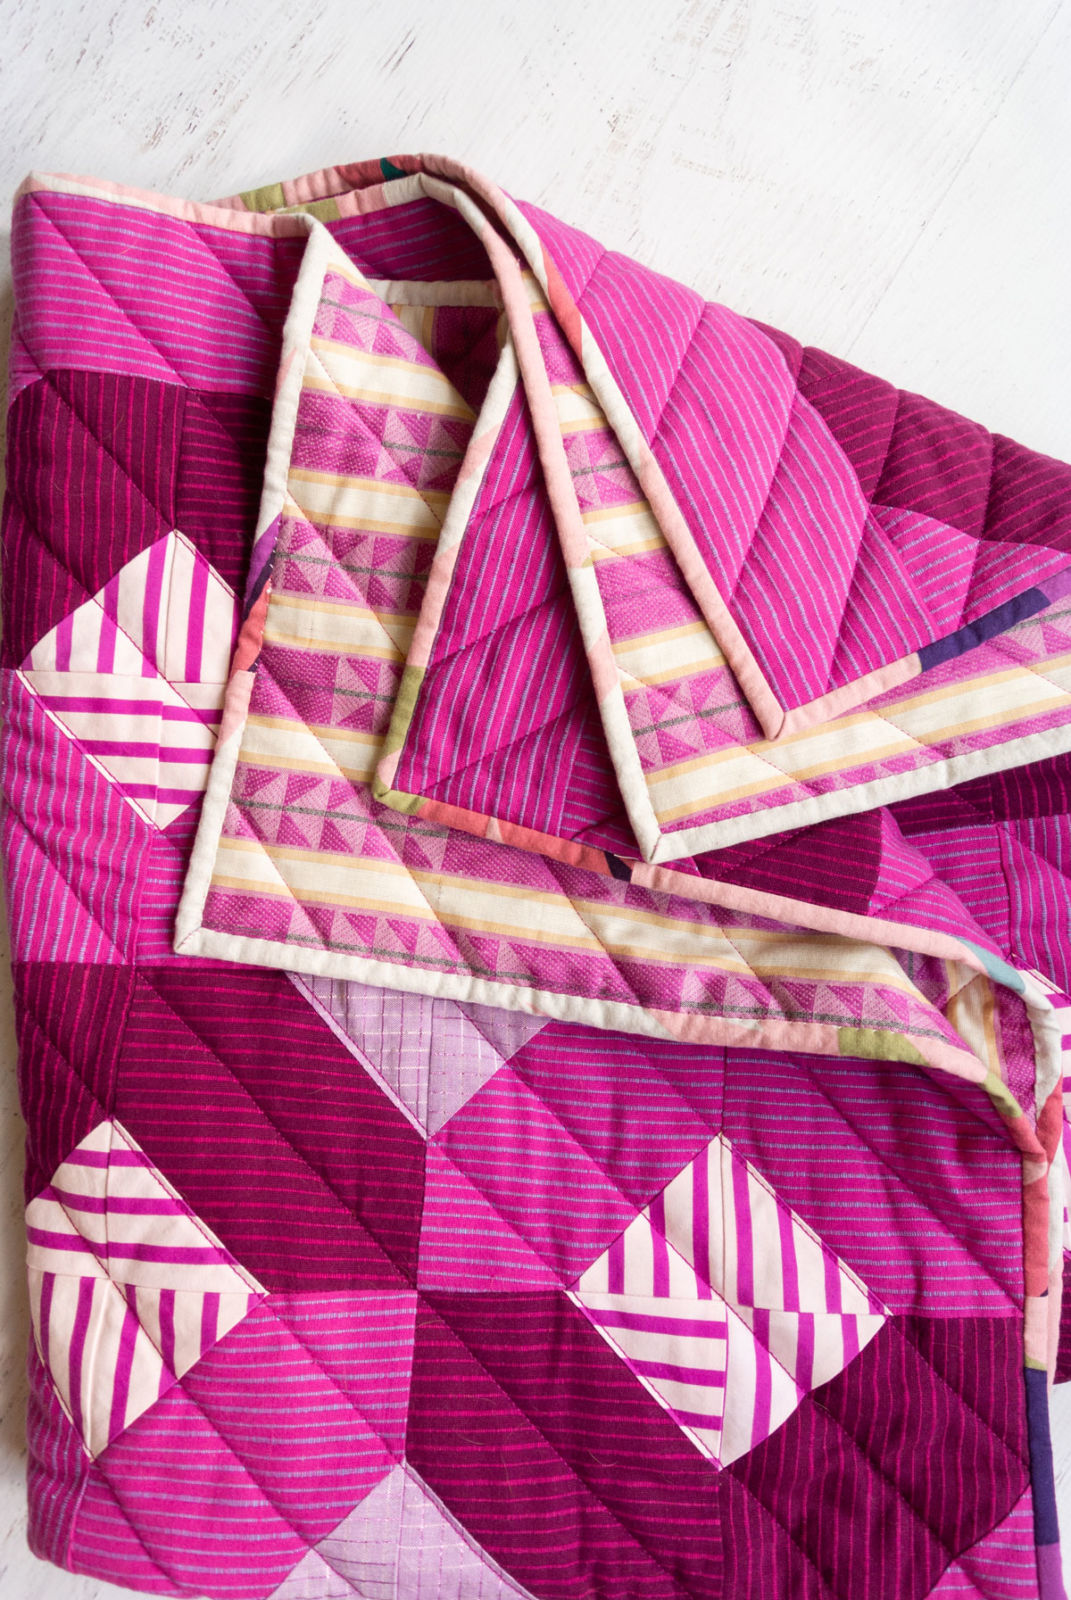
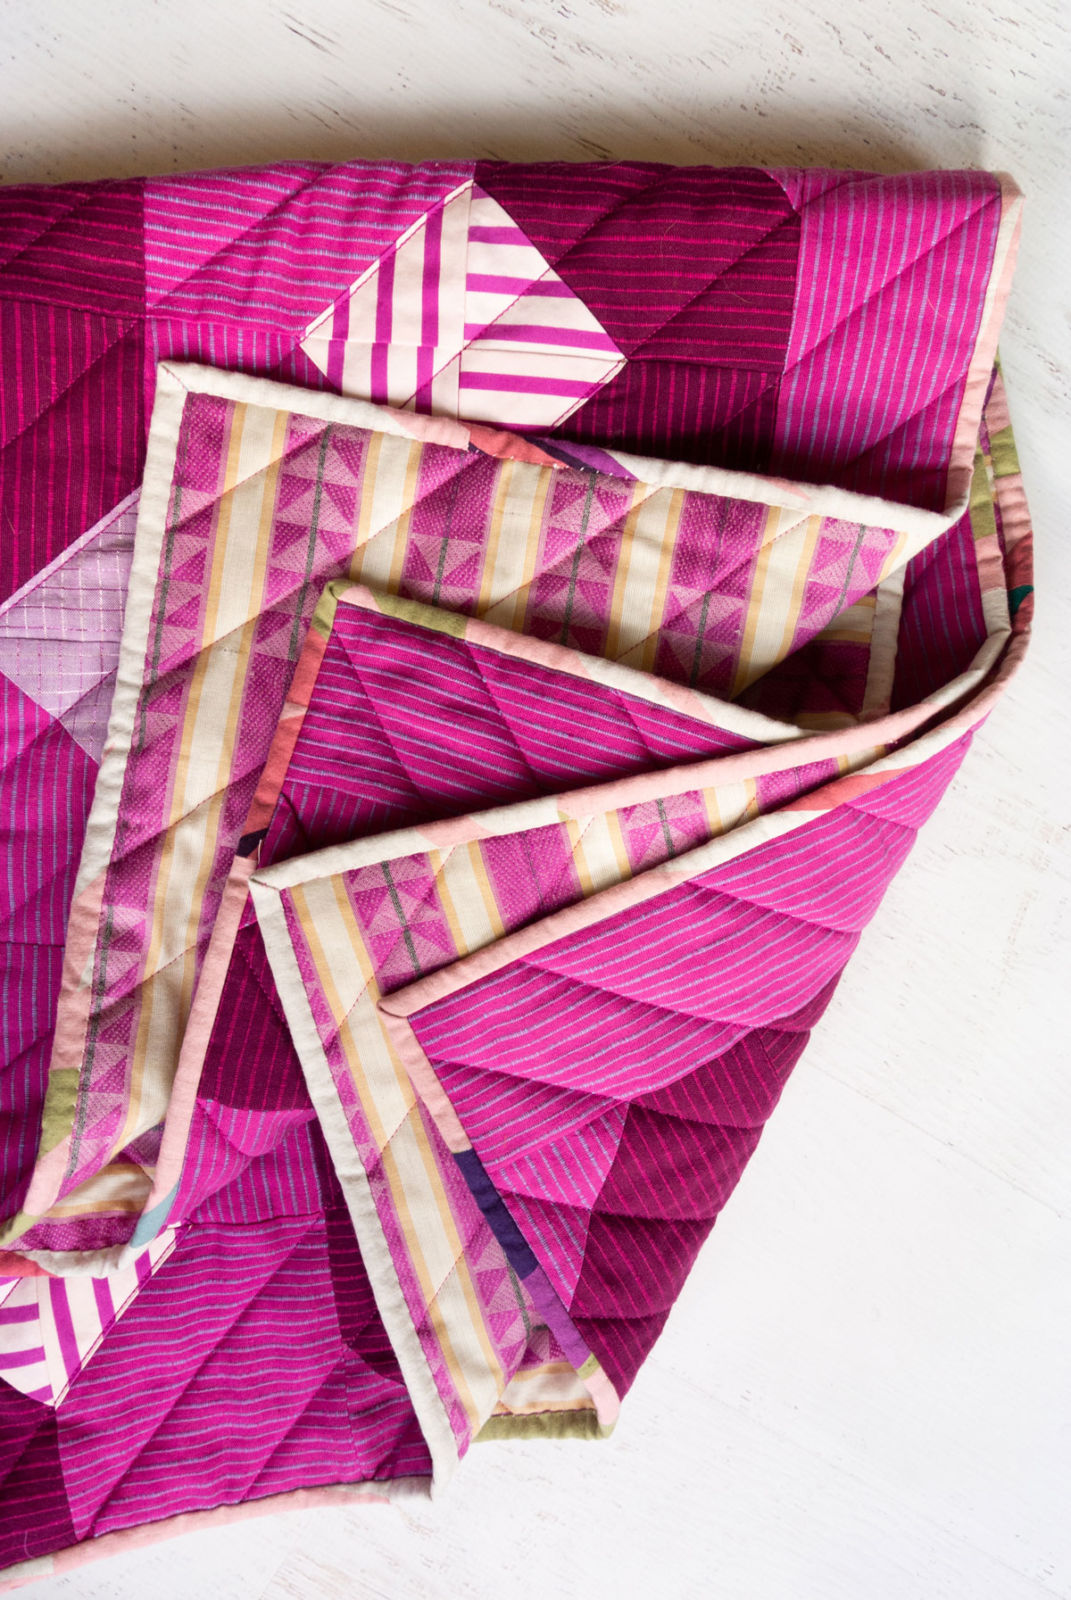
Purple Glow Baby Quilt Fabric
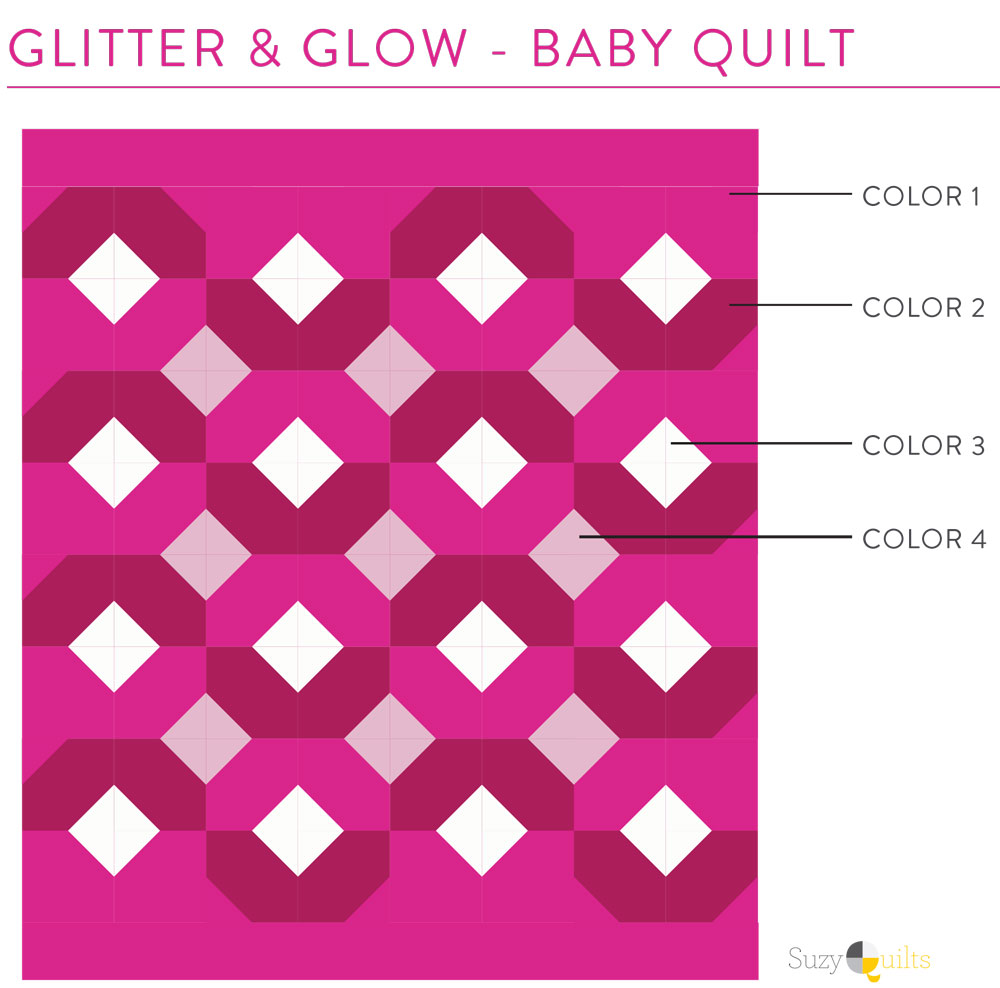
- Color 1: Mariner Cloth in Thistle
- Color 2: Mariner Cloth in Eggplant
- Color 3: I got this stripe years ago from a home dec shop. If you would like something similar, try this.
- Color 4: Illuminated Graph in Metallic Plum
- Backing: Loominous Traffic Cherry
- Batting: Hobbs Wool
- Thread: Sulky 12 wt. in Plum Dandy – Read more about quilting with 12 wt. here!
Mango Peach Glow Throw
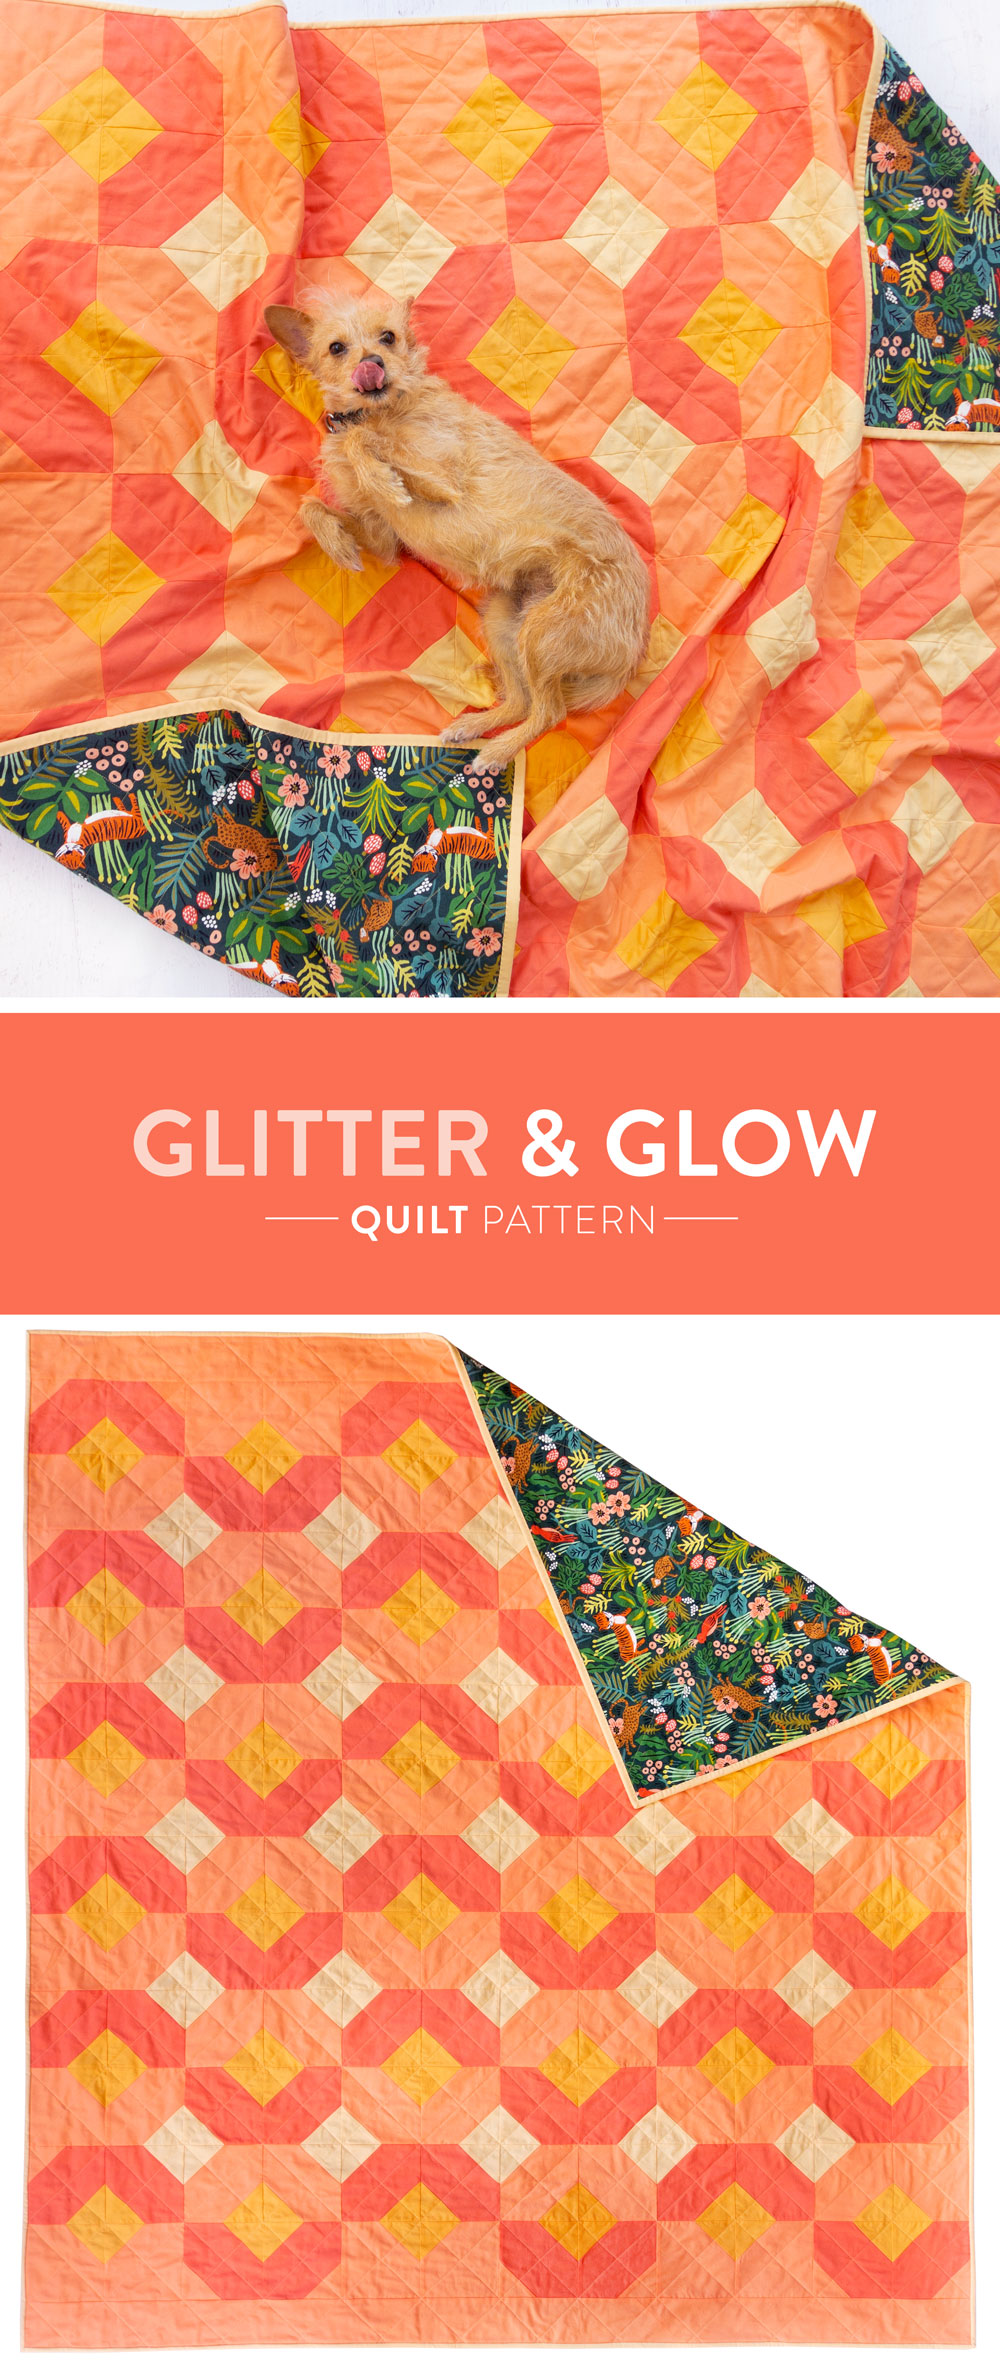
I made this Glow Throw to be a true outdoor quilt. To make it extra durable, long lasting, and flexible, I made a few key choices.
- The backing of this quilt is canvas. Canvas is thicker than your typical quilt-weight cotton. This canvas, specifically, is a cotton/linen blend – making it more durable than even just a basic cotton canvas. Read more about sewing with canvas here!
- The batting is actually not batting at all. I wanted this quilt to be thin and drapey so I could easily roll it up and throw it in the back of my car or in a duffle bag, ready for the park. Instead of opting for my typical fluffy white batting, I used a piece of jersey that I still had from making my Bohemian Garden quilt. The cool thing about jersey is that it's typically 60" wide, so 2 yd. gave me the perfect amount.
- The fabric is basic Kona cotton. I like Kona cotton for its huge range of colors, however this fabric is not very soft. Inexpensive, but not soft. I wanted this quilt to look great, but not break the bank. You know when you spend a lot of time and money and TIME on a quilt and you literally can't breathe when you see your friend cuddle under it with a glass of wine in one hand and a cookie in the other? Well, I didn't want to experience that feeling with this quilt. 😉
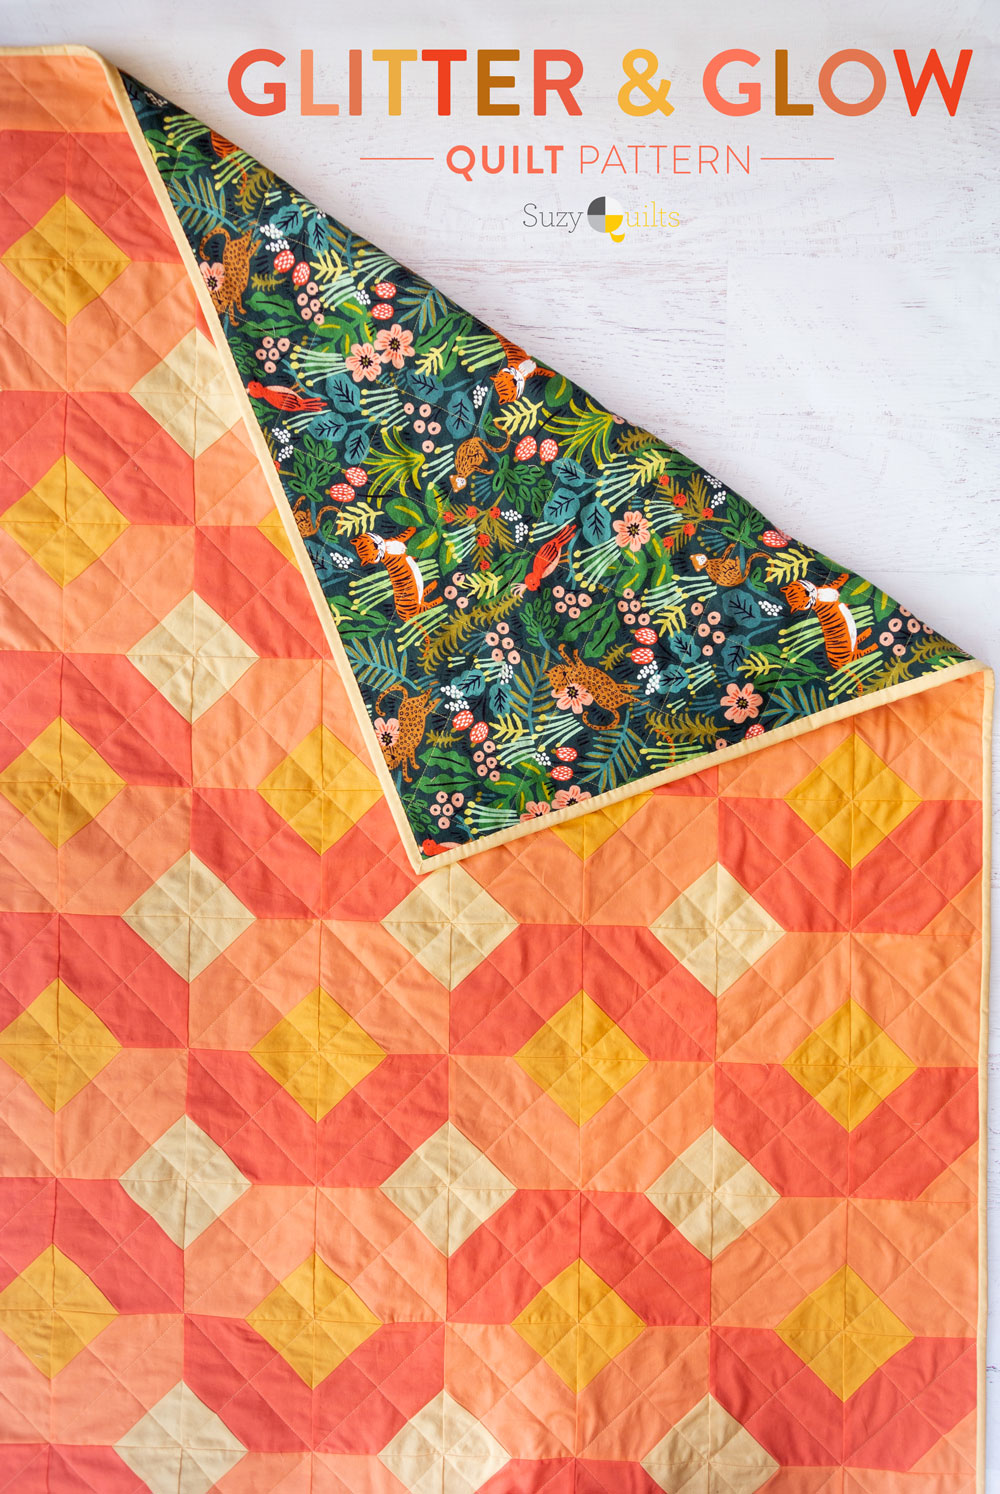
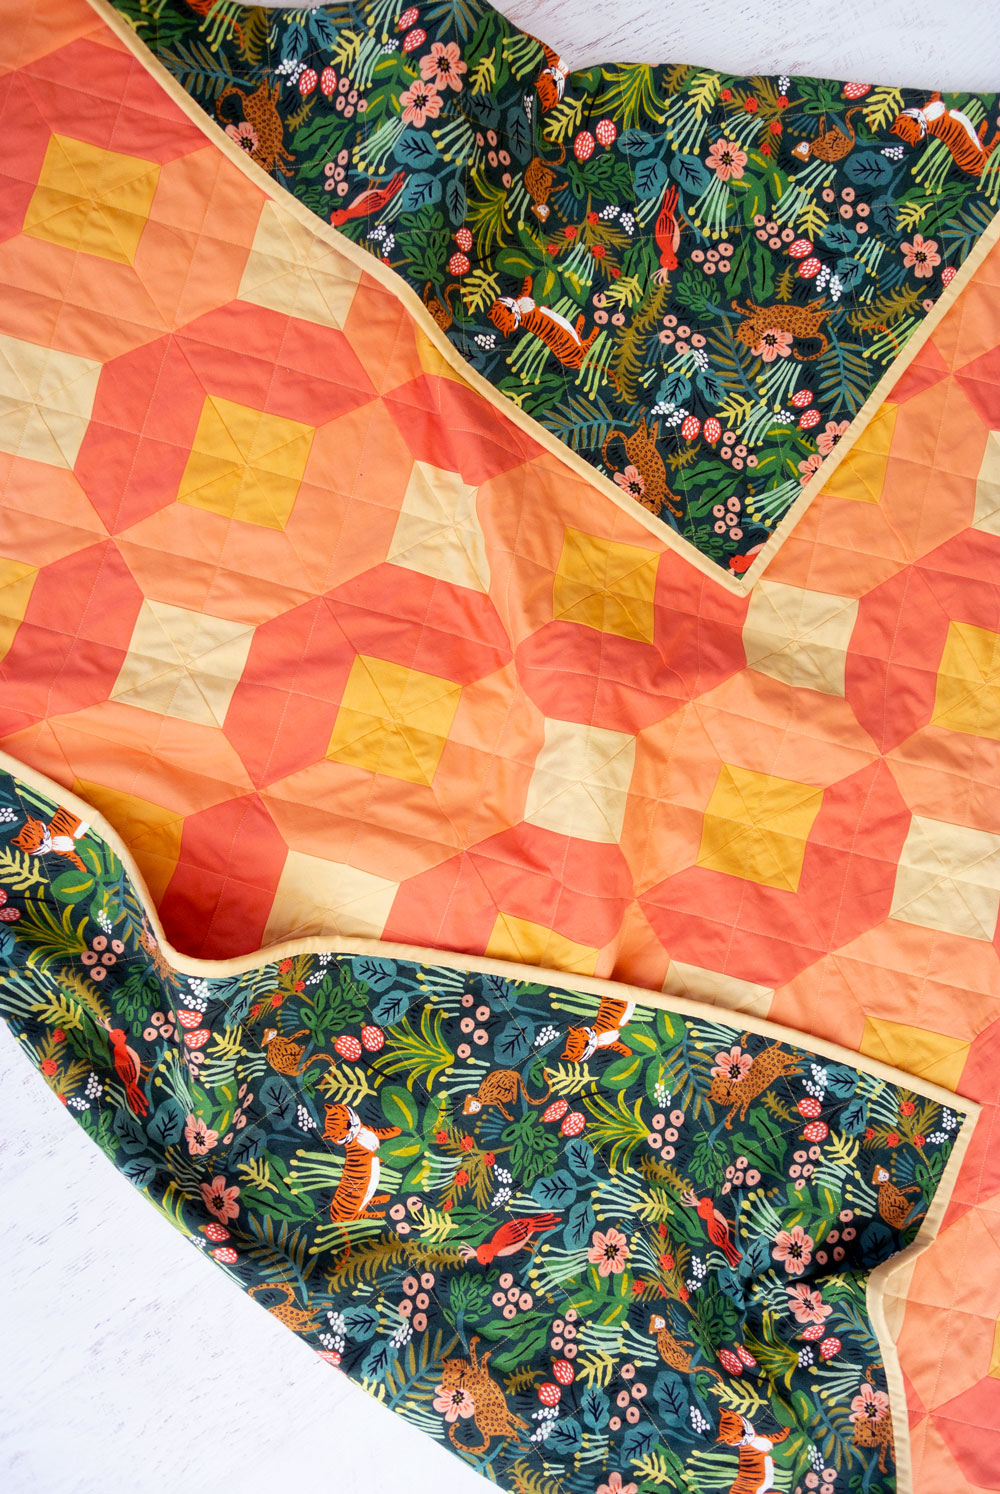
Here are those chain-pieced rows again...
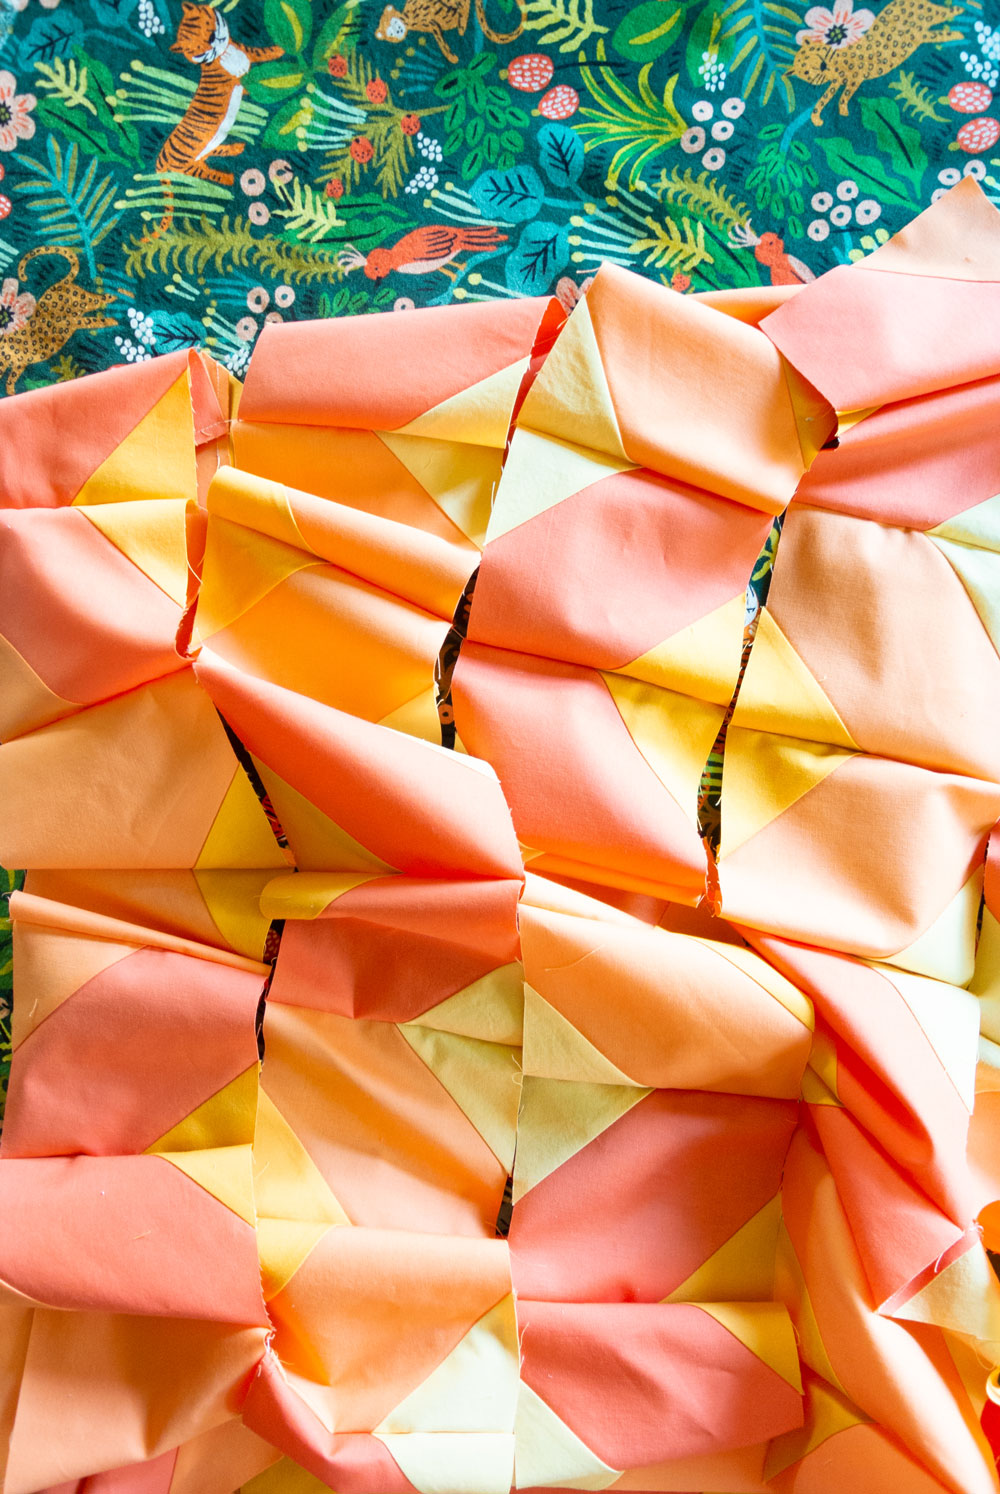
I love my portable design wall seen here. In a few minutes I can put it up and then once I'm finished it's back in the closest. For more on designs walls, check out this blog post!
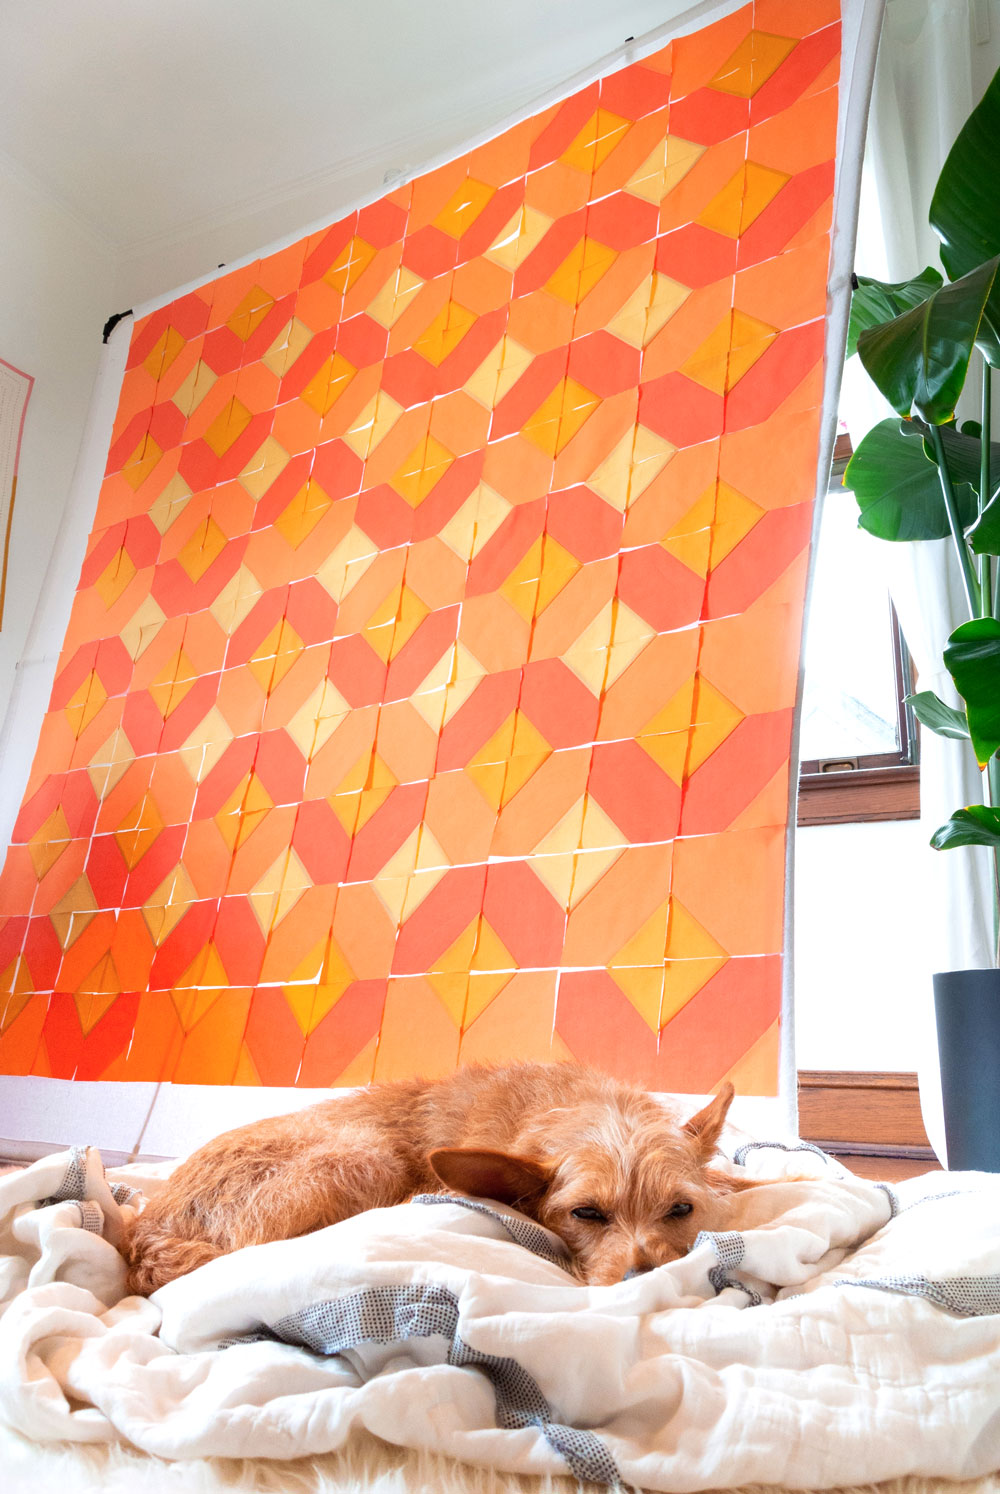
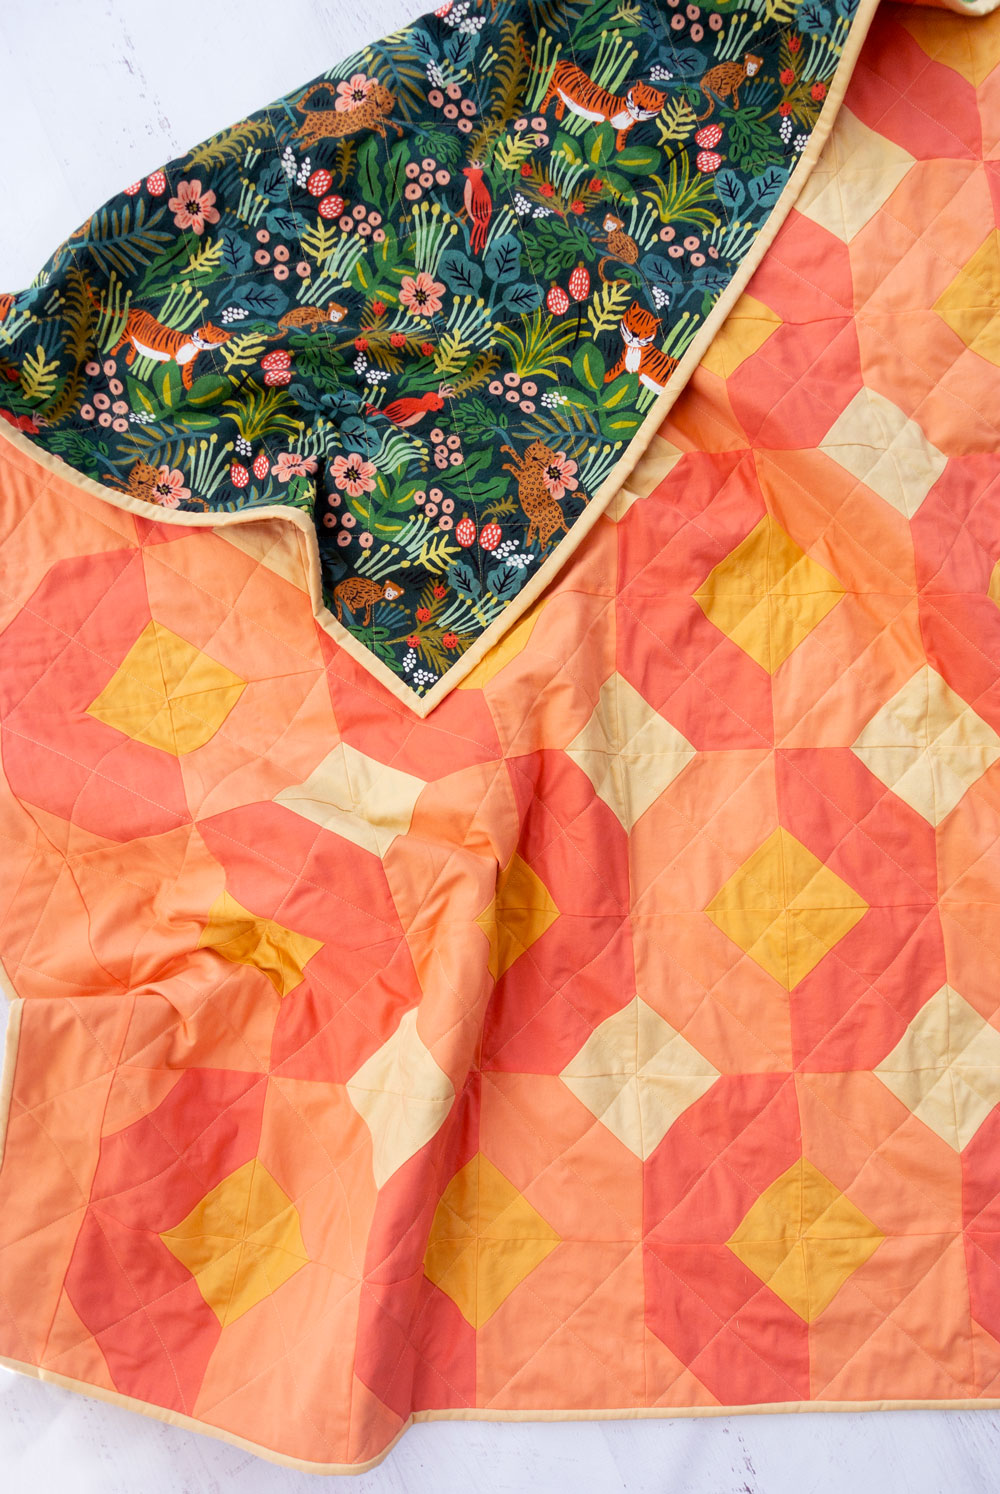
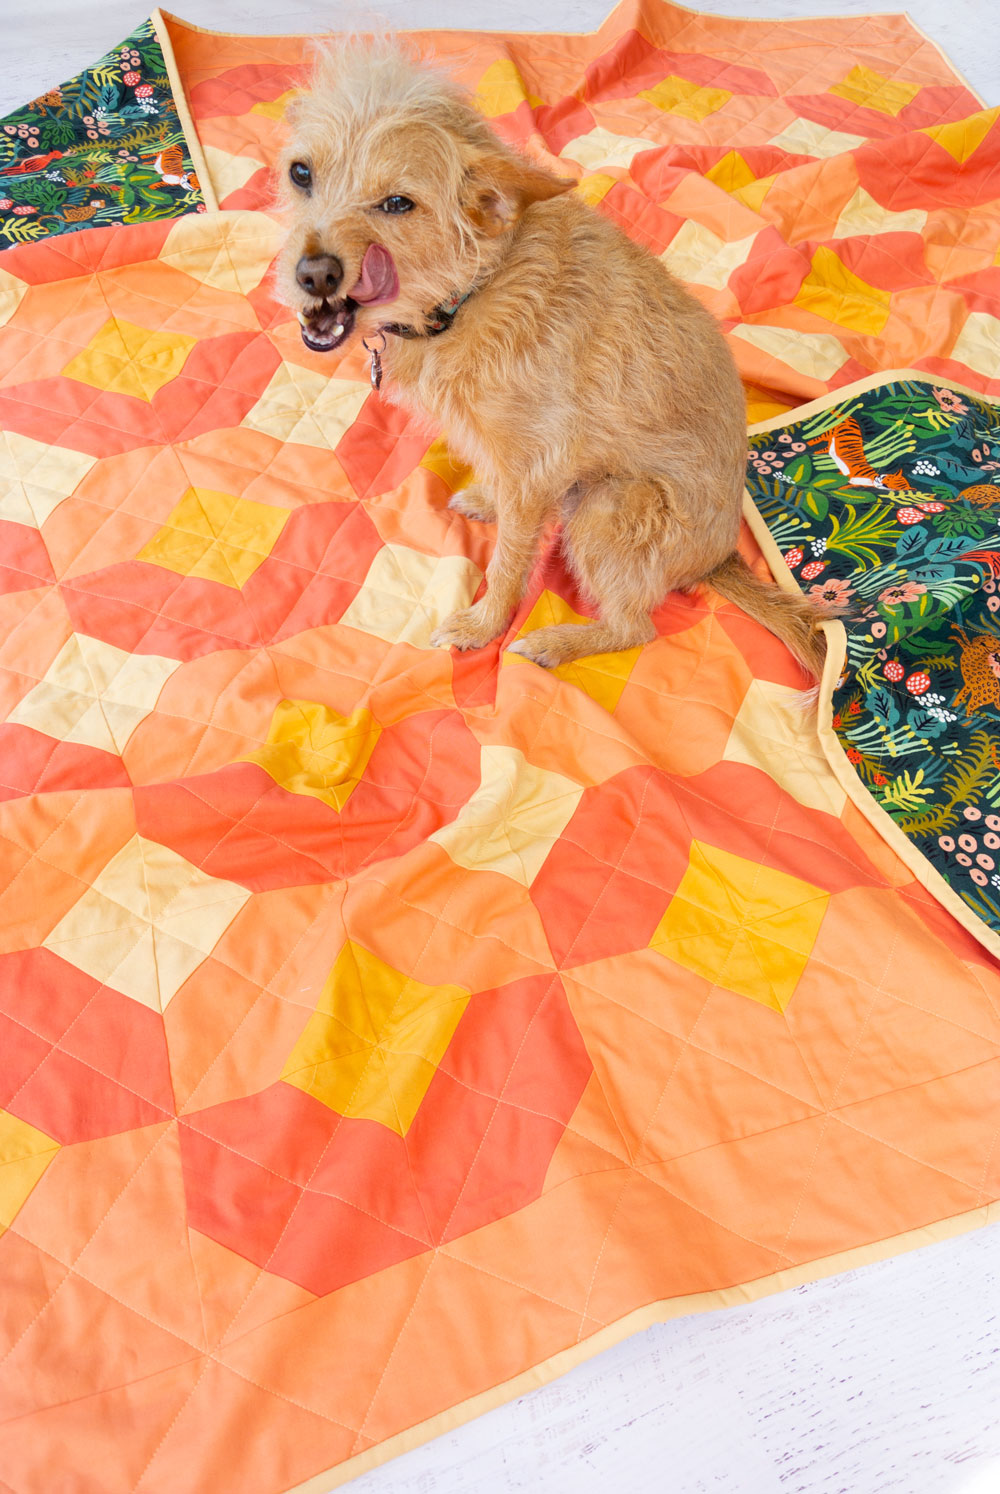
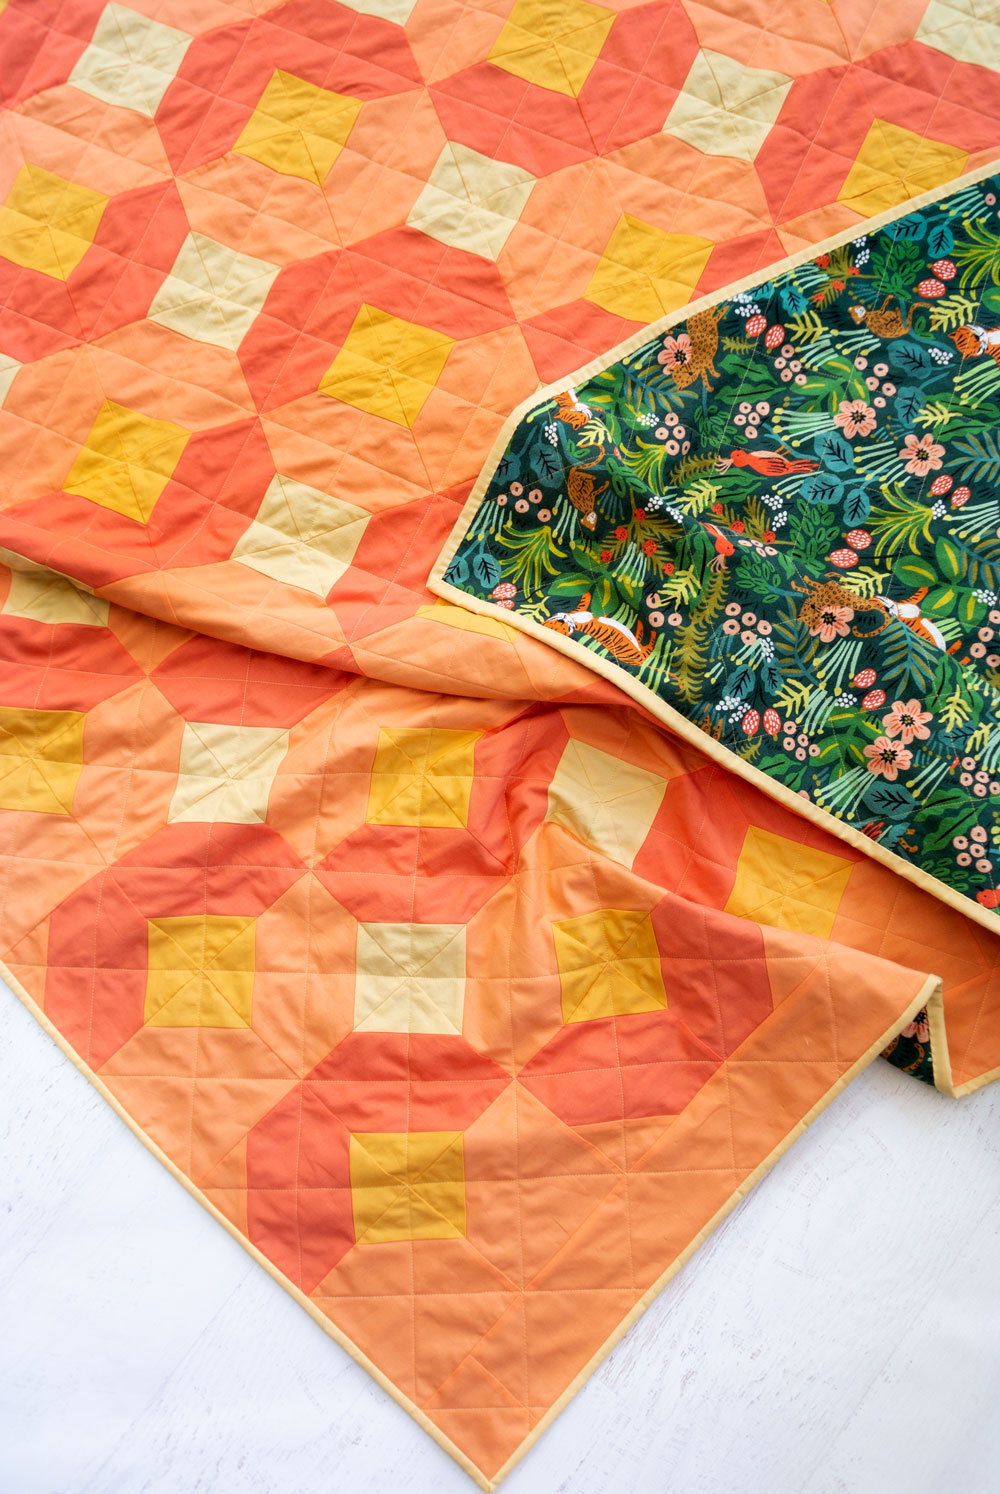
Mango Peach Glow Throw Quilt Fabric
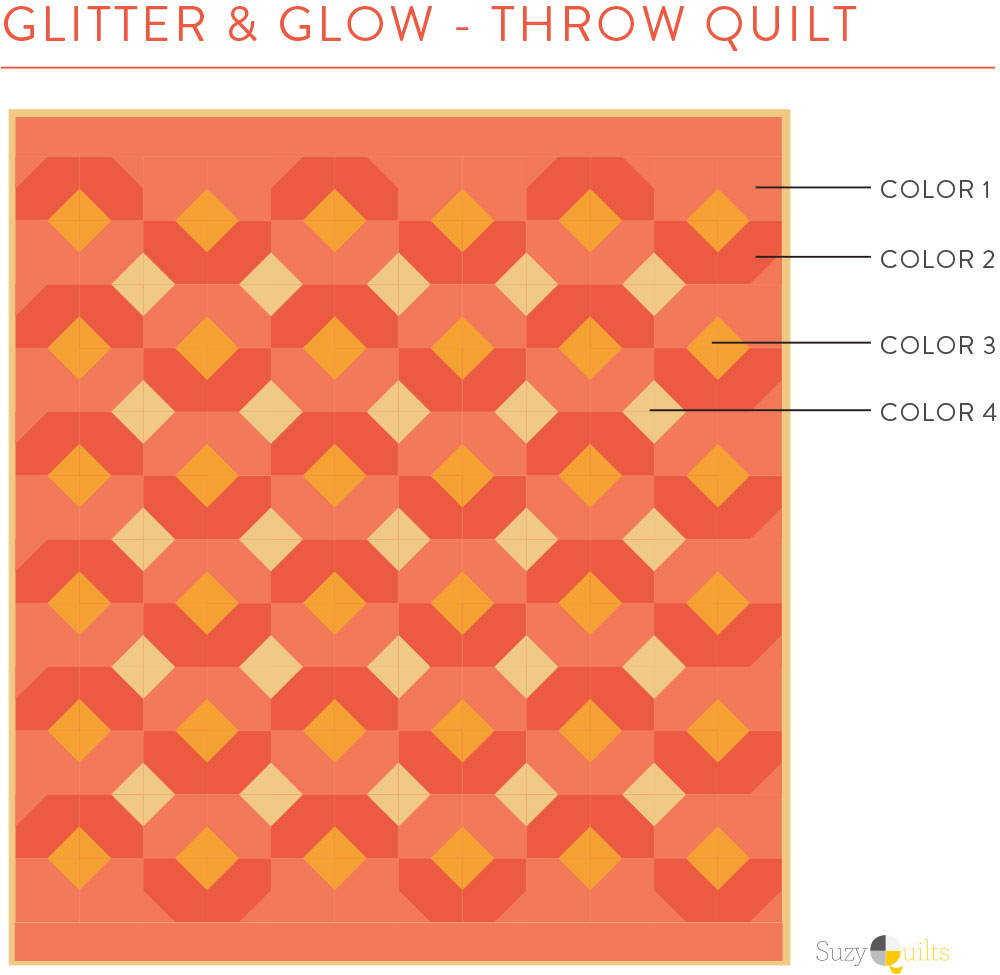
- Color 1: Kona Mango
- Color 2: Kona Nectarine
- Color 3: Kona Ochre
- Color 4: Kona Mustard
- Binding: Kona Mustard
- Backing: Rifle Paper Co. Menagerie Jungle Hunter
Creamy Quiet Glitter Throw
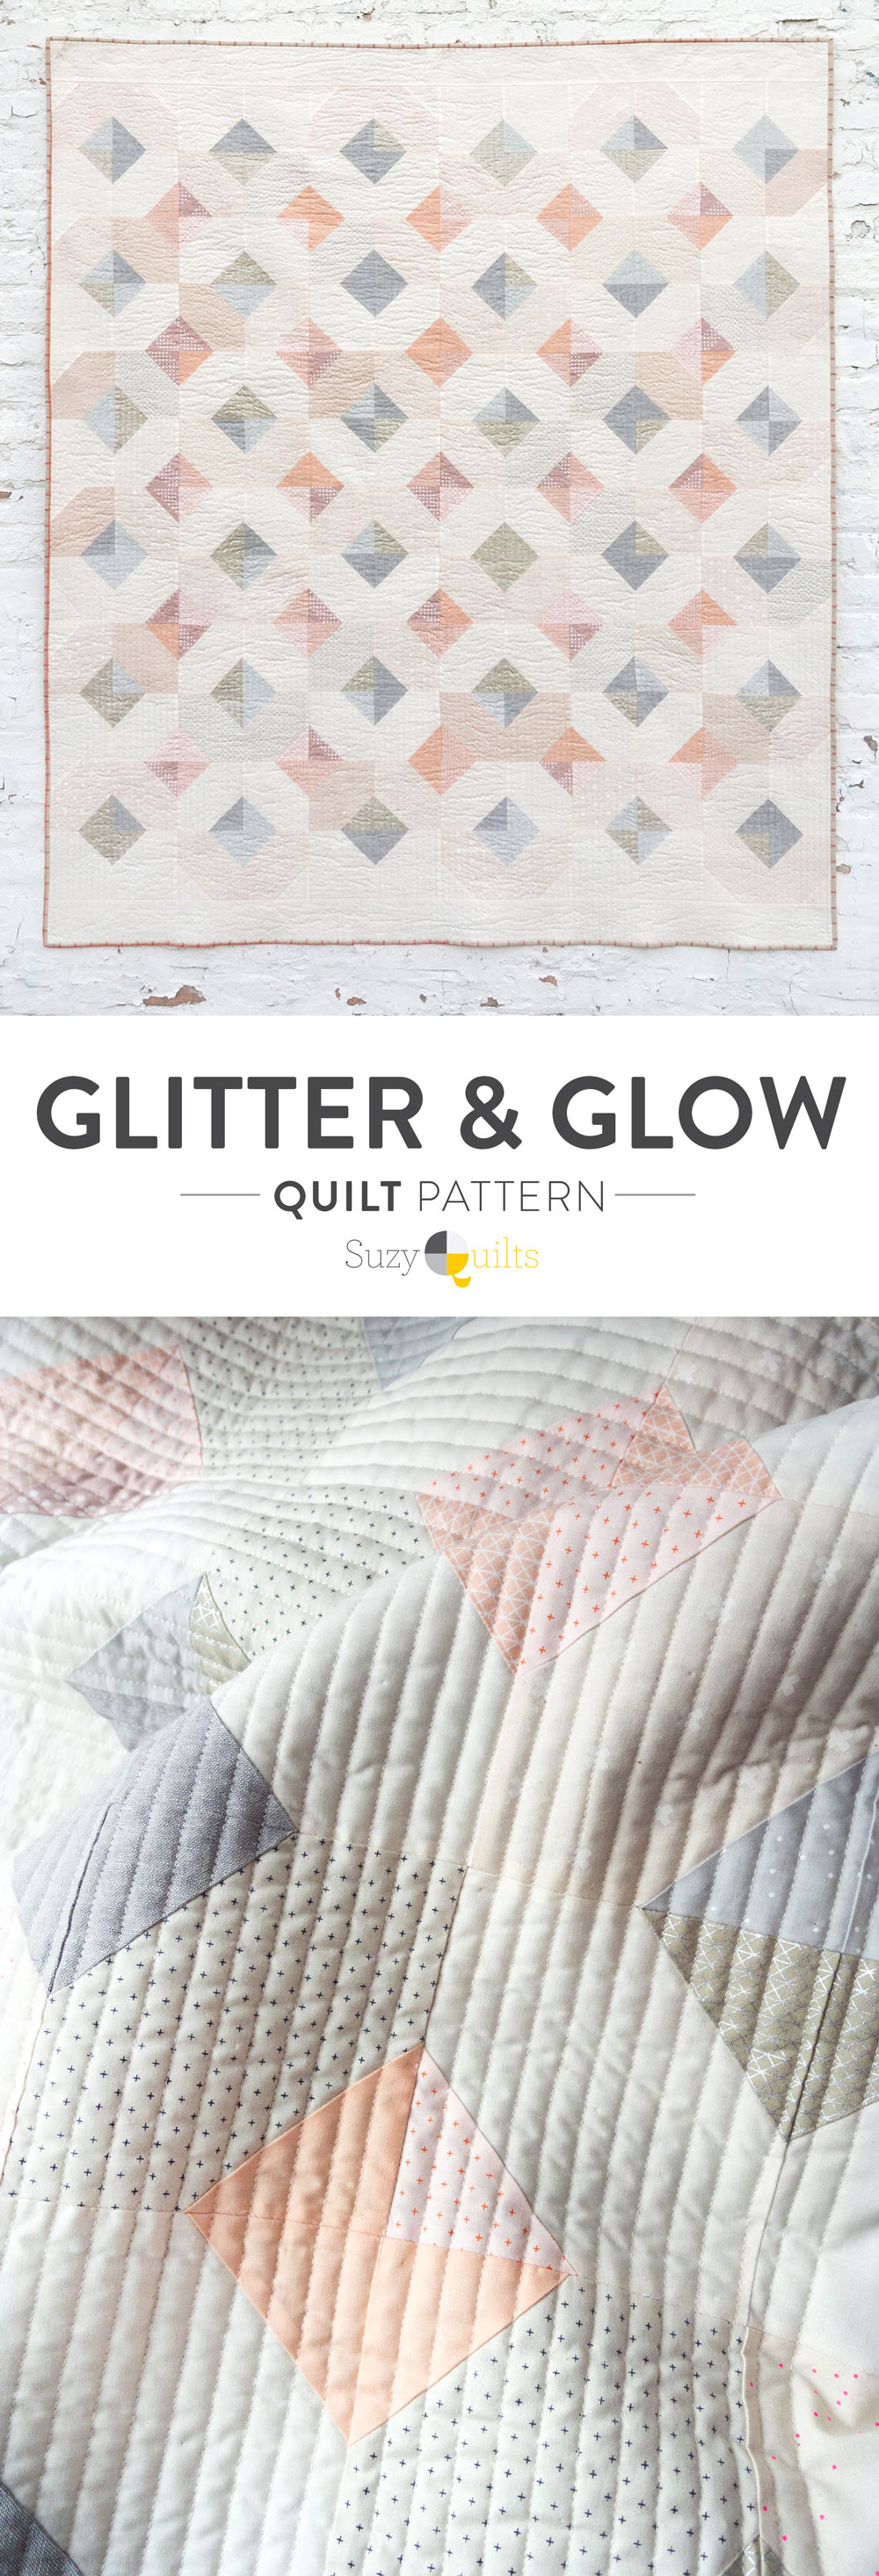
The reason this version of the Glitter & Glow quilt is called "Glitter," is because of its scrappy nature. Our previous Glow quilts were made using yardage, but this one focuses mostly on our favorite friends – Fat Quarters! For a short time, you can actually purchase this very kit here!
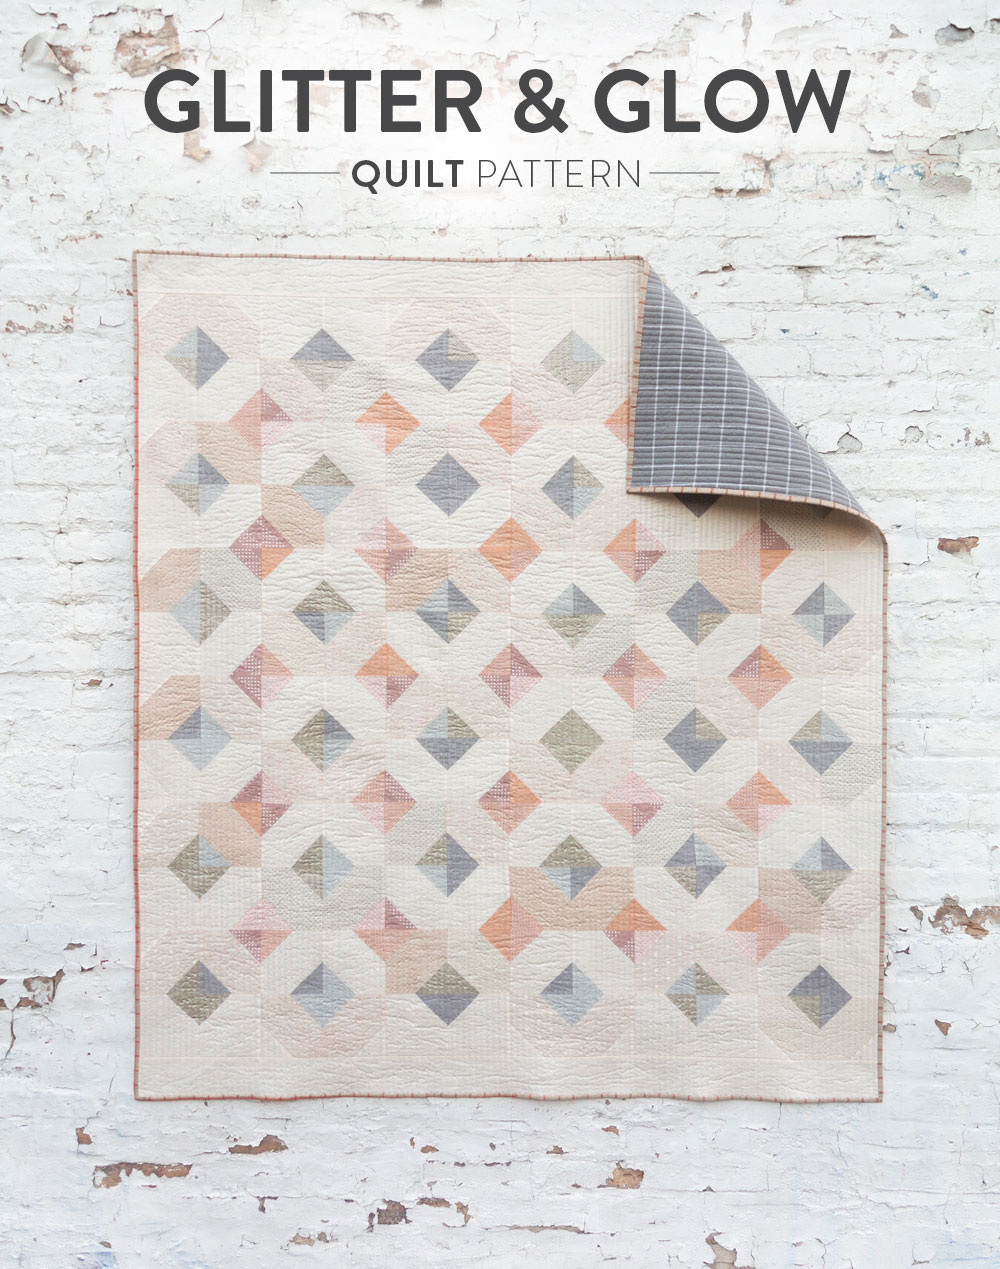
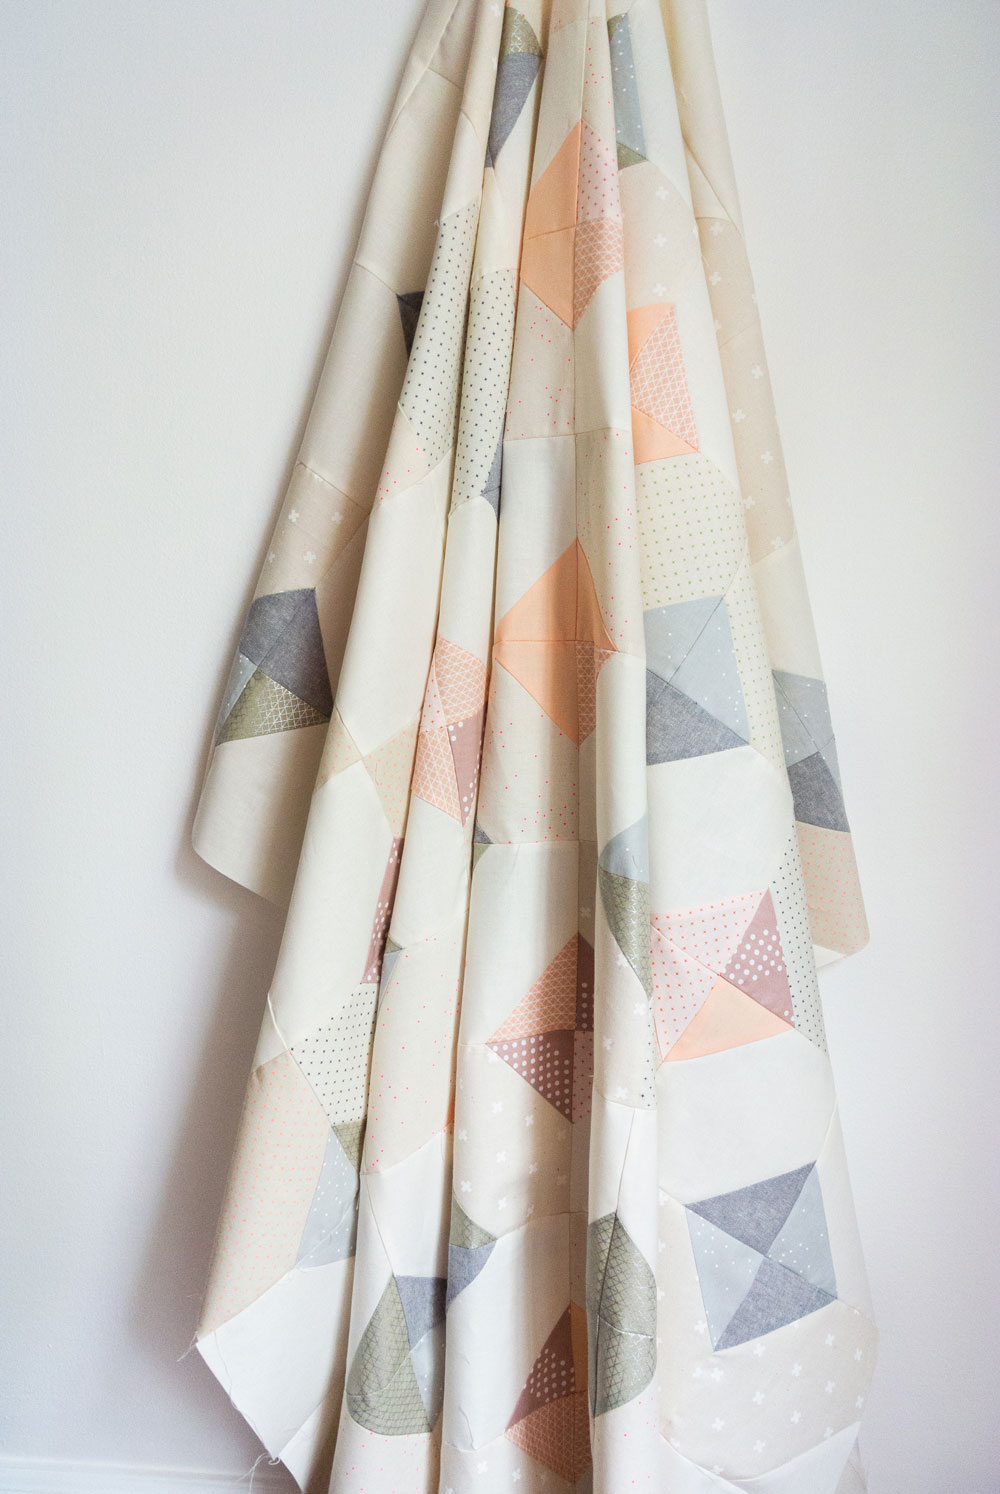
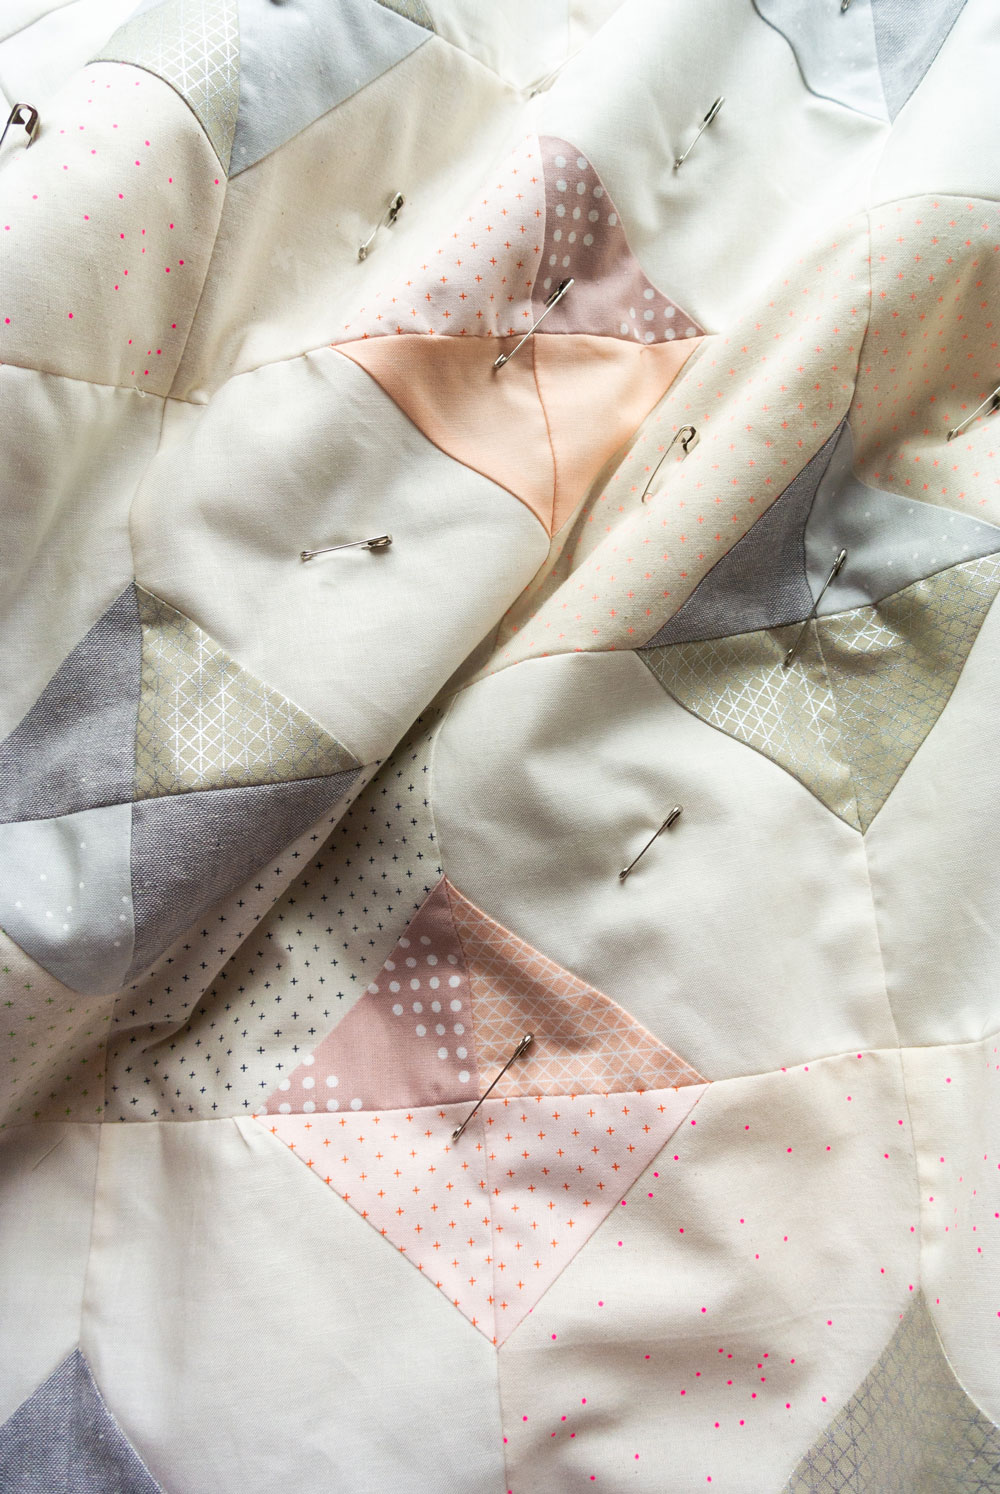
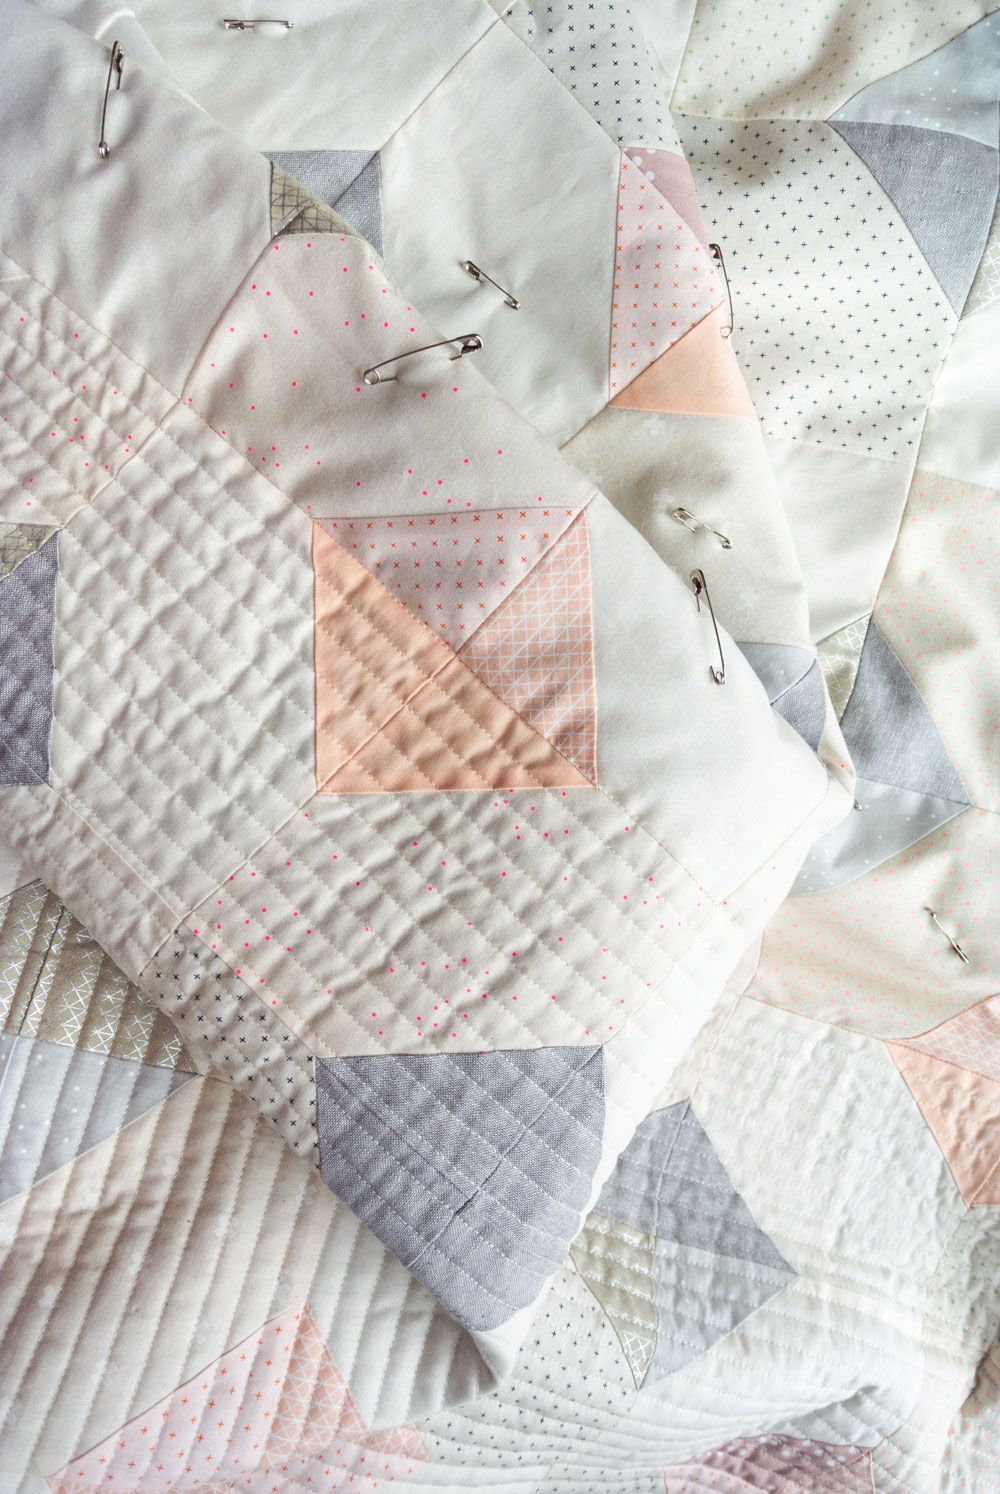
With 40 wt. Aurifil cotton thread (Muslin #2311), I quilted 1/2" vertical matchstick lines. It took A LOT of time, but added so much beautiful, subtle texture in the end. Very much worth the work.
Are you new to machine quilting, but want to give it a try? Check out this blog post!
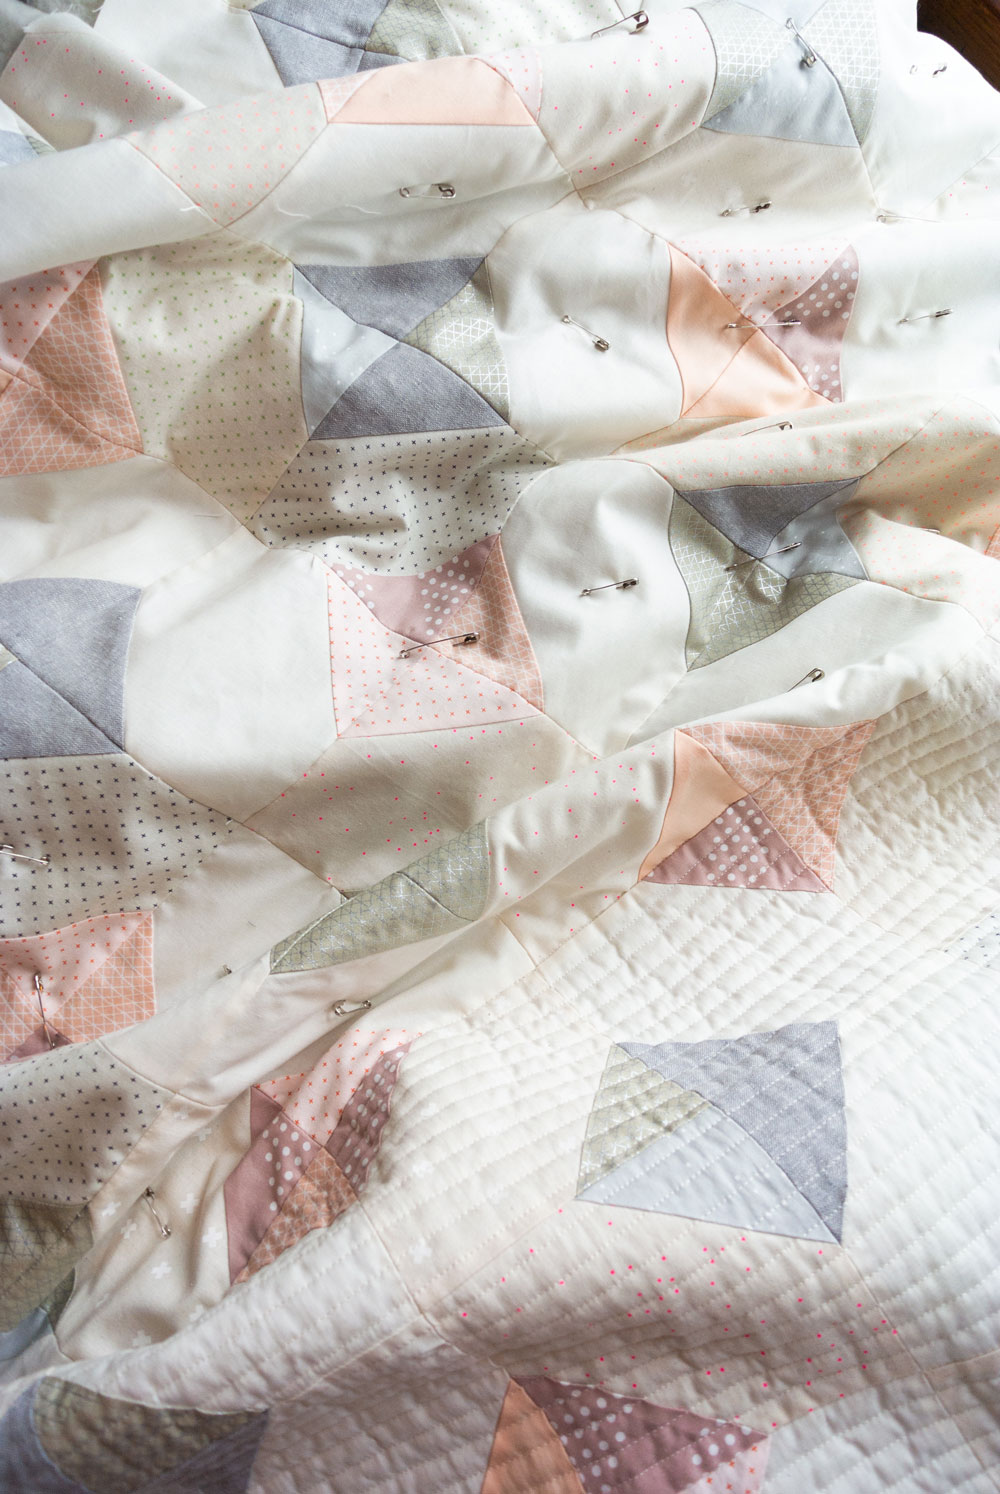
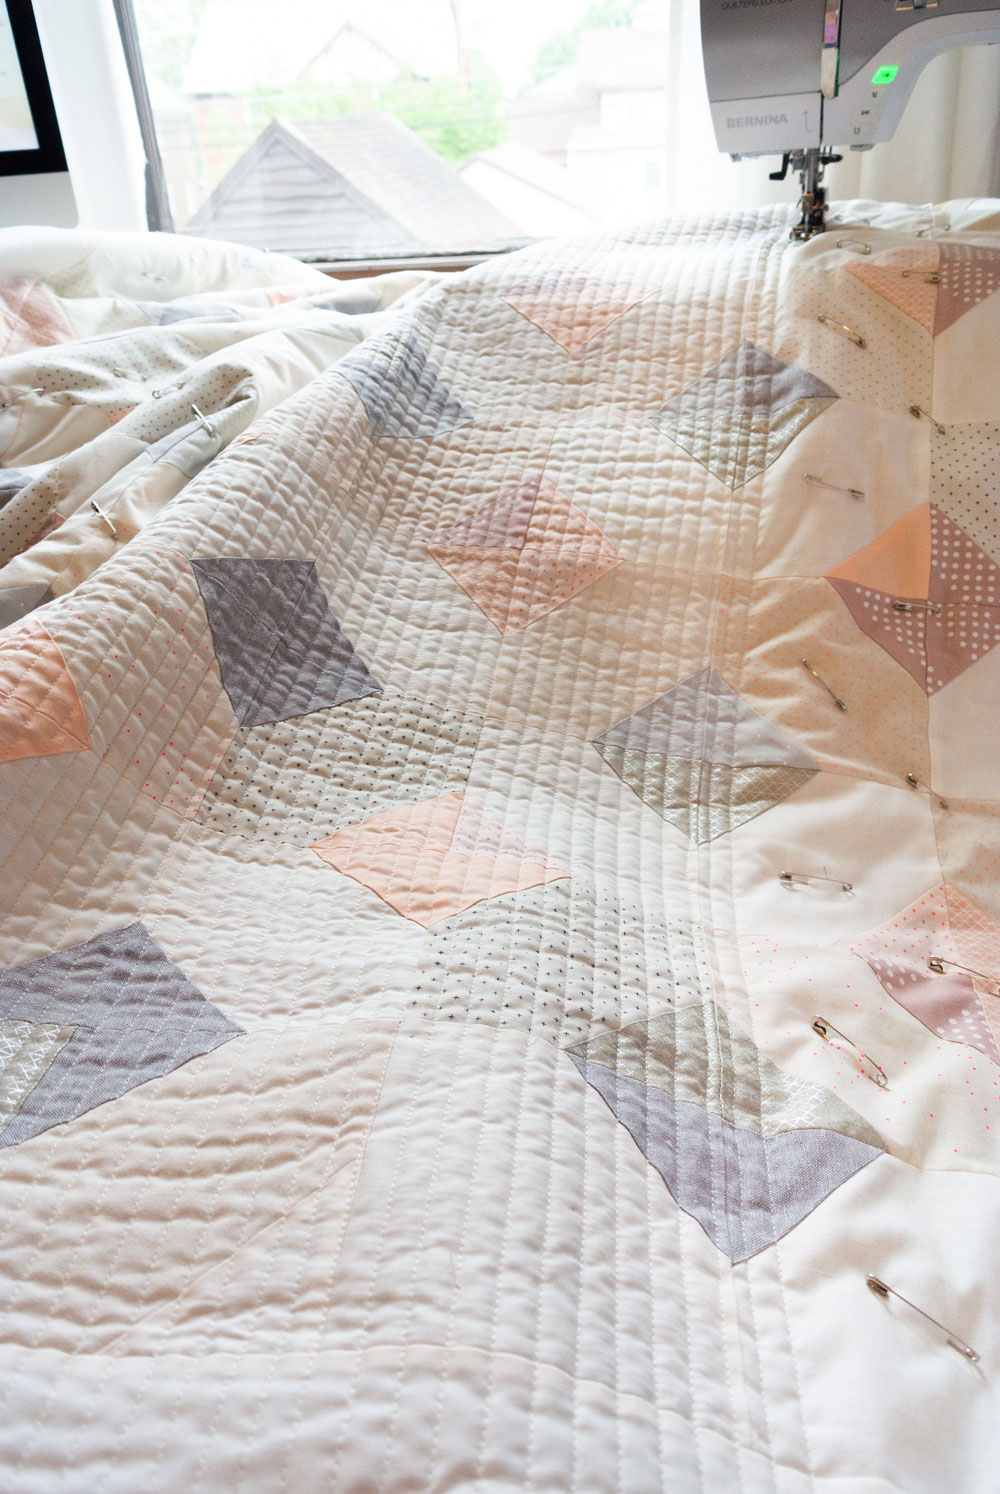
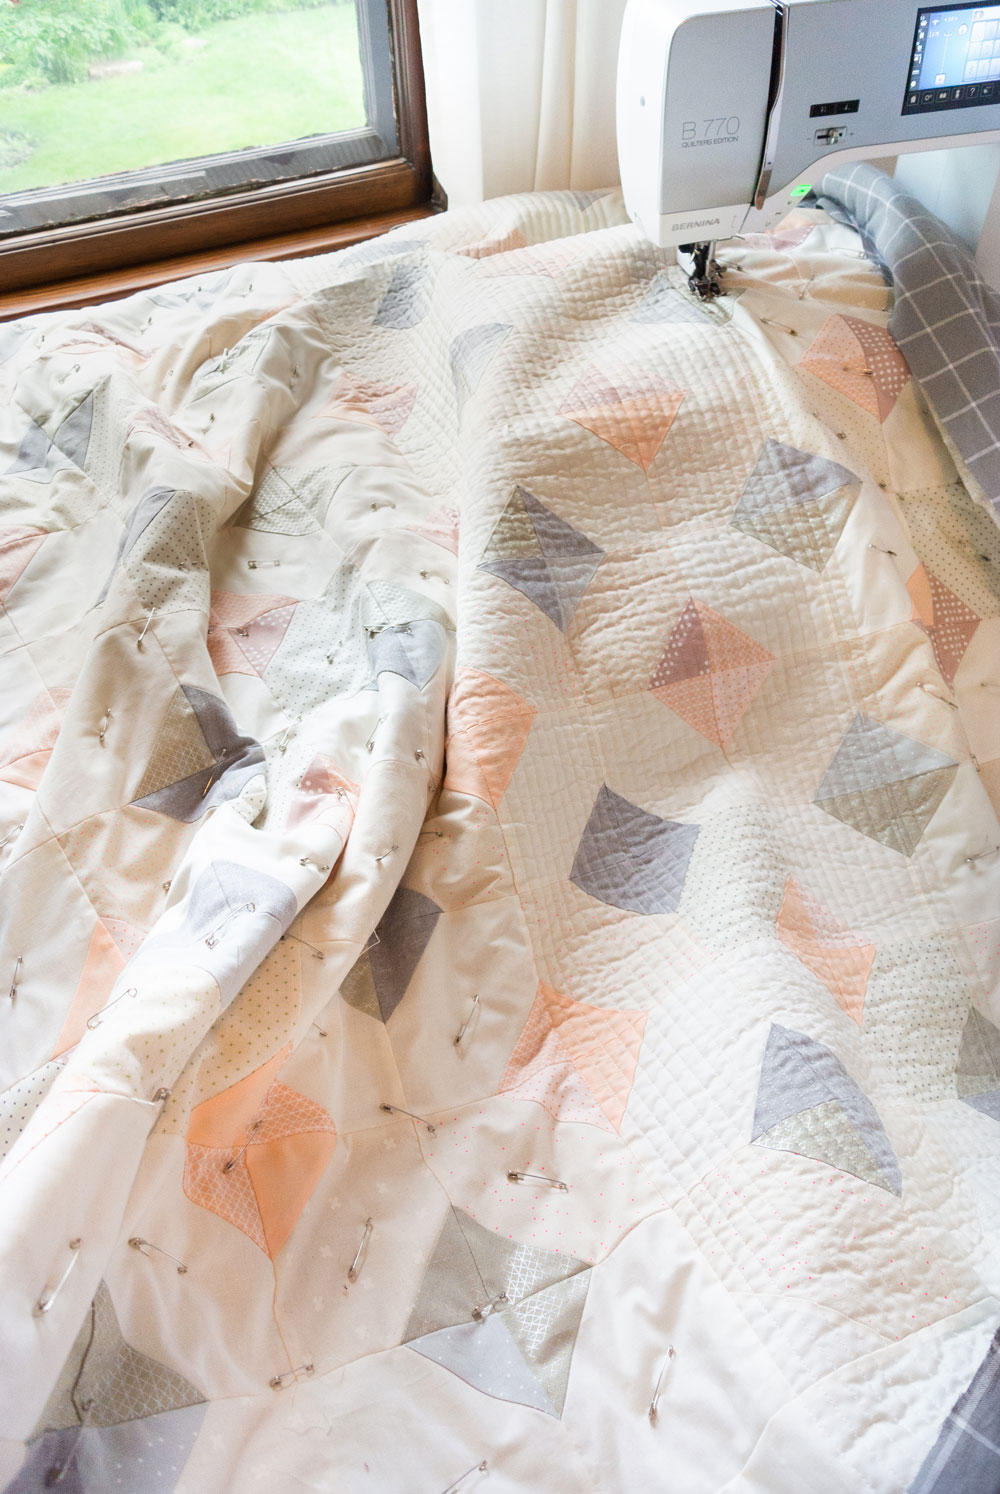
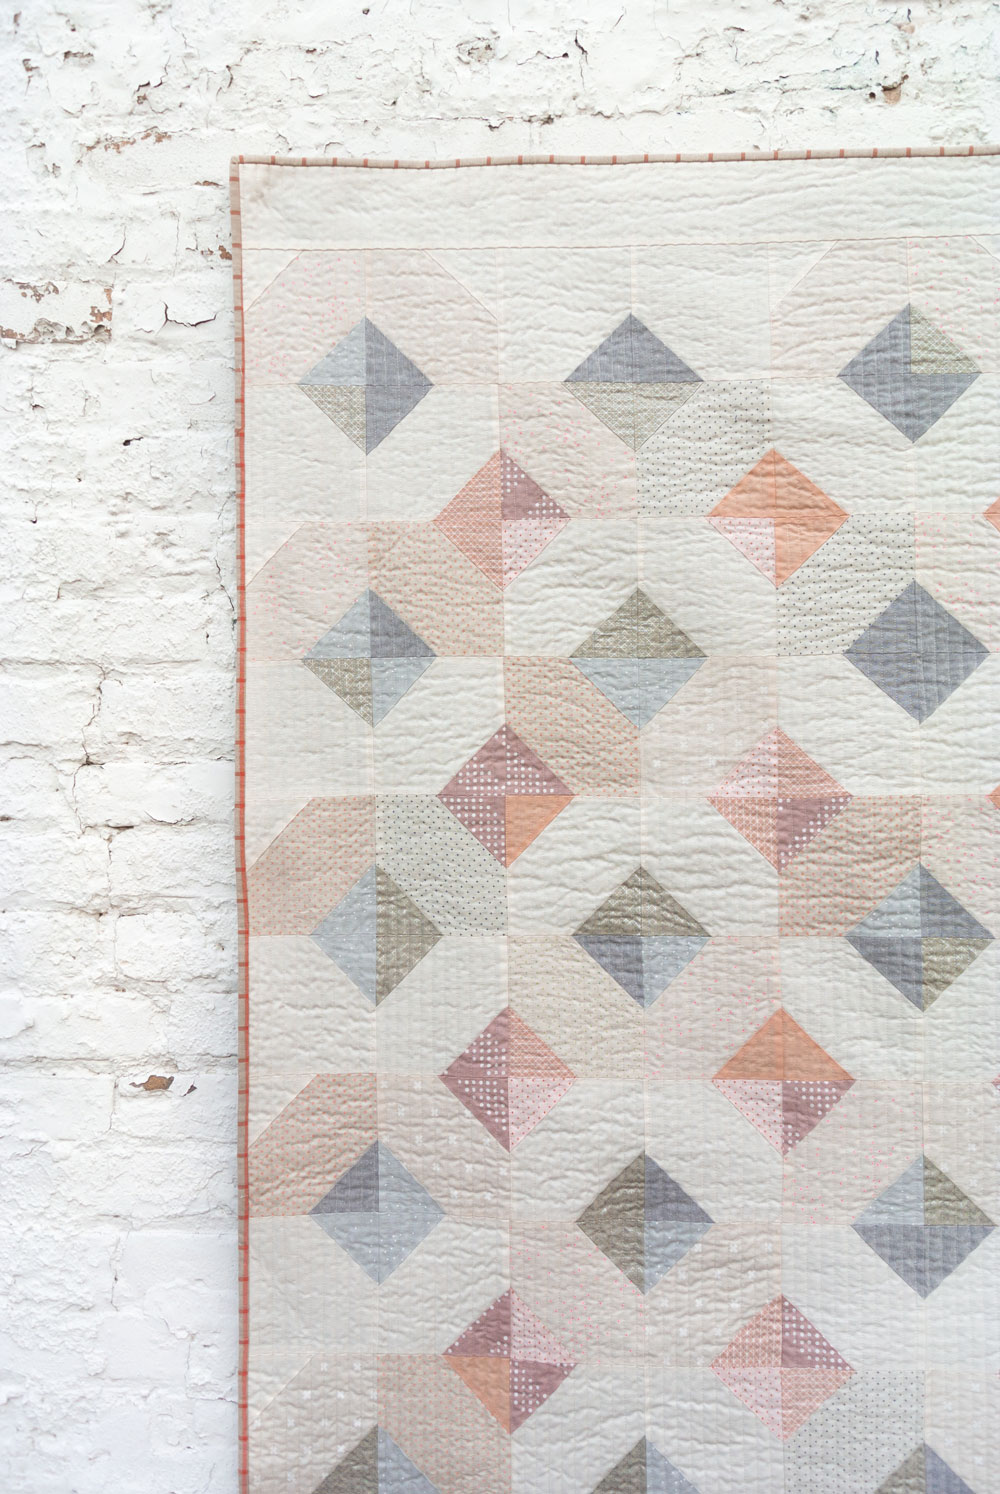
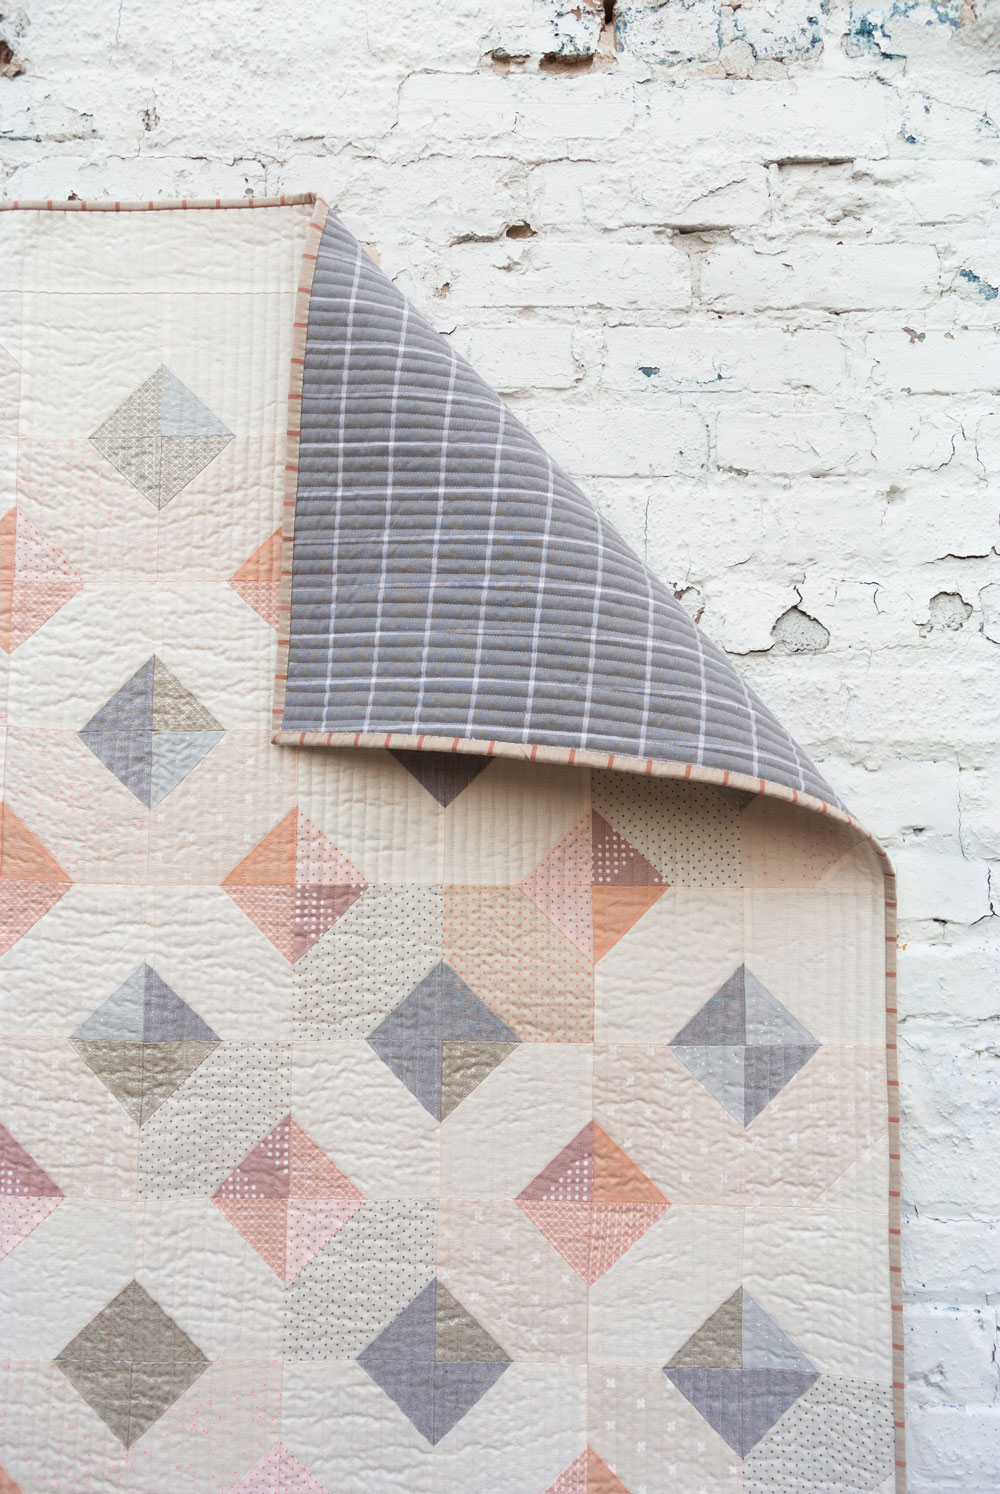
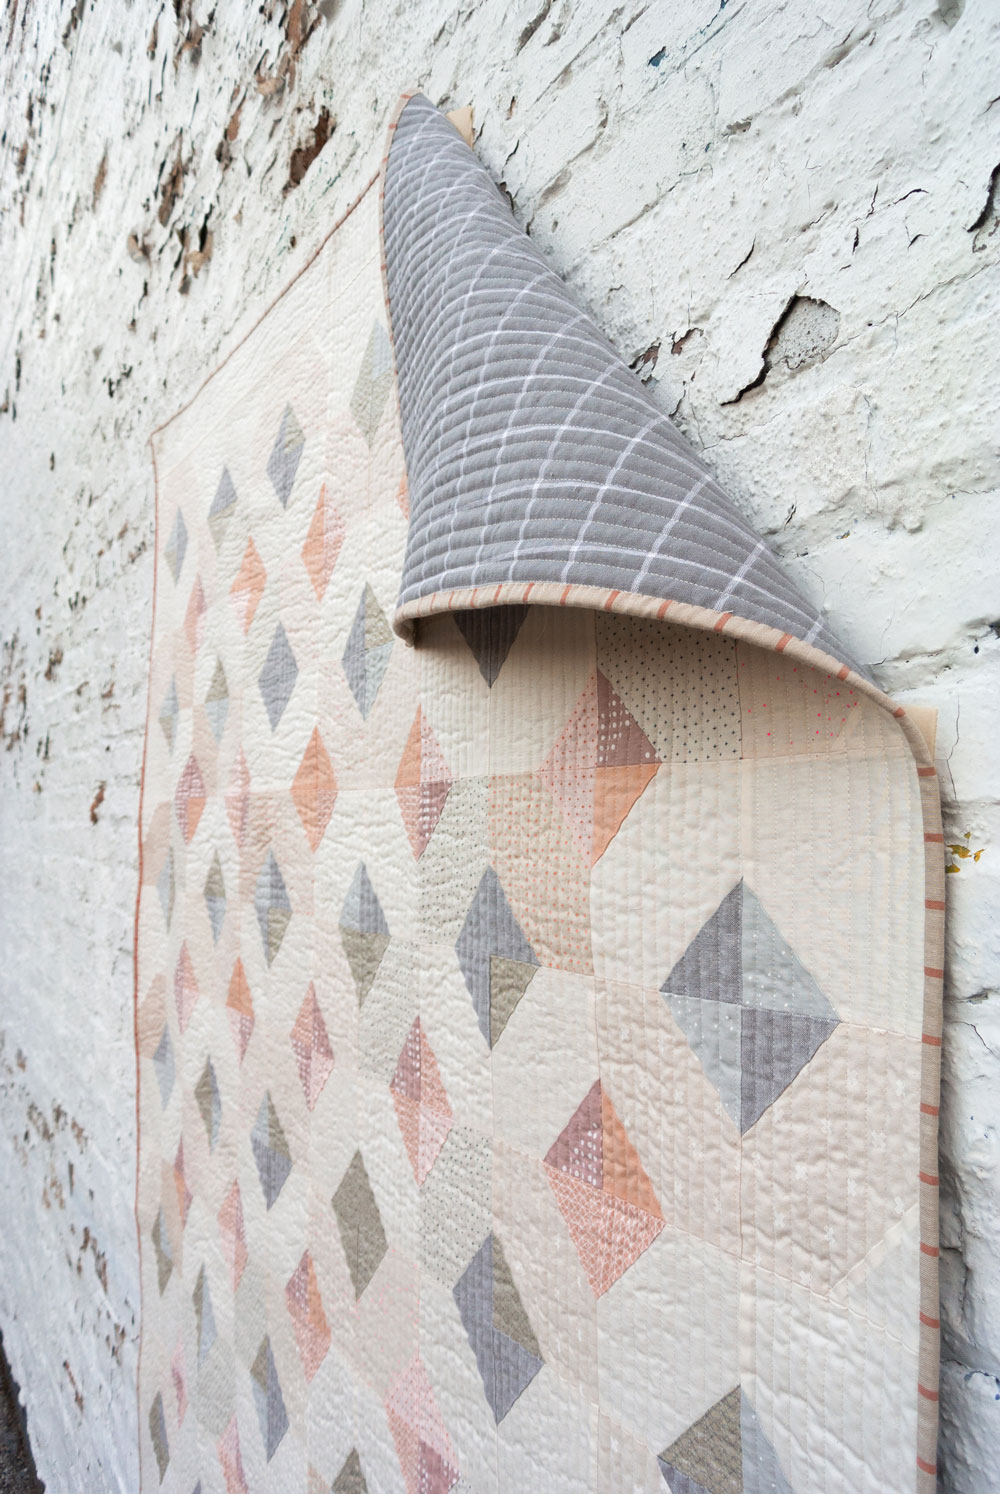
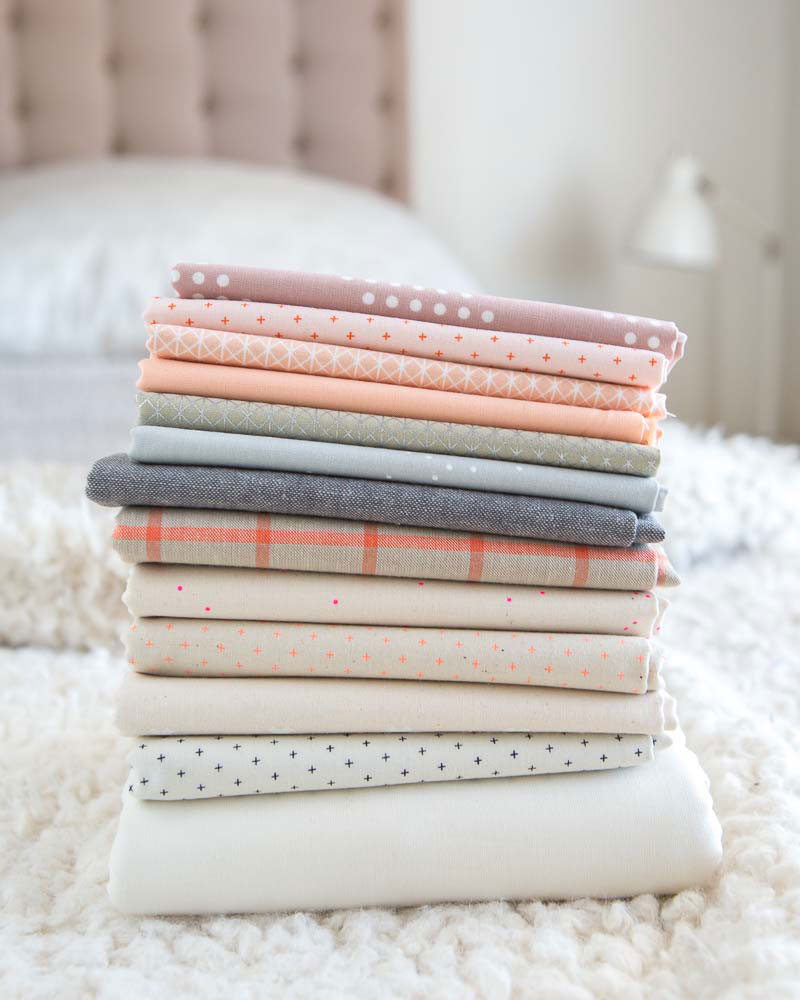
Creamy Glitter Throw Quilt Fabric
- Color 1: Kona Bone
- Color 2: 1/2 yd. of each - XOXO in Natural, Sprinkle in Jelly Bracelet, Add It Up in Party Hat, Add It Up in Bone
- Color 3: FQS of each - Essex Yarn-Dyed in Graphite, Sprinkle in Stardust, Netorious in Cloud/Metallic
- Color 4: FQS of each - Dottie in Rosewater, Kona Ice Peach, Netorious in Anna Peach, Add It Up in Taffy
- Binding: Window Dressing in Twig and Coral
- Backing: Essex Yarn Dyed Classic Woven
Glitter & Glow Quilts in the Wild
Once again my amazing pattern testers have created some beautiful quilts! What I love most about these is how different everyone's quilt looks.
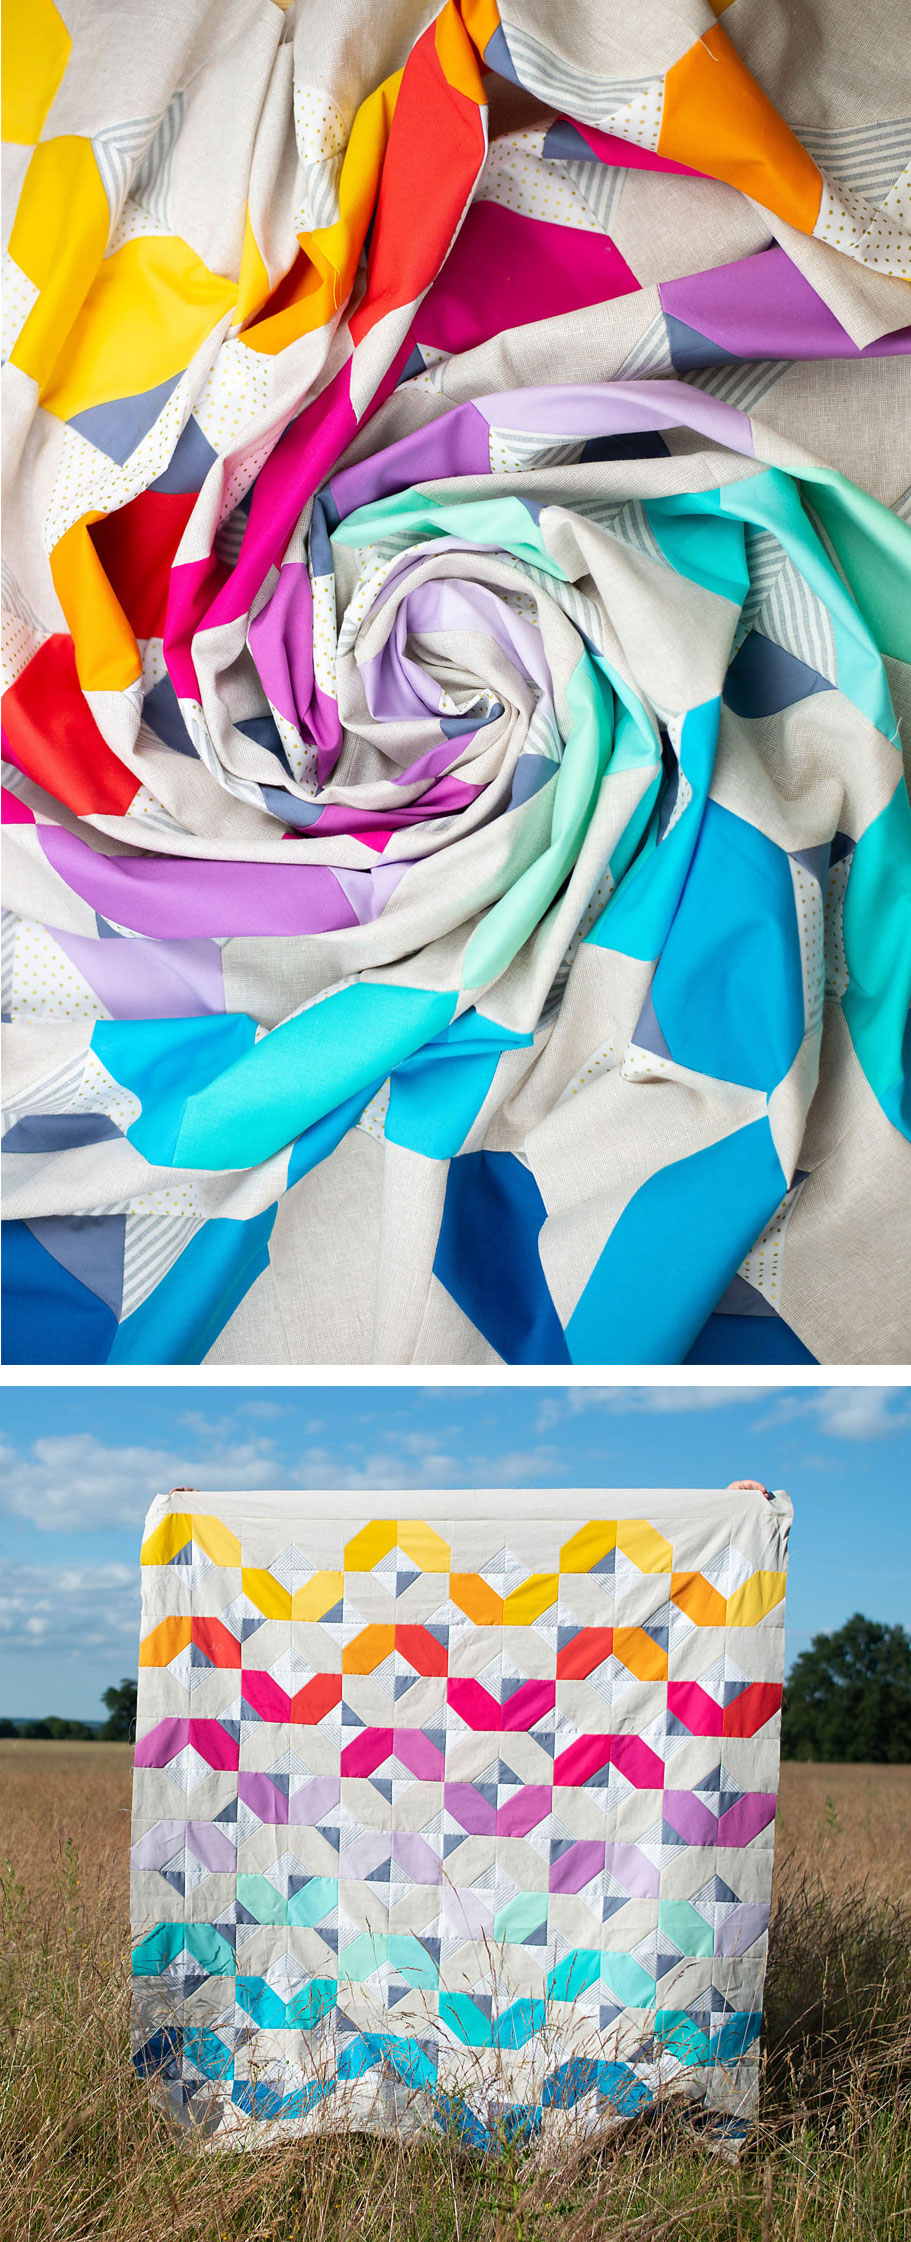
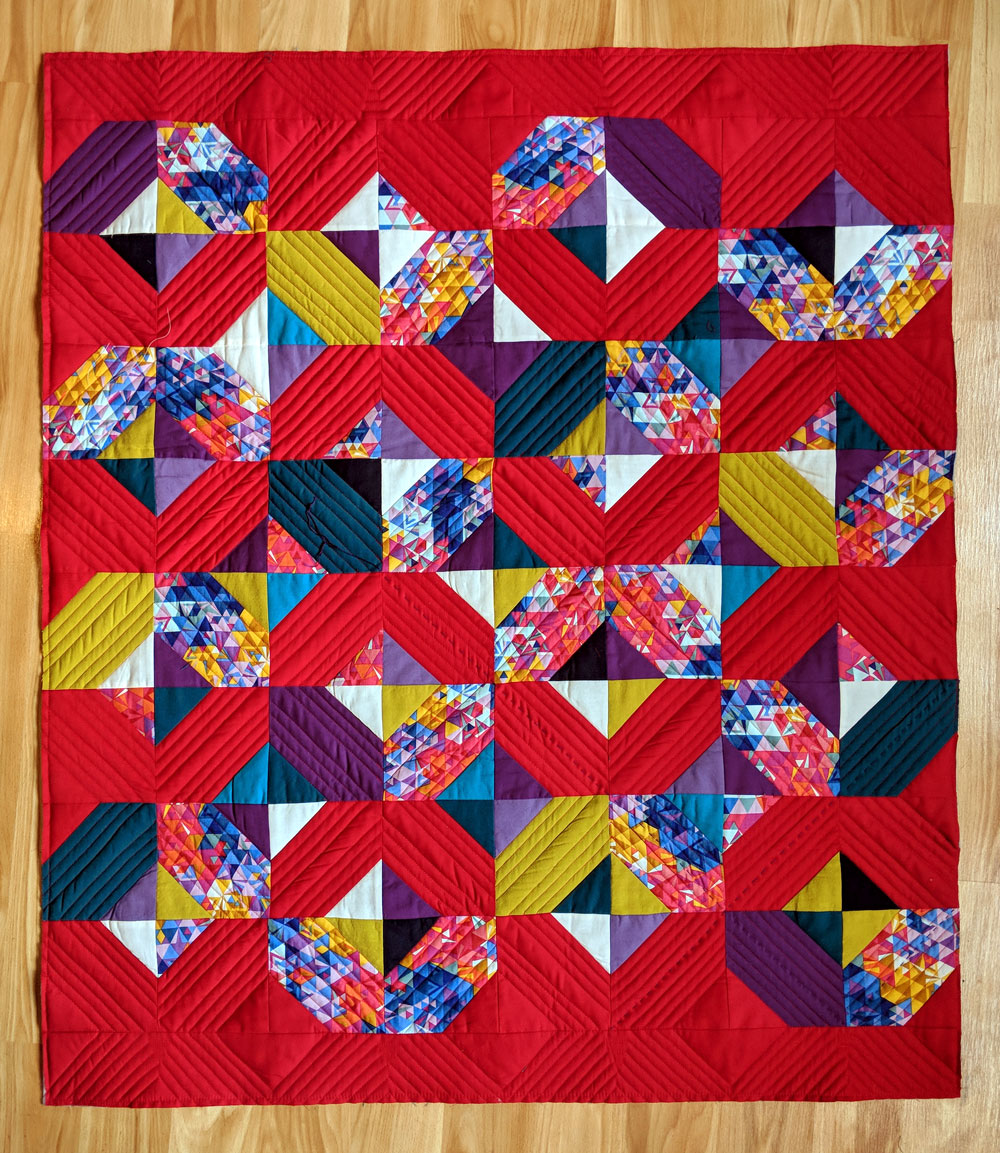
Rainbow Swirl Glitter Throw Quilt by Modernly Morgan
Gray Stripe Glitter Throw Quilt by Rachel Thomeczek
I'm sure you're going to want to make this quilt, so Rachel provided the fabrics she used:
- Color 1: Kona Shell
- Color 2: Kona Gotham Grey, Titanium, and Shadow
- Colors 3 and 4: Kona Snow, Peach, Garnet, and a chopped up IKEA pillow case (you know how much I love an IKEA duvet)
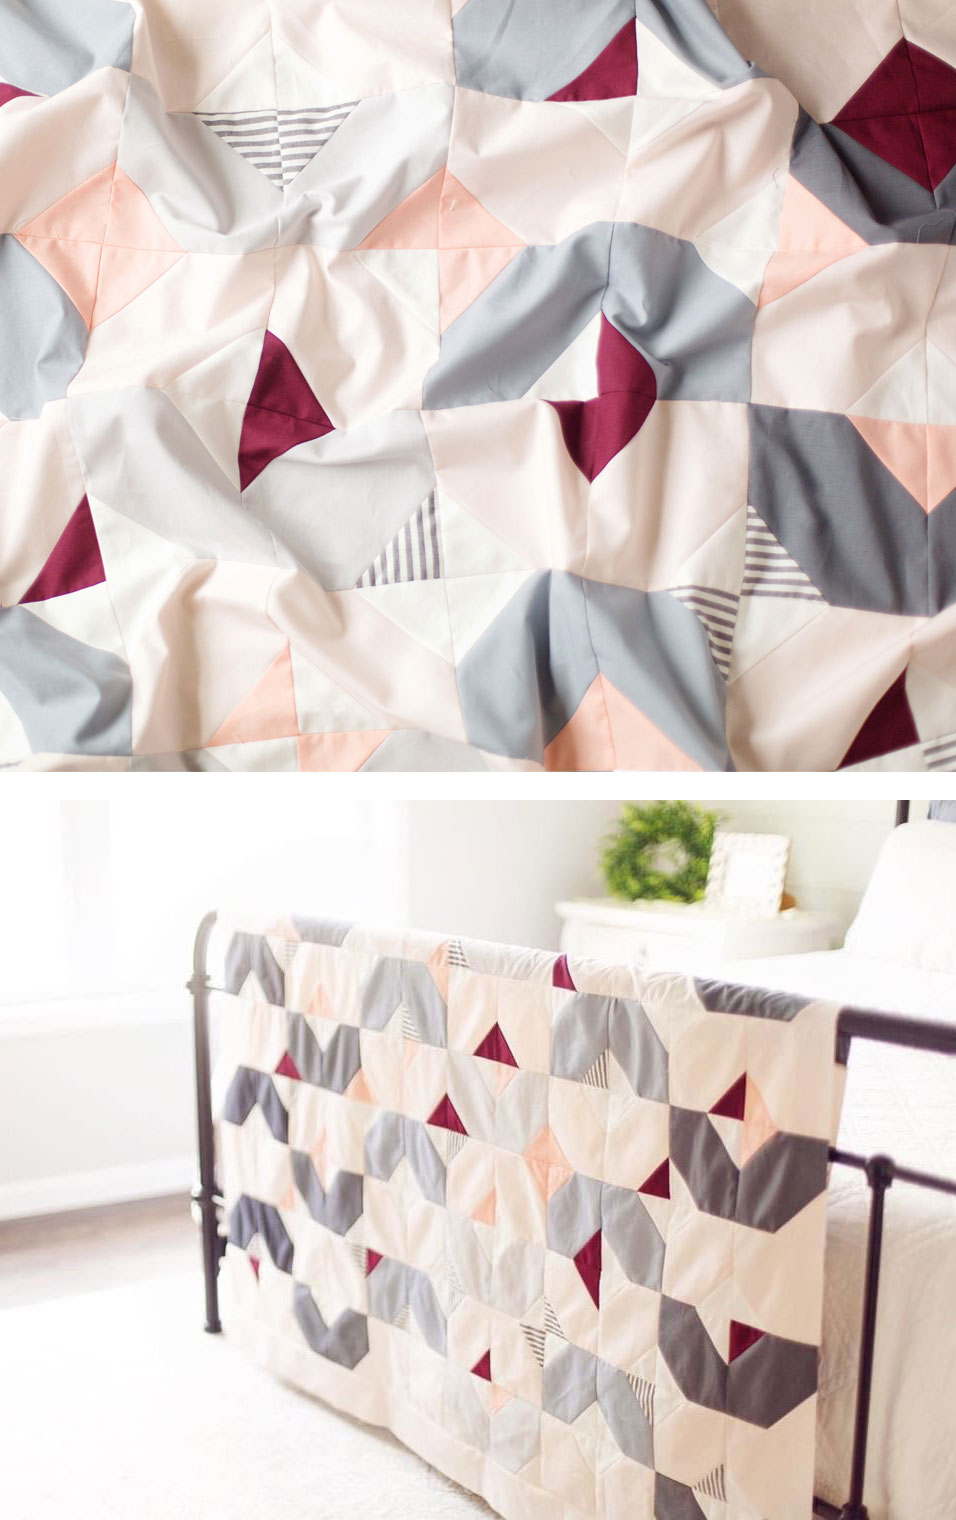
Pink and Periwinkle Glitter Throw Quilt by Elizabeth Ray
Elizabeth made such a darling quilt featuring dancing horses, swimming swans, and delicate little flowers. The fabrics include:
- Color 1: RJR Kerchief
- Colors 2-4: Enchanted by Gingiber
"I loved the flexibility and the ability to be scrappy with this quilt. I was able to source the majority from scraps from other quilts and just cut a little and all the Color 1.
I appreciated the repeating pattern as this quilt was the easiest ever for chain piecing rows method. I could always see, double check, I was adding the correct piece because of the clear design and lining up my diamonds.
As always I enjoy the efficiency in Suzy Quilts' patterns and not snowballing with squares - [but instead cutting away the negative space to save fabric and] sew on diagonals."
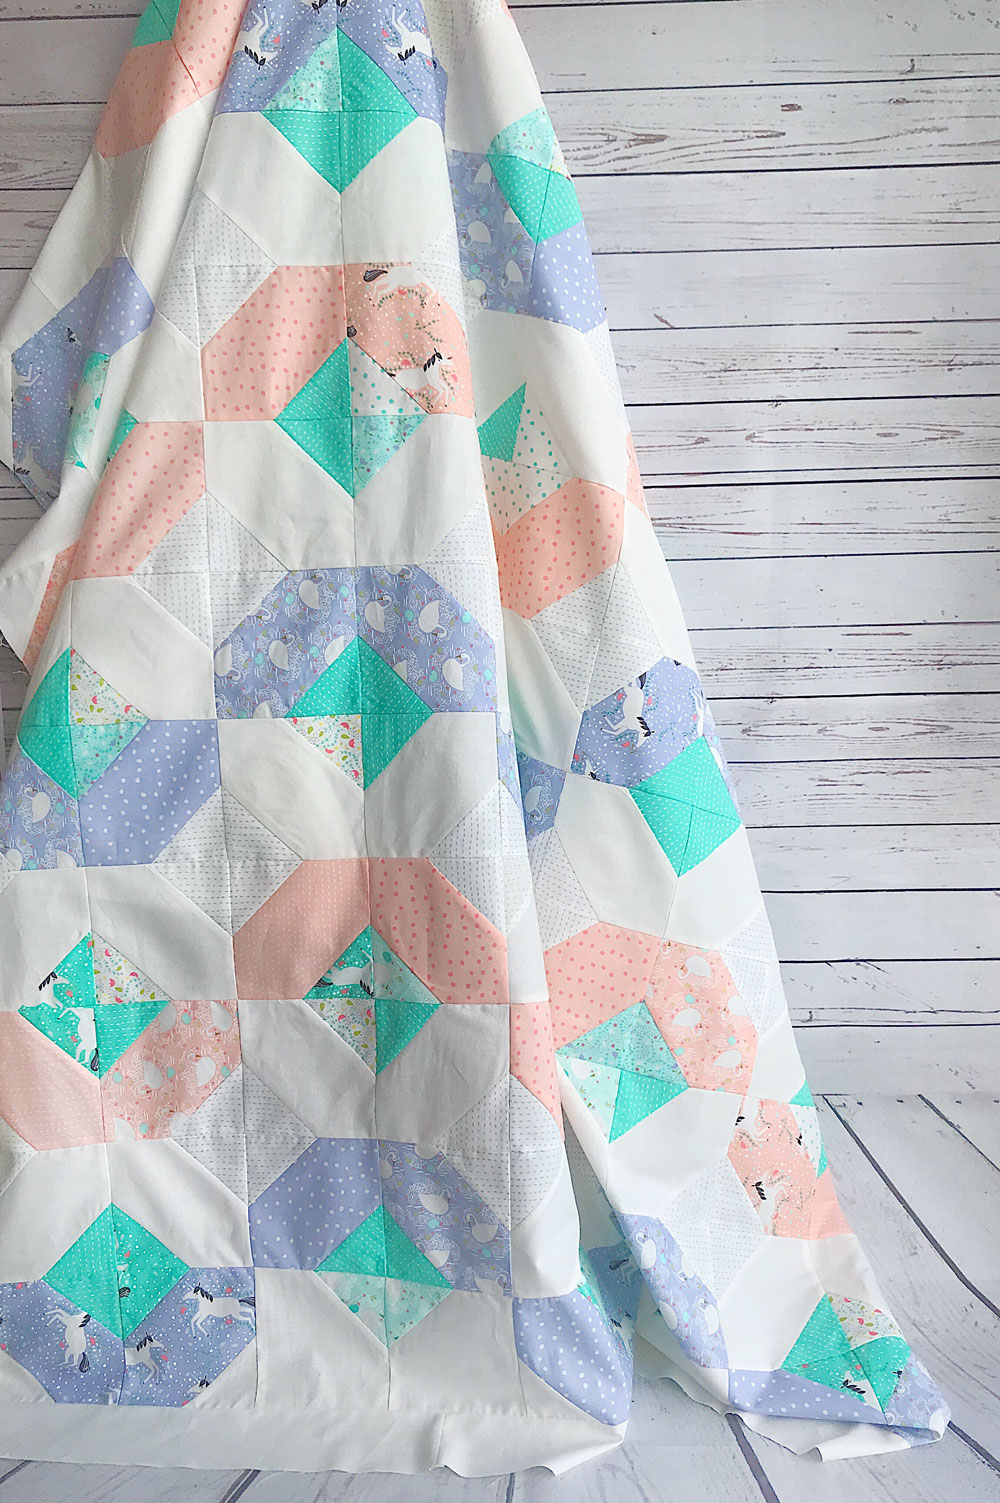
Yellow Pop Glitter Baby Quilt by Jessica Rush
"I highly encourage quilters to experiment with fat quarters with this pattern. Those bundles are so much fun to buy, but hard to use in many quilt patterns. This would be great for that!"
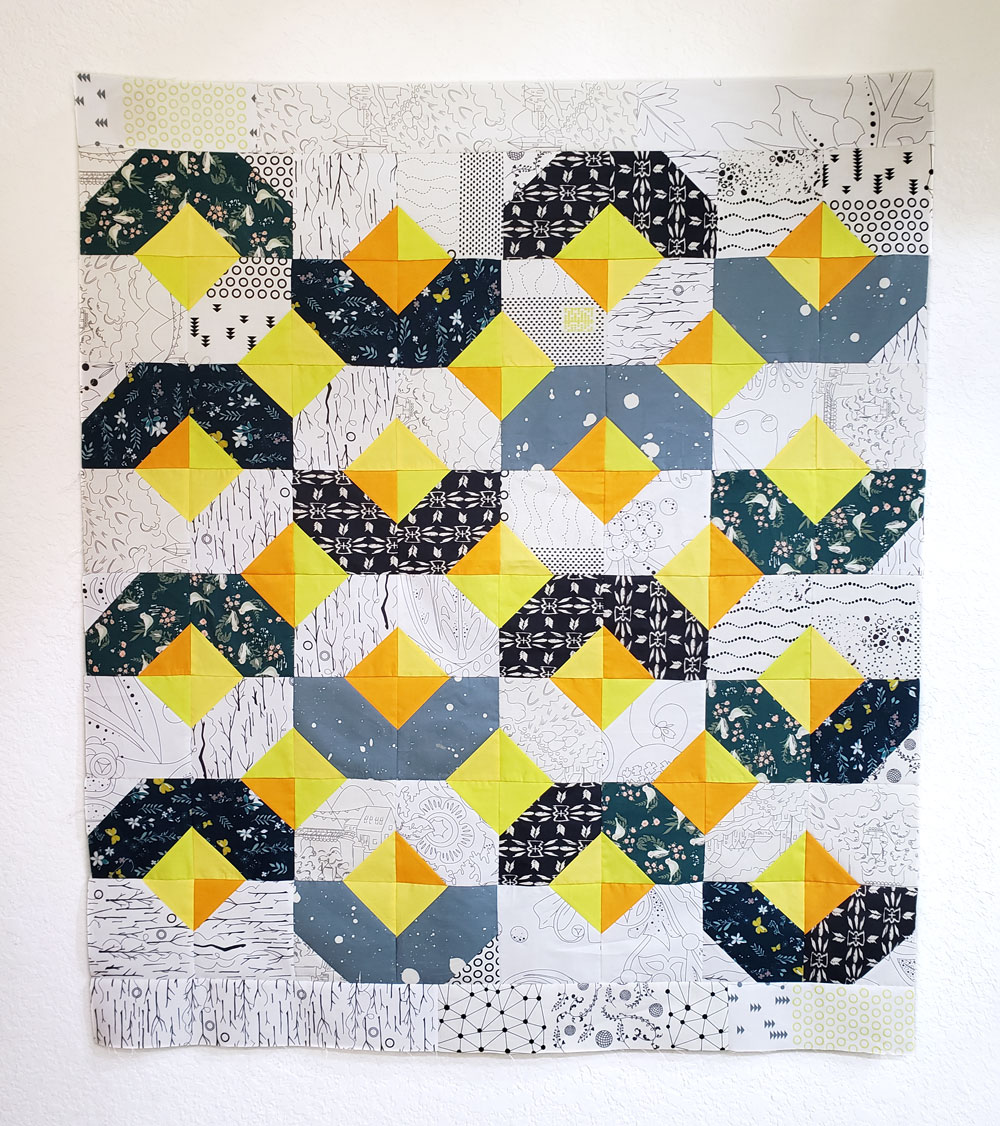
Minty Fresh Baby Glow Quilt by Susan from Needle and Grain
"I think the tip that helped me the most was to be careful when sewing on the bias because if I went too fast it would get all wonky. I loved testing the pattern though! So fun!"
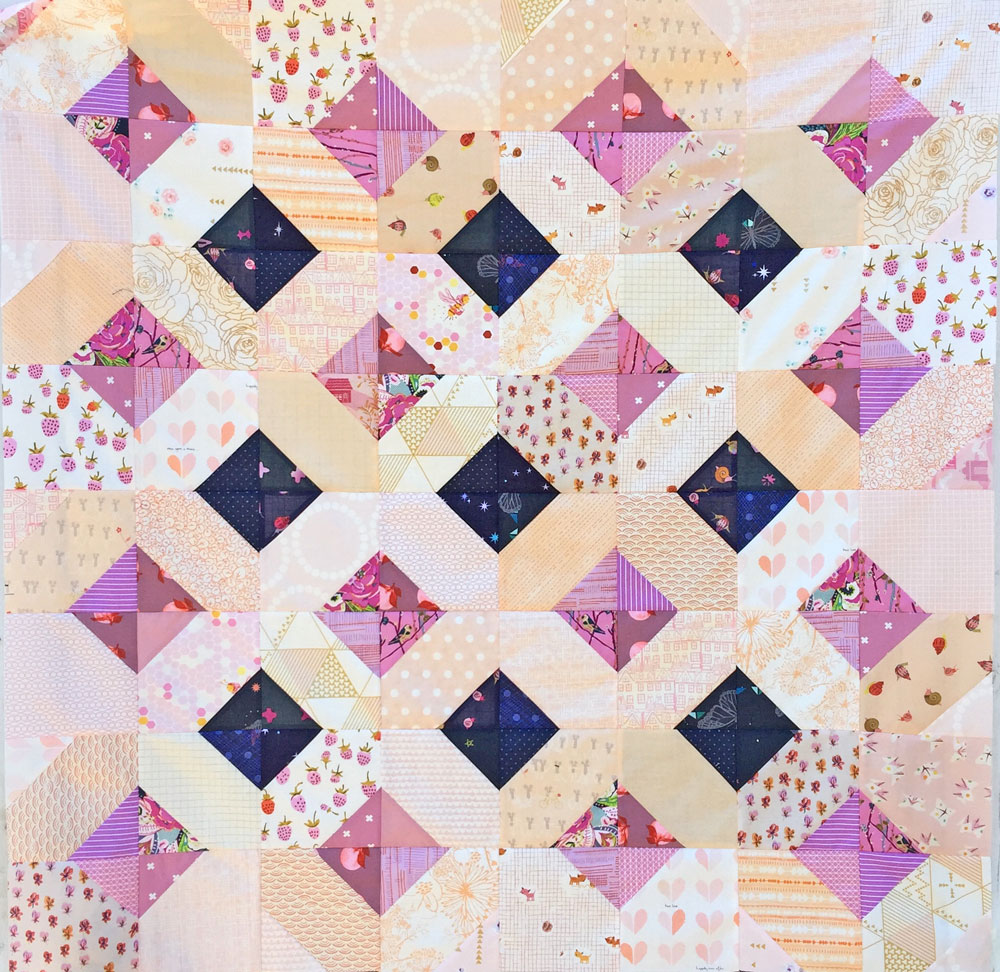
Purple Pansies Glitter Baby Quilt by Veronika Bush
"I am so excited about this quilt! 

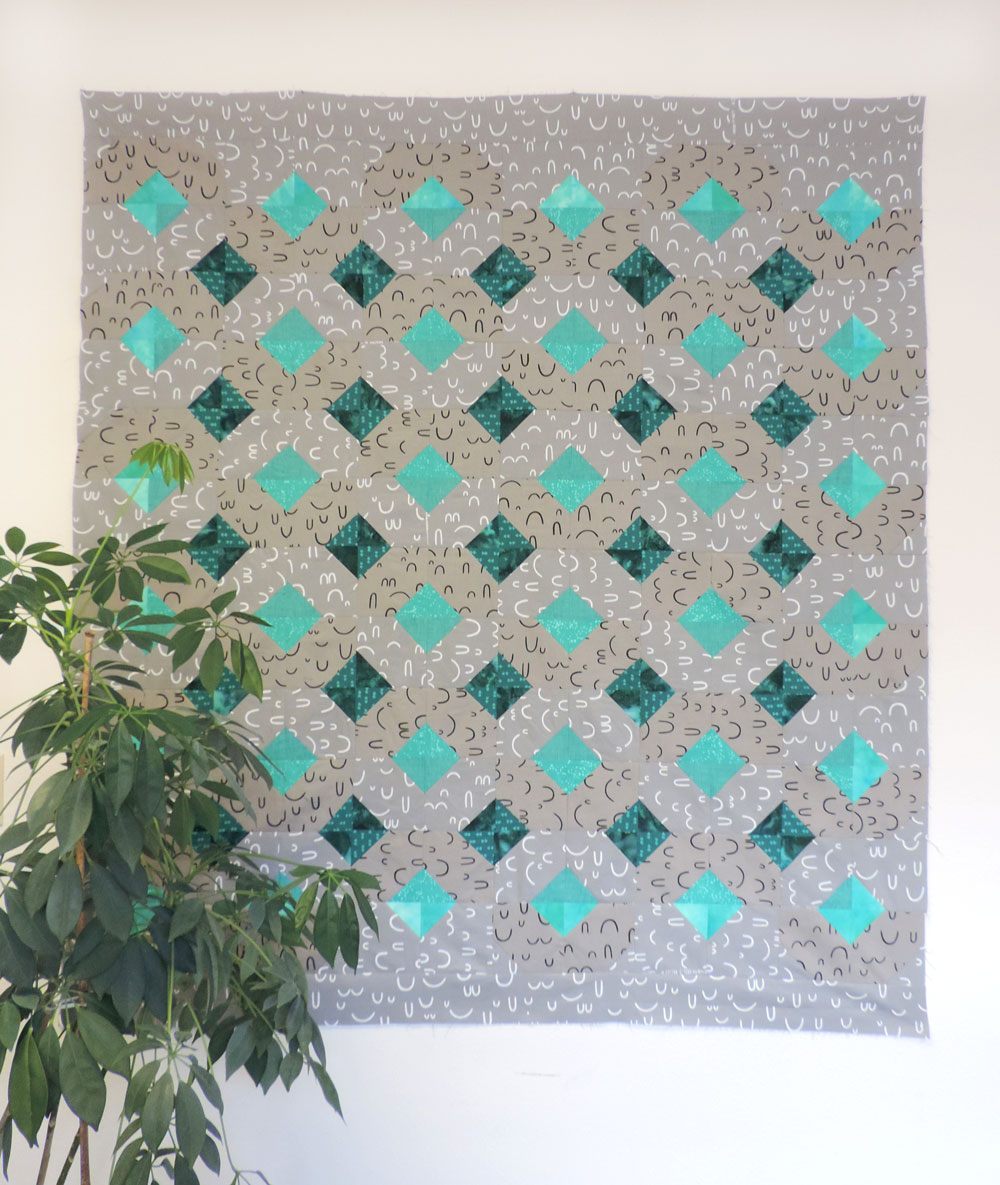
Misty Teal Glitter Throw Quilt by Paige Anderson of The Wild Sweet Pea
"The main fabrics (Color 1 + 2) are Arroyo Essex linen by Cotton + Flax. I used these because I had recently rescued 2 yards of each at a de-stash sale, and they go together so well. The grays are subtly different, so it makes a nice gradient effect. I also used this subdued print because I wanted the diamonds to stand out – I used batiks for most of them, mixing fat quarters from my stash.
This pattern comes together easily, and quickly. It's a satisfying quilt to make, and there are so many design options."
Nautical Waves Glitter Throw Quilt by Brittany Lloyd
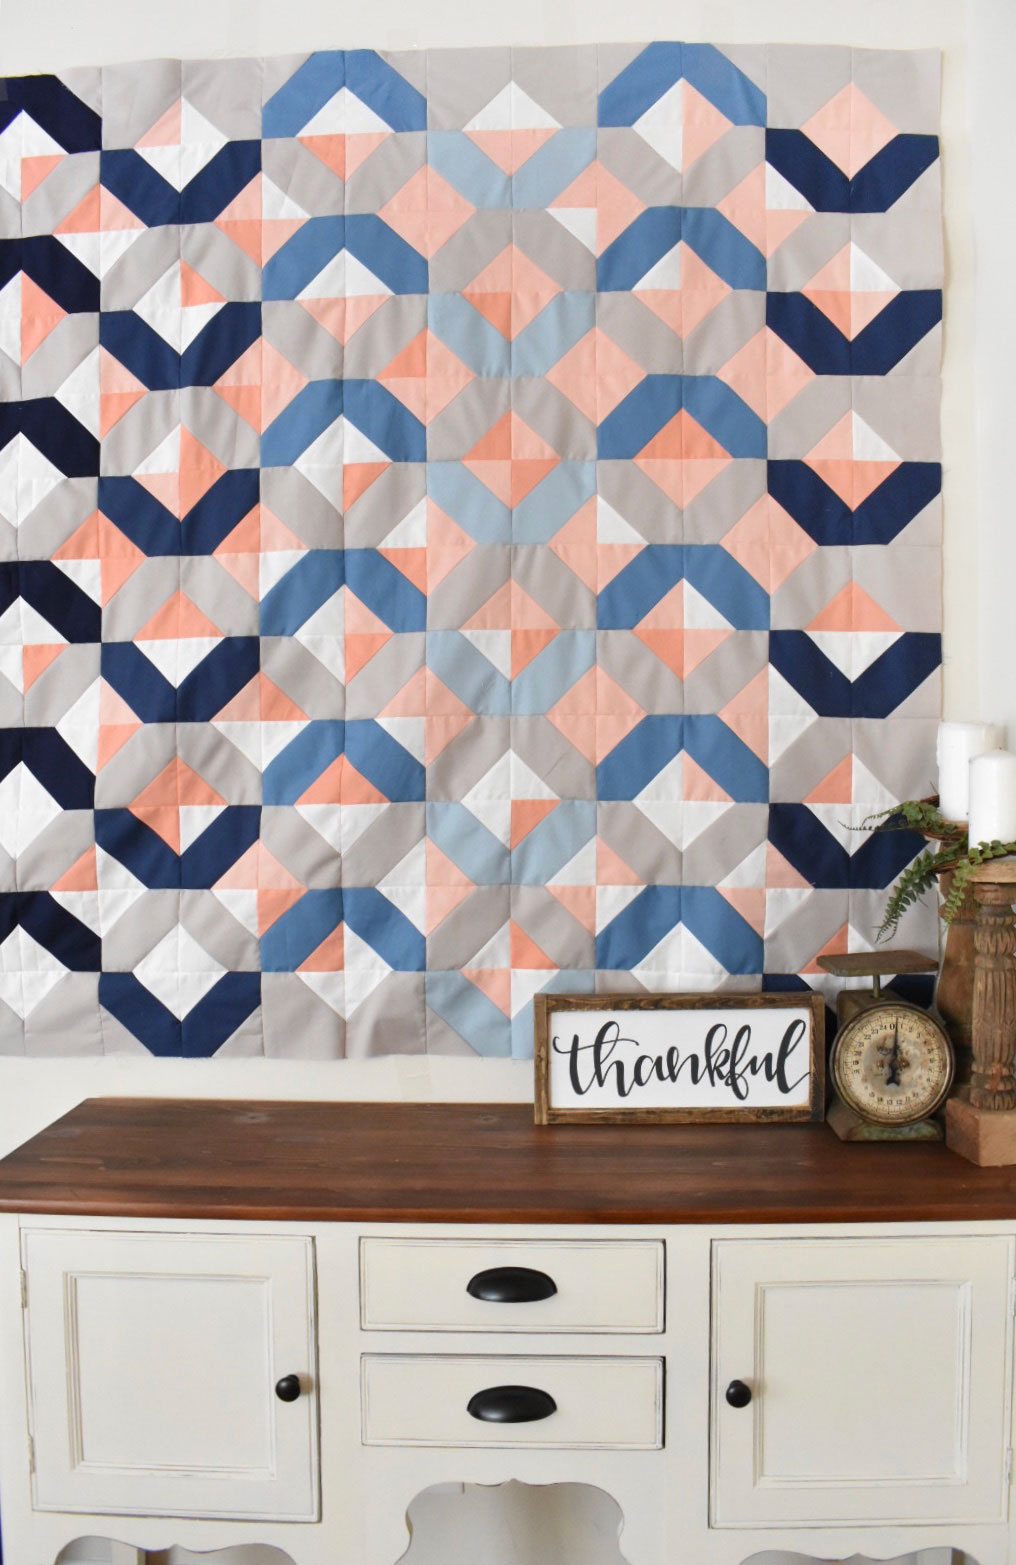
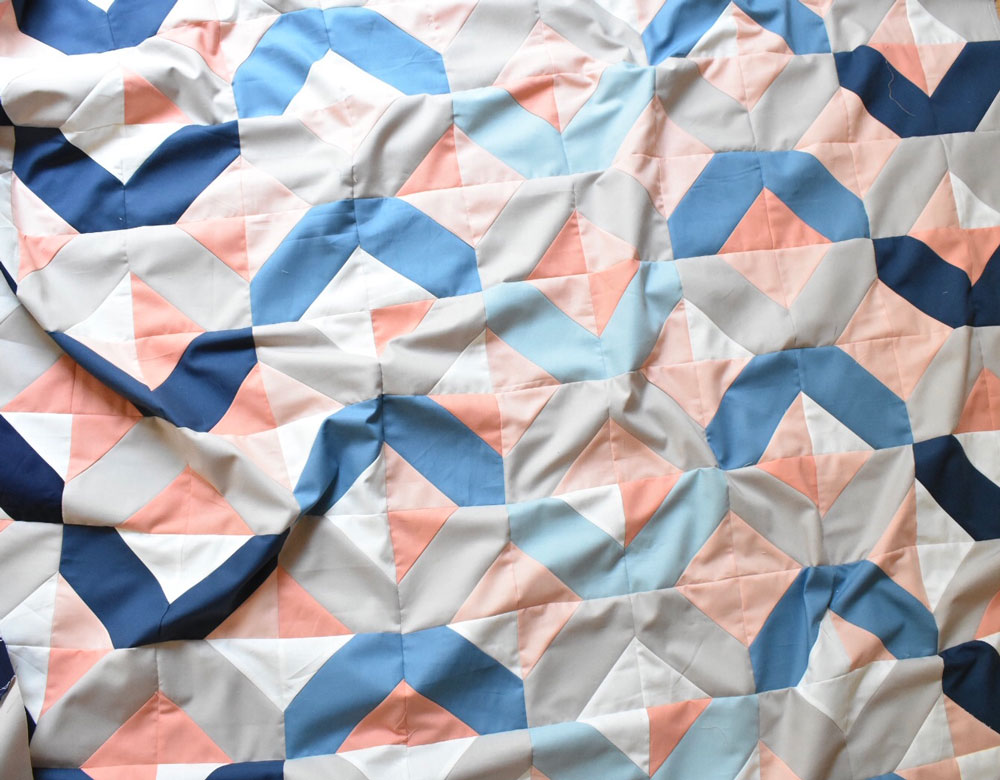
Ombré Waves by Krystina Hopkins
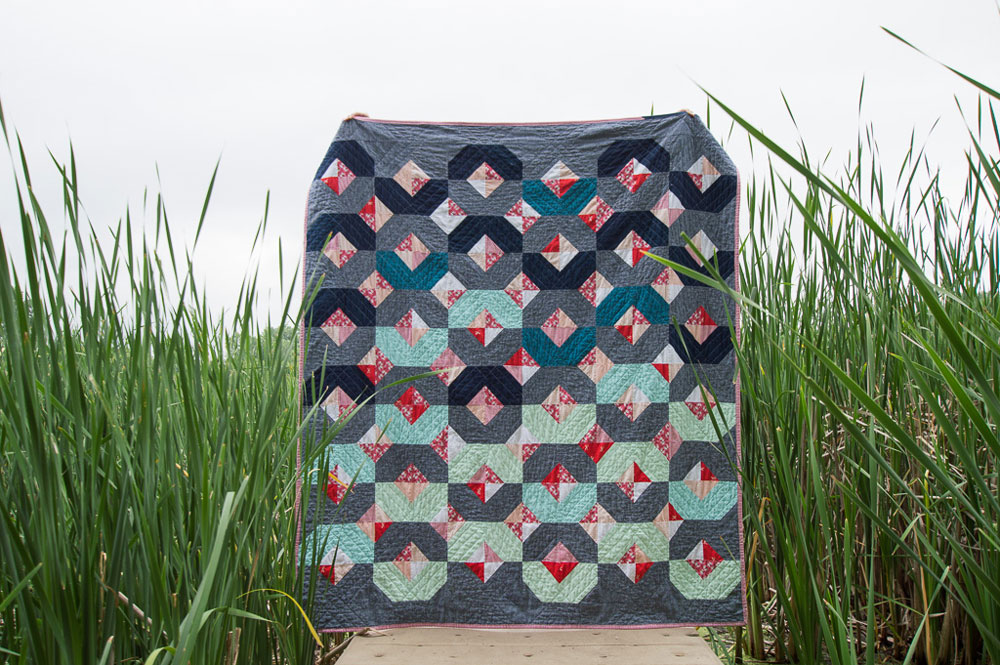
Rainbow Bright Glitter Baby Quilt by Caitlyn Williams


I love all the different variations of this quilt by your pattern testers! My head is spinning with fun ideas!… and I am definitely going to have to have me some Glitter Glow in my life very soon! – Also, thanks for the cutting board hack. that could come in handy in so many different situations.
How fun to see Caitlyn’s quilt! I met her at the pool a couple of weeks ago when she was adding tassels onto it.
Hello! I’m wondering if for the Creamy Quiet Glitter Throw kit, color 3 and color 4 were mixed up? The pattern for a throw calls for 72 squares of color 3 and 50 of color 4 but you get 4 fat quarters of peachy pink and only 3 fat quarters of grays. Am I missing something? Or have I been staring at this pattern for so long that I’m not interpreting correctly?
The way I designed that color version I just used more pink fabrics than gray fabrics. You’ll have enough to make the quilt with those fat quarters provided, you’ll just have extra pink scraps to spare. Make sense?
Yes! Thank you so much!
An avid fan from the UK. I love all of your quilt designs and it is really helpful to see how your friends interpret your original pattern with different colour combinations.
Have you written a book yet? With the quality of your ideas, your accuracy, your advice and your photography I’d love to seeing one.
You’re so sweet, Mary! Thank you! No book as of yet, but maybe someday 🙂
Oh my word where have I been all this time! I love this pattern-am a first time quilter-and want to make this for my best friends wedding gift.
I noticed that awesome tip with the painters tape, and want to replicate that. I am making a queen size quilt, and I see the template on my quilt pattern pdf, but is that still accurate for my size quilt? I just saw it on the same page as a baby blanket.
Thanks!
Remind me what painters tape tip you’re talking about? Is it to mark lines for quilting? If so, then yes, you can still use that technique on a queen quilt, you’ll just end up using a lot more tape.
Yes, where you give us that 2 3/4 template A, and your friend used painters tape to make markers on her mat.
I just wanted to confirm that Template A works for all size quilts.
I thought I ordered the Glitter and Glow pattern from you but have not received it. Maybe my Paypal account is no longer valid.
Hi Joyce, did you receive a confirmation email from PayPal or Suzy Quilts? If you send an email to [email protected] I’m sure we can get to the bottom of this 🙂
Hello Suzy!
I admire all your quilts. The quilt patterns and mix of colors make each unique.
Disclosure! 🥴🥴🥴 Math and directions are huge challenges for me. I often use graph paper to draw quilts from a pattern to help me design fabric placement.
I’m making the cream colored baby sized Glitter quilt.
I’m not sure which pattern to use. I chose the Oceania.
I’m getting nowhere with how many pieces to cut and how to choose how many if each fabric in color group 2 to use.
I’m using a white background, 5 pinks and 3 grays.
If I don’t make the same number of 5 1/2” blocks in either pink or gray, when I put it together, I don’t want to end up having to use a mix of pink And gray 5 1/2” squares to have to be matched up for many of those areas. It would look far to scrappy for the babies modern room and the mother’s taste.
Is there a cutting direction page for this pattern?
Thanks so much!
Brenda
Hey Brenda, if you want to make a cream, pink and gray version like the example in this post, I suggest following the color groupings listed above, but just on a smaller scale. You will have some extra fabric, but you won’t get the scrappy look you are trying to avoid. For the baby, your fabric requirements and cutting will look like this:
Color 1: Cream (Kona Bone) – since this is just one fabric, follow the cutting instructions on page 2
Color 2: Low-volume patterned cream fabrics (see list of what I used above) 32 – 5 1/2″ squares. If you want to use fat quarters, you can get 9 – 5 1/2″ squares from a single FQ. You will need 4 FQs or scraps that will give you the same amount of 5 1/2″ squares.
Color 3: Gray fabric – 32 – 3 1/2″ squares. If you cut carefully, you can get 30 – 3 1/2″ squares from a single FQ.
Color 4: Light pink fabric – 18 – 3 1/2″ squares. You only need 1 FQ for this, but can make it scrappier if you want.
I just completed this quilt top. I’ve been quilting for 14 years and my style is definitely simple, modern quilts without a lot of fiddly cutting – think triangles and squares. That has always meant that I’ve been able to adapt free quilt patterns online or make my own quilt patterns using graph paper. This is the first quilt pattern I’ve actually purchased, and can I just say, WOW. This pattern was SO SMART. It gave clear cutting instructions, helpful color suggestions, and just generally took the guess work out of the process, making it much more enjoyable to work on. I replicated the peach quilt with the same Rifle Paper Co fabric, and it came together beautifully. I thoroughly enjoyed following this pattern and think it is perfect for new quilters, and seasoned quilters too.
Hi Suzy!
Thank you for making this pattern and the accompanying tutorials–I’m just about finished with the Baby size for a cousin’s new baby, in a color scheme I am calling Pink Lemonade 🙂 it’s my second-ever quilt, and I was able to make it entirely out of scrap and reused fabric. I’m a big fan of your work, and I’m looking forward to purchasing more patterns from you in the future!
Hi Suzy! I am soooo new to quilting, but have gone on a deep dive of your website because I’m determined to make a quilt out of my daughter’s double gauze baby swaddles. Do you think this pattern would be too difficult for me to attempt with double gauze as a beginner? Thank you in advance!!
Welcome to the world’s best hobby! A few thoughts, as a newbie, double gauze is one of the more challenging fabrics to use, especially worn “upcycled” double gauze. It sounds like your main goal in learning how to make a quilt is to use double gauze swaddles. I kinda think that you may have the most success if you do simple squares — no pattern needed. However, if you are open to mixing some quilting cotton in with the double gauze, Glitter and Glow would indeed be a great pattern. I would suggest using at least 1/3 quilting cotton and 2/3 double gauze for stability stability.
Hi there!
I have finished my first quilt top with this pattern (baby size) and I am very happy with it — not perfect, but pretty. And now I think I’m addicted! I do have a question though about finishing. I am a total newbie (I do have sewing experience) and I have a very basic machine (Bernette 56) so I am hesitant to machine quilt this top. I am thinking about tying with yarn–just a simple 4″ grid with the “international stitch”, but I am a little stumped by the top/bottom borders…will the binding be sufficient to stabilize them, or would you put ties in the border? Any suggestions?
Thanks!
Visually, I think it will look best to also include ties in the border, but as far as durability, you’ll probably be okay without them. Just double check the instructions on your batting; it will let you know how densely you need to quilt/tie.