Grow Quilt Sew Along: Week 2: Cutting
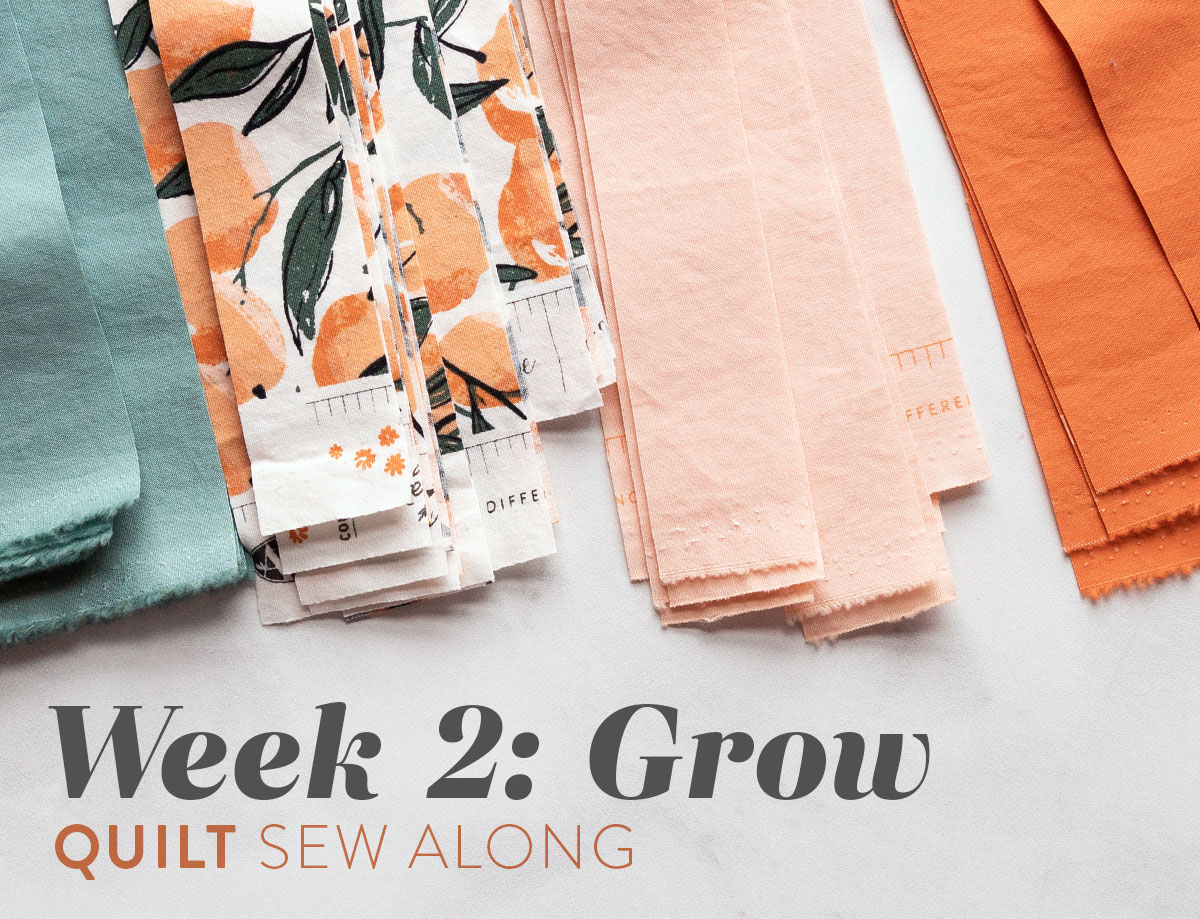
We're back with Week 2 of the Grow quilt sew along! This week we let out our inner tiger and do lots of ripping and roaring. Are you ready to get wild??
If you're finding this sew along for the first time, be sure to check out our first introductory post so you know all about the great prizes and schedule for each week.
Sew Along Recap
In Week 1 of our Grow sew along we finalized our quilt pattern layouts and picked our fabric. We also prepped our fabric by prewashing everything....right?
If you haven't prewashed your fabric yet, I highly recommend doing that before continuing on with cutting. We cover why prewashing is important in the Week 1 post, so flip back and read that if you're thinking about skipping the prep step.
And that's it! Once your fabric is prewashed and ironed it's ready for Week 2.
Trending patterns!


Quilt Patterns


Quilt Patterns


Quilt Patterns


Quilt Patterns


Quilt Patterns


Quilt Patterns


Quilt Patterns


Quilt Patterns


Quilt Patterns

Optional Meditation
If you are adding the optional meditation portion of this sew along, before you start cutting take a moment to be still. Sit down, with both feet on the floor, and place some of your fabric in your lap.
Close your eyes and feel the fabric. What do you love about it? How has your relationship with texture and fabric changed since you started sewing? What is your intention for this time of creating? To relax? To learn? To work through pent up energy?
Take some deep breaths and feel the weight of your body in the chair all the way down to the weight of your feet on the floor. Think about the power of connecting your mind and your body – your thoughts and your actions. You have so much beauty and creativity inside you!
Open your eyes and pause to recognize this moment of clarity and peace you just gave yourself.

Let's Get Cutting!
Since you prewashed your fabric you know for certain the vertical and horizontal threads that make up your fabric are no longer distorted or stretched from being on a bolt. That's great news because the next thing we're going to do is rip it up.
No, we won't rip every strip, but we will snip through one of the selvages, close to the edge of the fabric, and rip from one selvage to the other. If your rip doesn't make it from selvage to selvage, snip again and rip again until it does.

The reason we do this is to get the edge of our fabric on grain. But Suzy, why does it matter if our fabric is on grain? We're not making a dress!
Yes, true, but we are cutting long strips and those tend to bow at the center if your fabric is cut off grain. Check out this quick video to see what I mean...
Supplies
Cutting straight strips doesn't require any special tools other than the basic ones you probably already have. If you want to know what tools I use in the video above they are...
The Week 2 Prize
We've got two prizes this week again, but this time we're picking two separate winners! Yeehaw! Our first sponsor is Canada's newest online fabric store, Stacked Fabric Company. They are giving away a $50 gift card!
The second sponsor is MaechenMarie, maker exdroididaire of beautiful quilted bags. She is giving away THIS fabulous bag! Drool...

How to Win
- Post a pic to Instagram. The photo prompt for Instagram this week is to post a picture of some cut fabric or if you are still gathering fabric, a picture of that. Basically, unless you post a really off-topic pic just use #GrowQuiltSA in the caption and you're entered in the giveaway.
- You must have a public Instagram profile to participate.
- Each photo posted is an entry and you can enter as many times as you want in a single week. Once the week is over, those posts do not count in the next week's giveaway. Every week we start fresh.
- Your photo must be posted between 12:00 a.m. CT on Wednesday, April 8, 2020 and 1:00 p.m. CT on Tuesday, April 14, 2020.
- These prizes are open internationally!
- The winner will be picked randomly from all qualifying posts and announced at approximately 4:00 p.m. CT on Tuesday, April 14, 2020.
Sew Along Coupons
- Oliso - 20% off all smart irons with coupon code SUZYQUILTS20 - an awesome ongoing deal!
- Eleventh House Quilt Studio - 15% off longarm services if you mention this Grow sew along. Expires May 12, 2020.
- Modern Makes Box - 15% off your first subscription box. Coupon includes monthly, 3 month, and 6 month subscriptions. Enter SUZY15 at checkout. Expires May 12, 2020.
- Handmade Longarm Quilting - 20% off longarm quilting services for all Grow quilts. Expires July 31, 2020.
- Sweet Little Quilts - 20% off longarm quilting for all Grow quilts. Must mention this sew along on order form. Discount does not apply on return shipping. Expires May 31, 2020.


If you starch your fabric when would you starch? Before “ripping” the fabric, after “ripping” the fabric before cutting it, or after cutting the strips?
If you want to use starch, I would use it in this order:
1. prewash
2. iron and starch
3. rip
4. cut
Thank you, excited for the sew along 🙂
After ripping a few of my fabrics and lining the selvage’s up, my crease was still a bit wonky. Any suggestions or reasons why this would happen?
After ripping, did you line up the ripped edges and then use that as a guide for cutting? Once your edge is on-grain, you want to keep your cuts as close to that as possible. If you feel like you’re getting off-grain after some cutting, snip and rip again.
You want me to rip my beautifully fabric?! 🙂 This is going to be fun… I have been doing a lot of medications and practicing letting go and taking chances. 😉
So ripping to get a straight edge worked really well on my Art Gallery fabric but on my other fabrics I could not get a non bowed strip to save my life when cutting from the ripped edge. I can understand why it didn’t work for the fabrics that aren’t traditional quilting fabrics but I couldn’t make it work on the Bella solids either! Likely user error.
So this may be a totally outrageous question, but if when you tear the fabric or rips straight on grain could I just rip my strips instead of cut? No matter how many times I try I have yet to get all my strips straight
In theory you could, however the act of ripping does stretch the fabric and tatter the edges. That is fine for one edge, however with thin strips that will create some issues once you begin sewing.
Thanks for the important information for us who are new to Quilting!!!
I get so confused. Some say pre wash some don’t, iron don’t iron, steam no steam. Some say steam stretches the fabric which I’ve ironed strips with no steam or water spritz and they still stretched. And as far as cutting I have mats, rulers, rotary cutters, fresh blades on hand, and I measure and remeasure….still no straight line. Well, once in a blue moon I may accidentally get a straight one. As far as the ripping goes, first I’ve never heard of that but it makes a lot of sense. Do you always do this and what about precuts?
Quilting is a lot of trial and error and figuring out what works best for you (and your budget). What works for one person may not fit with how you like to sew, and that’s totally fine! There is no “right way.” Sometimes I try a new technique and a lightbulb flips on. Viola! That worked pretty well! I’ll keep using that technique unless a better one comes along. We’re all just growing and learning, so don’t feel like you’re “behind” or doing something incorrectly.
I always rip strips because working with warped strips is a major bummer to me and is pretty easily avoidable. I never rip precuts because those stinkers are never cut on grain and you’d end up losing a lot of fabric.
Do you have your fabric pull listed anywhere? I looooove them!
Thank you! Yes, I list it out in the Week 1 post – https://suzyquilts.com/grow-quilt-sew-along-week-1-pick-your-fabric/
Thank you for the video Suzy! I almost never prewash (tho with garment sewing years ago I always did). I think this makes a lot of sense and I’ll give it a try for a quilt I have planned that has a lot of strips! I can prewash the fabric now, ahead of time so it will be ready once I’m ready to sew. However, I do want it to crinkle after its quilted… so any thoughts on how prewashing will affect the washed quilt crinkle? ~pris
Even though you prewash, your quilt will still crinkle up, just not as much as if you didn’t prewash, but still a really nice amount. Well, I guess I think it’s a really nice amount 😉 If you want extra crinkle, use 100% cotton thread. That will shrink up and add texture.
Aft5er you have ripped the fabric from edge to edge, the fabric is on grain. It does not mean that the printed pattern on the fabric is on grain. Lots of even very good fabric ends up printed off-grain, and there is nothing you can do about that.
Does this ripping technique work for other types of fabric? Like essex linen?
It works for all woven fabric, however, if you use a loosely woven fabric, like 100% linen, expect to lose more inches due to fraying. I think the Essex will be OK to rip without worry of losing a lot since it’s a cotton/linen blend.
Hi Suzy, I am trying to purchase the sew along quilt using the fabrics you chose but I can’t figure out where to buy? I also signed up but never rec’d an acknowledgement for the free pattern. What am I doing wrong??😩
Hey Karen, I link to all of the fabric I’m using in the Week 1 post. You should receive a confirmation email that you are signed up for the newsletter. That has a link to the free pattern. If you check your spam folder and can’t find it, send an email to me at [email protected] and I will send it to you directly.
Suzy, this is amazing! I was so surprised to see you line up the folded edge, and it’s crazy just how far “off” that selvedge edge gets. For 20 years I have lined up my selvedges. And I know exactly what that “bow” is! THANK YOU! You’re such a great educator. XOXO
Jamie, you have me blushing before breakfast! Thank you! 🙂
I have a fabric with a linear pattern and when I rip…. it does not allign to the pattern. So I guess it wasn’t printed squarely. Do you have advice? It will look wonky if I have a strip that clearly doesn’t line up correctly but if I cut it off grain it will bow right?
Would you recommend getting the fabric on grain for the Hexie Stripe Quilt too? Or is there not enough yardage provided in the requirements to do so?
Great question! When cutting strips it’s always best to get as on-grain as possible, however because the strips in the Hexie Stripe quilt will then be sewn and cut into triangles, it’s not as important. Quilts that really benefit from this technique would include the Campfire pattern and this Grow pattern.
Thanks, Suzy! These tips & videos are the best for beginners like me 🙂
Do you pre wash all of your fabric all of the time or particularly when cutting long strips?
Hi Lisa! We recommend prewashing anything larger than a precut. But the choice is always yours! Here is a blog post that digs into that issue deeper 🙂
https://suzyquilts.com/should-you-prewash-fabric-before-quilting/