How to Make Mini Quilts Using Adventureland Scraps
The Adventureland quilt pattern is like making two quilts at once! You heard that right—if you make a throw or baby-sized Adventureland quilt using full width of fabric strips (or a jelly roll), you'll be able to make mini quilts using scraps. Use your coordinating mini quilt as a wall hanging, doll quilt, or even turn it into a pillow!
Keep reading for step-by-step instructions to make mini quilts using scraps from your Adventureland quilt, including eco-friendly sustainability tips for using up even more scraps!

You Might Also Like...

Make a Mini Quilt with Throw-Sized Adventureland Scraps
My Adventureland throw quilt was made using a jelly roll from the new First Light collection by Ruby Star Society. I love how it glows!

Step 1: Make an Adventureland Throw Quilt!
This is the step that takes the longest, but at the of it it, you'll have a new quilt! In order to have leftover scraps to make a mini quilt, make sure to use full width of fabric strips to make your Adventureland throw quilt. Follow all directions in the pattern, and trim the quilt as instructed in Figure 10. You'll have four triangular scraps leftover that should look similar to the picture below.
An Adventureland throw quilt measures 60″ x 60″. With the leftover scraps, you can make a mini quilt that is 27 3/4″ square, or add borders to make a larger mini quilt. You can also trim it down to make a pillow, tote bag, or doll quilt like I did!
Trending patterns!


Quilt Patterns


Quilt Patterns


Quilt Patterns


Quilt Patterns


Quilt Patterns


Quilt Patterns


Quilt Patterns


Quilt Patterns


Quilt Patterns
You don't need much besides the scraps from your quilt top to make this mini. Here's what you'll need:
- Scrap quilt batting
- 1 yard of backing fabric (or use the leftover backing fabric from your Adventureland throw quilt like I did!)
- 3 - 2 1/2″ x WOF strips for the binding

Step 2: Arrange the Blocks
First, arrange the blocks with Color J (the longest strip) on the right and Color A (the shortest strip) on the left. Notice that this means the colors will be in the opposite order from how they appear on your throw quilt.

Step 3: Sew the Blocks Together
Following the instructions on page 7 of the Adventureland quilt pattern, sew the four blocks together. And in three easy steps, you've made a coordinating Adventureland mini quilt top!

Step 4: Finishing Your Adventureland Throw Mini Quilt
After sewing the four blocks together, my mini quilt measured about 27 3/4″ square. This is a great size for a wall hanging! If you like that finished size, quilt and bind it to your liking.
You could also consider making your mini larger by adding borders, which give the quilt a nice framed look.
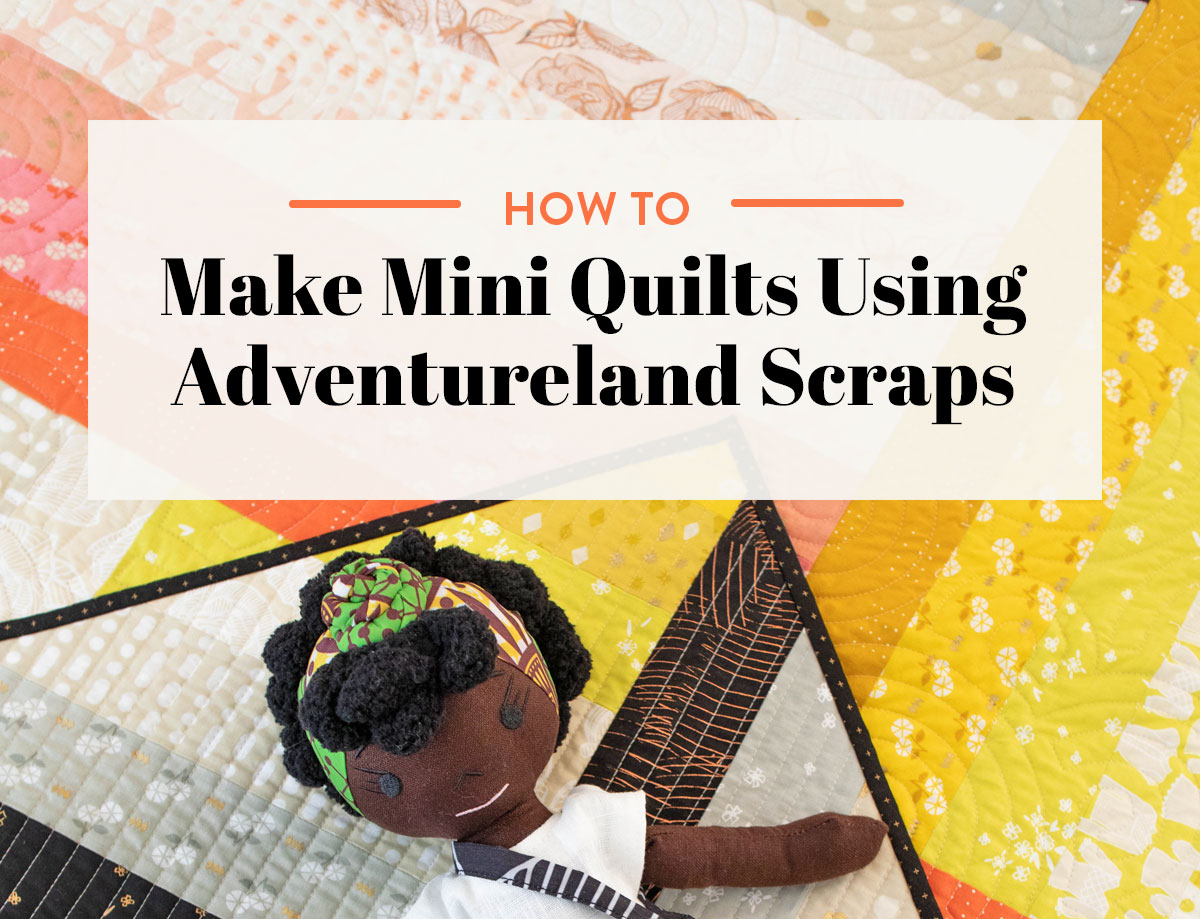
If you'd like to trim your quilt down, you can make a pillow, tote bag, or a doll quilt! I chose to make a doll quilt and trimmed mine down to a 22″ square, perfect for an 18″ doll like an American Girl, but cozy for any well-loved doll.
My two-year-old daughter loves tucking in her dolls and stuffed animals, so a doll quilt is perfect for her! Doesn't her doll look so cozy?

Make a Mini Quilt with Baby-Sized Adventureland Scraps
My finished baby-sized Adventureland quilt was made with yardage from the Heirloom collection by Ruby Star Society. I love this line so much, I couldn't wait to use the scraps to make another quilt!

Step 1: Make an Adventureland Baby Quilt!
Follow the instructions in the Adventureland quilt pattern to make a baby quilt. However, do not trim your jelly roll strips down as instructed on page 3. Instead, piece each of your full-length strips together, then trim your blocks as shown in Figure 10.
An Adventureland baby quilt will be 42″ x 42″. The mini quilt I made with my scraps is 35 3/4″ square.
Because the baby version of the Adventureland quilt uses 8 colors instead of 10 like the throw, you'll need to add background blocks to your mini, which means this mini quilt takes a teeny tiny bit more work. But it's super easy, so let's get started!
Here's what you'll need to make your mini quilt using baby-sized Adventureland scraps:
- One fat quarter of background fabric
- Scrap batting
- 1 1/8 yard of backing fabric, or check out the sustainability tip later for how to use scraps to make your backing
- 4 - 2 1/2″ x WOF strips for the binding

Step 2: Arrange the Blocks
Lay out your blocks as shown above, so that Color H (the longest color) is on the right and Color A (the shortest color) is on the left.

Step 3: Make the Background Triangles
Cut a 15″ square of background fabric, then cut it diagonally twice to make four triangles. If you have a long ruler, you can skip pressing the fabric to make guide marks as instructed in the Adventureland pattern (also shown above), but it can be a helpful step to ensure that your fabric is an accurate square.

Step 4: Sew Background Triangles to the Blocks
Line up the right side of the background square with the Color A strip, right sides together, and sew together. Make sure the top of the background triangle is lined up with the block, and the bottom of the background triangle hangs 1/4″ below the block (see picture below for a closeup).

Depending on the size of the selvages on your fabric and how accurately your baby quilt was trimmed, you may need to either trim the block or the background square once it's sewn on. That's ok! Because you're working with scraps, there may be some variation at this step.


Step 5: Sew the Blocks Together
Following the instructions on page 7 of the Adventureland quilt pattern, sew the blocks together, and the top is done!

Step 6: Finishing Your Adventureland Baby Mini Quilt
The scraps from a baby-sized Adventureland quilt are pretty big! I chose to keep my quilt at a 35 3/4″ square. Doesn't it look beautiful hanging above a crib with its coordinating baby-sized quilt?
If you like the look of borders, you could add a 3 1/2″ border to each side to get the quilt up to about 42″ square, and now you've made two baby quilts!


Sustainability Tip: Make a Scrappy Backing!
Instead of buying new fabric for my mini quilt backing, I made a scrappy back! I used the leftover backing from my baby quilt (blue), a scrap of leftover background fabric (pink and cream woven), and a scrap from a different quilt project (solid pink). I also used scrap batting that was leftover from a previous project. It's a win-win to use up even more of your leftover fabric for your back because it adds even more color and texture to your mini quilt!

Tell us what you plan to make with your Adventureland scraps in the comments below! And keep watching the blog for more scrappy tutorials!


Love the quilt! Where did you get the doll?
Thanks! It’s a HarperIman doll. They have dolls available on their website and in Target (though they can be very hard to find).
Thanks for this great idea. Somehow the mini appeals to me more than the big quilt with this pattern–I’m going to make just the wallhangings!
Ooh, making a second baby quilt would be perfect for twins! Related yet individual, just like twins. Curses, friends, for all your singleton births!