Starling Quilt Sew Along Week 5: Assemble Blocks
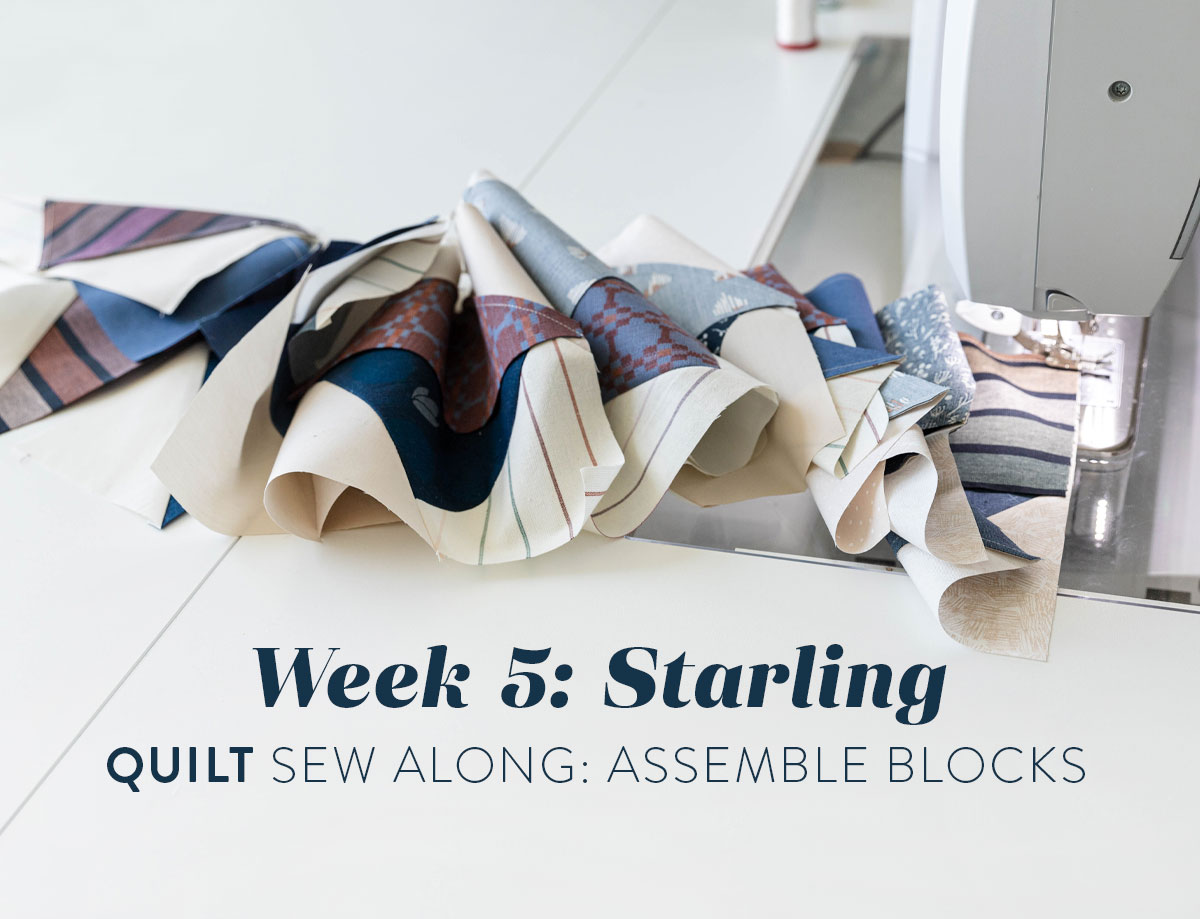
It's the BEST week, folks! Well, I think so anything. In Week 5 of the Starling sew along we assemble our blocks. At this point we have all of the star parts and now we get to see them come together. We will be focusing on pages 6 and 7 of the PDF pattern.
The one thing to keep an eye out this week is lining up the seams of your corner squares. I'm not a stickler for this being exact, but I do know the gratifying feeling of seeing seams line up well. It's such a fun zing of pleasure! I want you to get lots of zings this week, so I filmed a video to show you a couple ways to do this.
If you're just popping into this sew along — welcome! You can find all of the posts in the Sew Along tab forever and always. Even if you can't make this quilt during the scheduled time listed below, that's OK! Follow along at your own pace whenever it works for you.
However, if you are following along in real time, don't forget to post your progress on Instagram using #StarlingQuiltSA so you can be entered to win prizes each and every month. Skip to the bottom of this post for the sponsor and prize this week.
Starling Quilt Sew Along Schedule
- Week 1, March 31: Gather fabric
Sponsor: Lamb & Loom - Starling Quilt Kit (Gemstone) + surprise backing
IG LIVE - @suzyquilts: Monday, April 3 @ 2pm Central - We discussed fabric selection + Q&A - Week 2, April 7: Cut fabric
Sponsor: Global Fiber - Flowering Trees by Oana Befort fabric bundle - Week 3, April 14: Sew square-in-square units
Sponsor: Art Gallery Fabrics - two winners getting two FQ bundles 🙂 - Week 4, April 21: Sew flying geese units
Sponsor: Thai Charm - throw size quilting - Week 5, April 28: Assemble blocks
Sponsor: Sewing Arts Center - $100 gift card
IG LIVE - @suzyquilts: Tuesday, May 2 @ 2pm Central - We will discuss block assembly + a demo on 3 different ways to pin a block to get your seams to align. - Week 6, May 5: Finish quilt top
Sponsor: Trace Creek Quilting - throw sized quilting

Week 5 Assignment: Assemble Blocks
I LOVE seeing these blocks come together, so let's jump in!
Trending patterns!


Quilt Patterns


Quilt Patterns


Quilt Patterns


Quilt Patterns


Quilt Patterns


Quilt Patterns


Quilt Patterns


Quilt Patterns


Quilt Patterns
Tip #1: Place your units in Block piles.
Using the chart at the top of page 6 in the pattern, create three piles — Block A, Block B, and Block C. Within each pile, organize the units that will make up those blocks. For example, Block A is a full Starling block with all of its star points. That means each Block A needs (4) c pieces, (4) flying geese, and (1) square-in-square.
Organize all of your piles before you sit down at your sewing machine. This is important so you don't get to Week 6 and realize you just sewed a bunch of B Blocks. 😉

Tip #2: Chain piece by block pile.
If you are able to stay organized, feel free to ignore this tip and chain piece all of your blocks at the same time. I found it helpful to work on all of my A Blocks, then move on to my B Blocks and so on.

Tip #3: Pin to match your seams.
You don't need to worry about matching every seam perfectly, but here is a video tutorial on how to match seams that should help you on your way


Tip #4: Learn to love your dimples.
One question that's popped up in the Suzy Quilts Patterns FB group during previous sew alongs is about dimpling. I personally think dimples are adorable, but the dimples you're wondering about are not located on sweet pudgy cheeks. No, these dimples are glaring at you after pressing — most likely after pressing with steam. Here's what's happening...
- Dimpling will often happen if your fabric was not pre-washed. Since we've been sewing with FQs, they haven't been.
- These dimples occur usually after using steam because your hot steamy iron is causing your fabric to shrink and warp a little bit.
- These fabric dimples are not a problem. I repeat, they are fine and normal and everybody has them sometimes.
- Once your quilt is finished, washed and slightly crinkled from everything shrinking a little, they will be completely gone.
Here's a pic of some of my dimples. They don't always pop up, but it's totally fine when they do.

And there you have it, folks! I suggest you continue to keep your finished blocks into organized piles, but if you feel the urge to throw them up in the air in celebration, I support that too.
Week 5 Sponsor & Prize
Our Week 6 sponsor is the Sewing Arts Center giving away a $100 gift card! SAC carries the best, high quality quilting fabric, notions, and sewing supplies you can find and it's no secret that we absolutely love the owners, Julie and Rachel.
How to Win
- Post a pic to Instagram. The photo prompt for Instagram this week is to post a pic of your Starling progress. Use #StarlingQuiltSA in the caption.
- You must have a public Instagram profile to participate.
- Each photo posted is an entry and you can enter as many times as you want in a single week. Once the week is over, those posts do not count in the next week's giveaway. Every week we start fresh.
- Your photo must be posted between Friday, April 28 and Friday, May 5. The winner will be picked randomly from all qualifying posts and announced at approximately 4:00 p.m. Central on the 5th.


How do I get the Starling pattern?
You can find all of our patterns by clicking the SHOP button in the menu. Here is a direct link to the Starling pattern. We hope you enjoy it!