Thrive Quilt Sew Along: Week 2: Cutting
Welcome back, Thrivers! I hope you had a great week full of pretty fabric. Last week in the sew along we assembled our 9 favorite fat quarters as well as any extra sewing supplies. For a rundown on Week 1, as well as the full sew along schedule, check out the Week 1 blog post here.
Alright. Enough talk about the past. Moving on to the present and Week 2! It's time to sharpen those blades – let's cut!
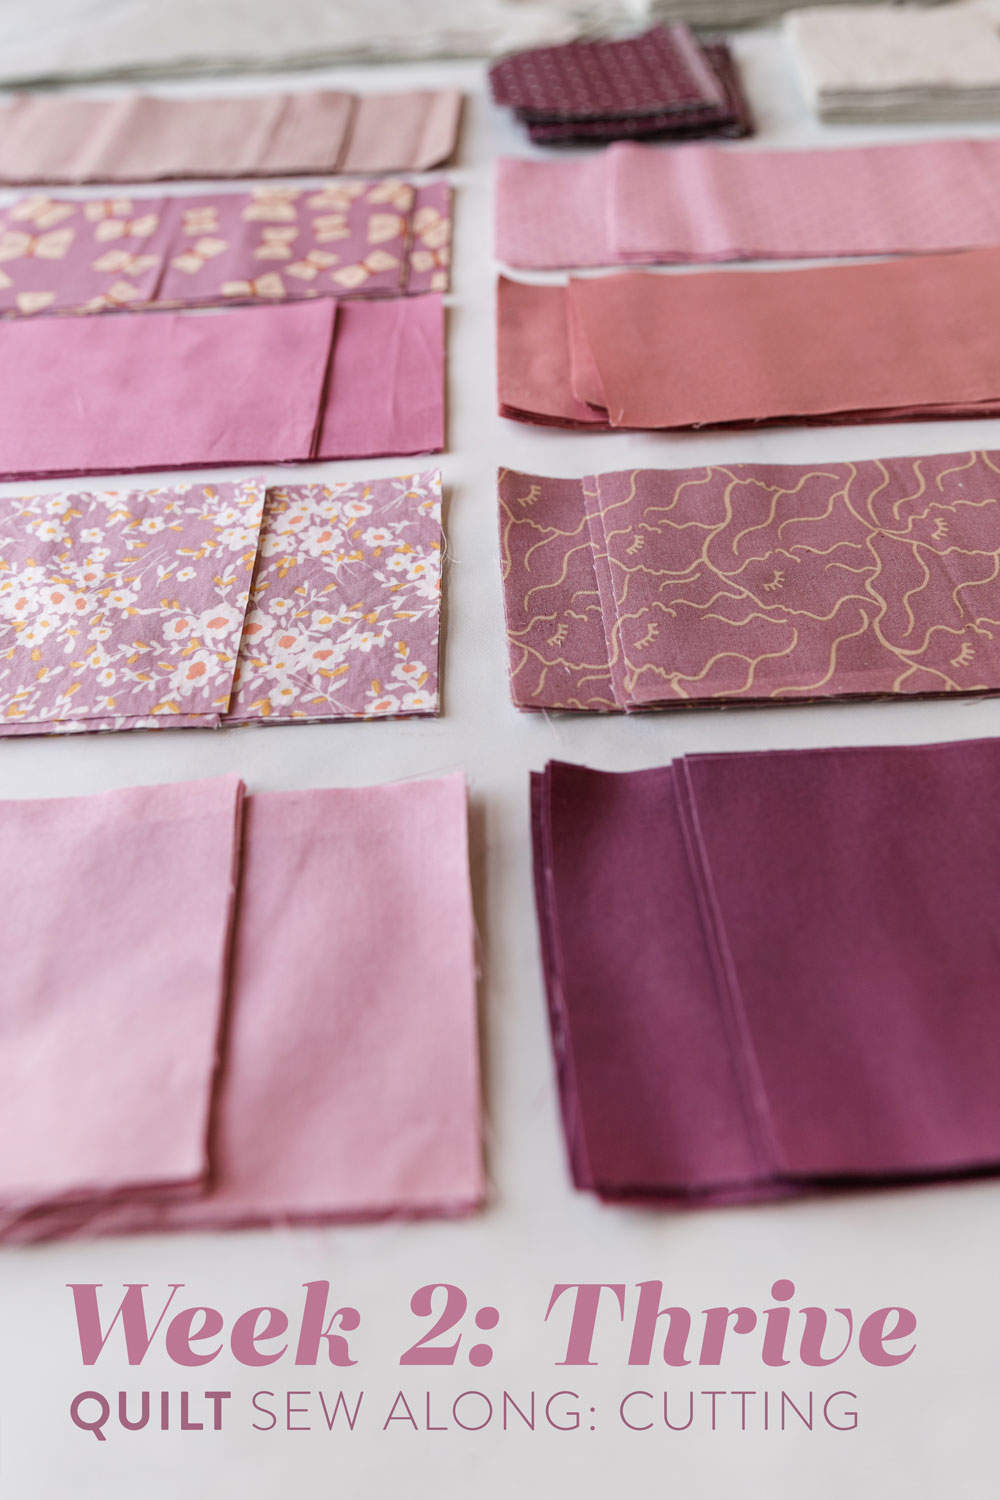
Thrive Sew Along Week 2: Cut Your Fabric
Sew Along LIVE Videos
If you would like to join me live to review each week's assignment, I will be hosting live video discussions to answer your questions each Wednesday evening at 7:30 CDT. I will try to go live both on Instagram and in the Suzy Quilts Patterns Facebook group, however if there is a demonstration involved I will just go live on Instagram and then post it to the FB group afterwards.
If you would like to watch the Week 2 Instagram LIVE check it out here!
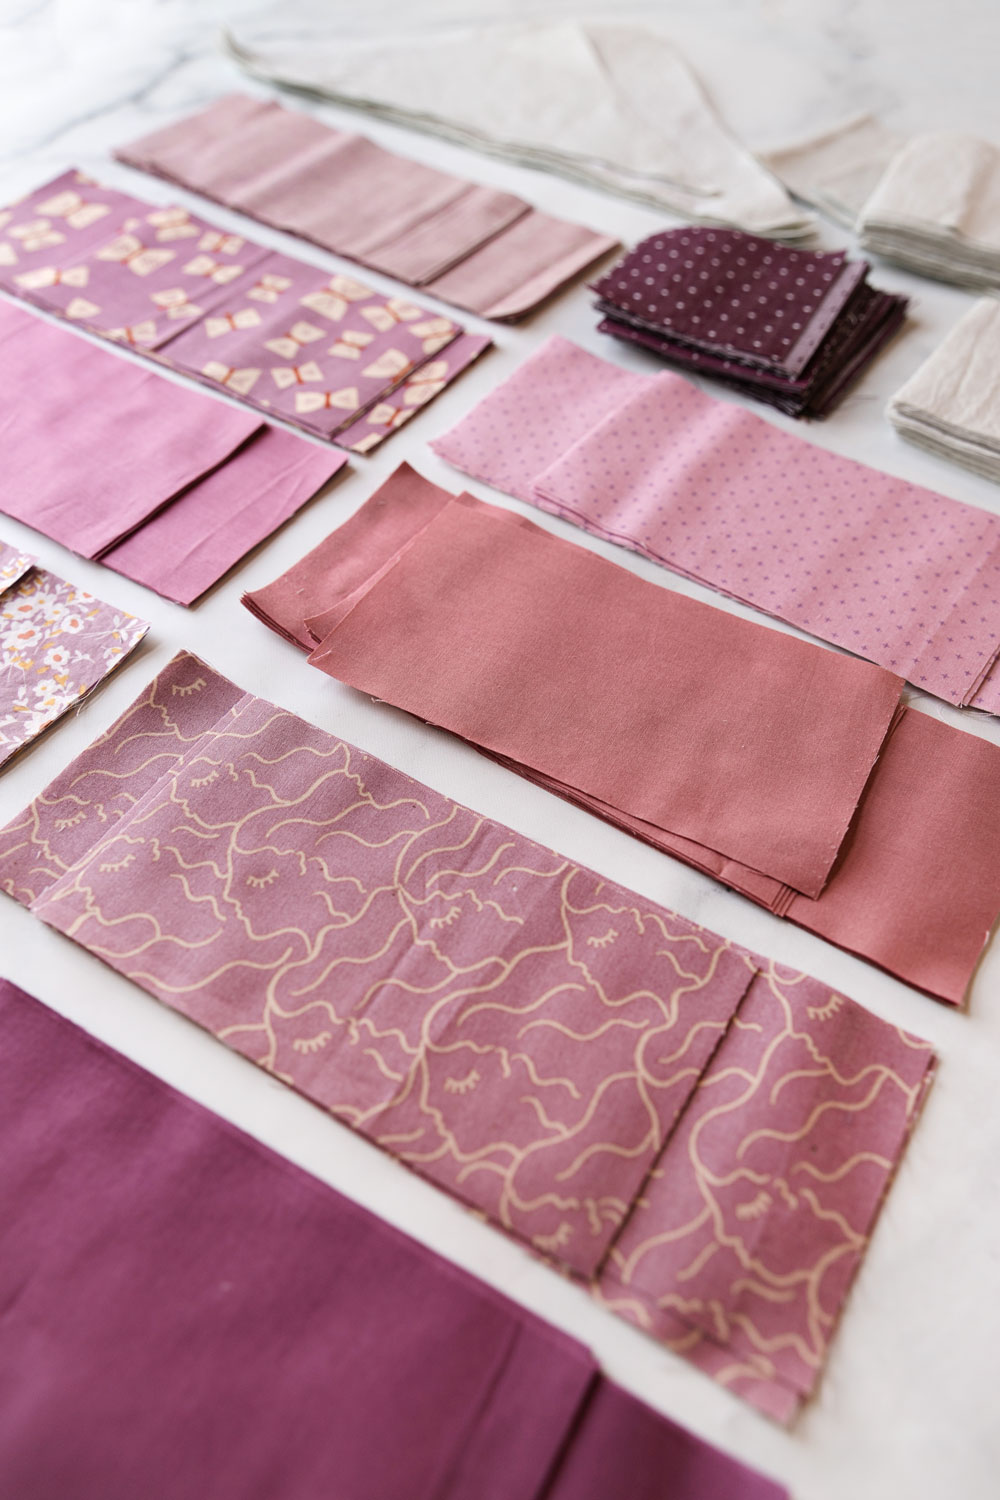
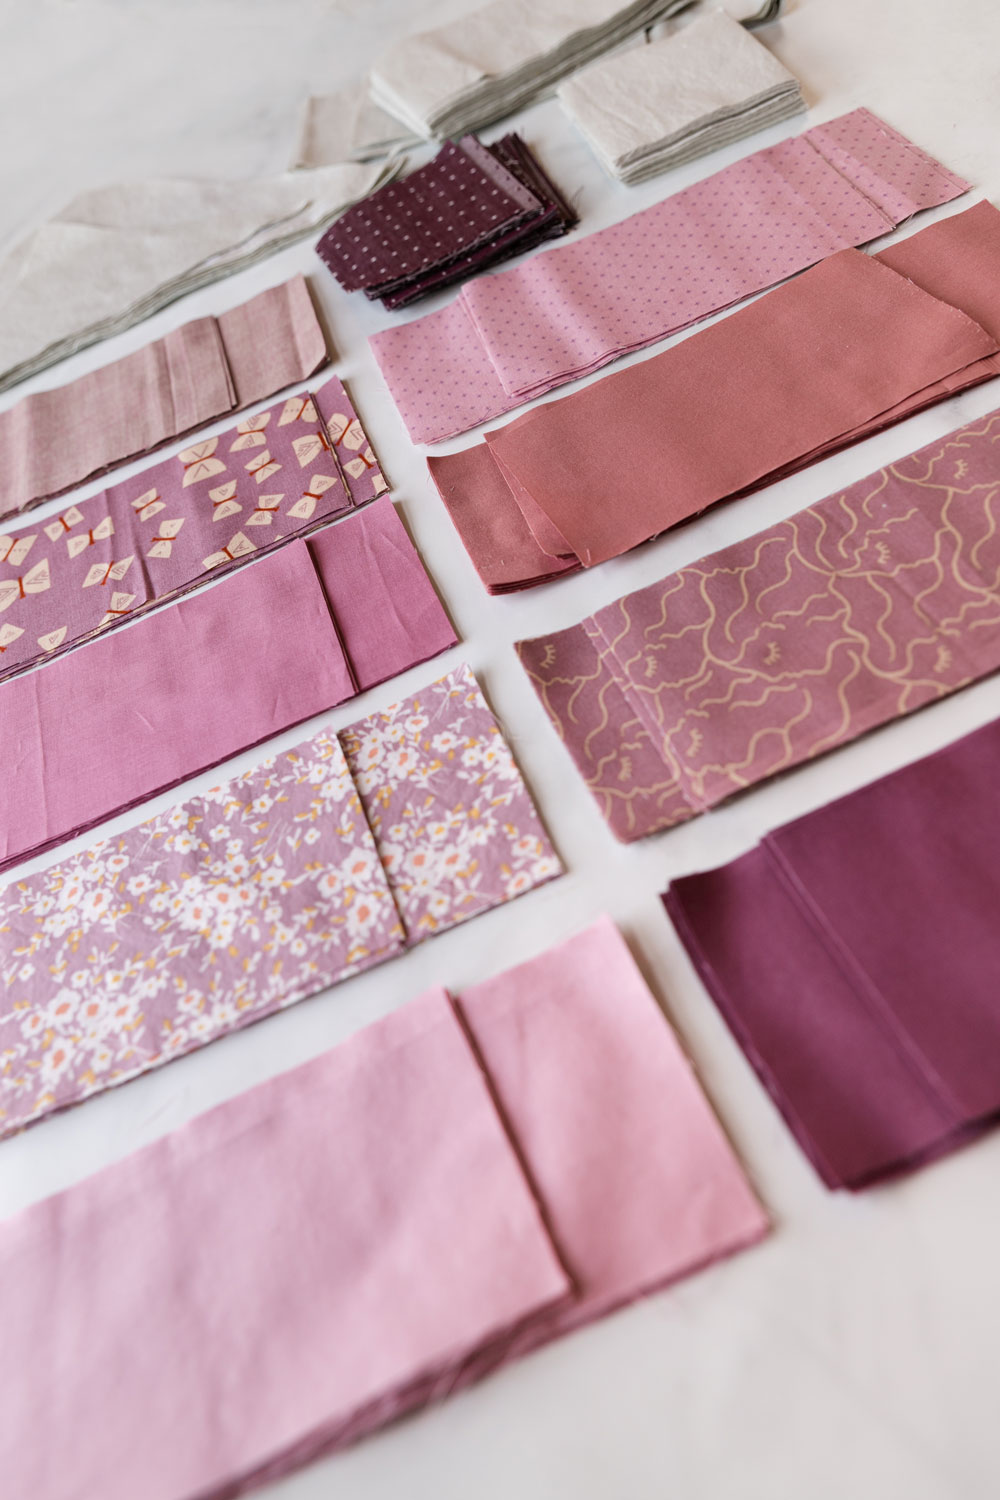
Cutting the pieces needed for the Thrive quilt is pretty straight forward. For the most part you are cutting straight strips and then sub-cutting those strips into squares and rectangles. Pages 3-5 of the pattern include cutting charts for all of the quilt sizes (king, queen/full, twin, throw and baby).
Trending patterns!
If you look at Fig. 1 on page 3, you see a layout of a fat quarter and how to orient and cut it to maximize the fabric. This takes all of the guesswork out of cutting so you can relax and enjoy the process, since I know cutting is everyone's favorite part of quilting, right? 😉
Cutting Triangles: Be Gentle
If there was a tricky part to cutting the Thrive quilt it would be cutting large squares to later sub-cut into triangles. The f squares are all 14", which I'm guessing is wider than your basic quilting ruler.
If that's the case, you need to line up the edge of your fabric with a vertical line on your cutting mat and measure 14" over to make your next cut. Keep your fabric smooth, double check your measurement, put significant pressure on your ruler with your non-cutting hand, then slice!
For a basic tutorial on cutting with a ruler, rotary cutting and cutting mat, skip to minute 6 of this video...
Supplies
Cutting straight strips doesn't require any special tools other than the basic ones you probably already have. If you want to know what tools I use in the video above they are...
Once you cut your large f squares, line up your ruler with one of the square's diagonals and cut from corner to corner. Do this again from the other corner without moving your fabric.
Here's where you need to be gentle. Before you cut those triangles the perimeter of the f square was cut on grain. Now, however, the interior cuts are on the bias so they are stretchy.
Inevitably when cutting triangles you will have at least one side that is on the bias...it's just the way geometry and fabric work. What's great about the two different ways we cut triangles in the Thrive pattern is that once you sew them into your quilt, the bias edges will be stabilized by seams while the non-stretchy on-grain sides will create the perimeter of your quilt.
Ta-da! Minimal stretch and maximal stability. Success all around!
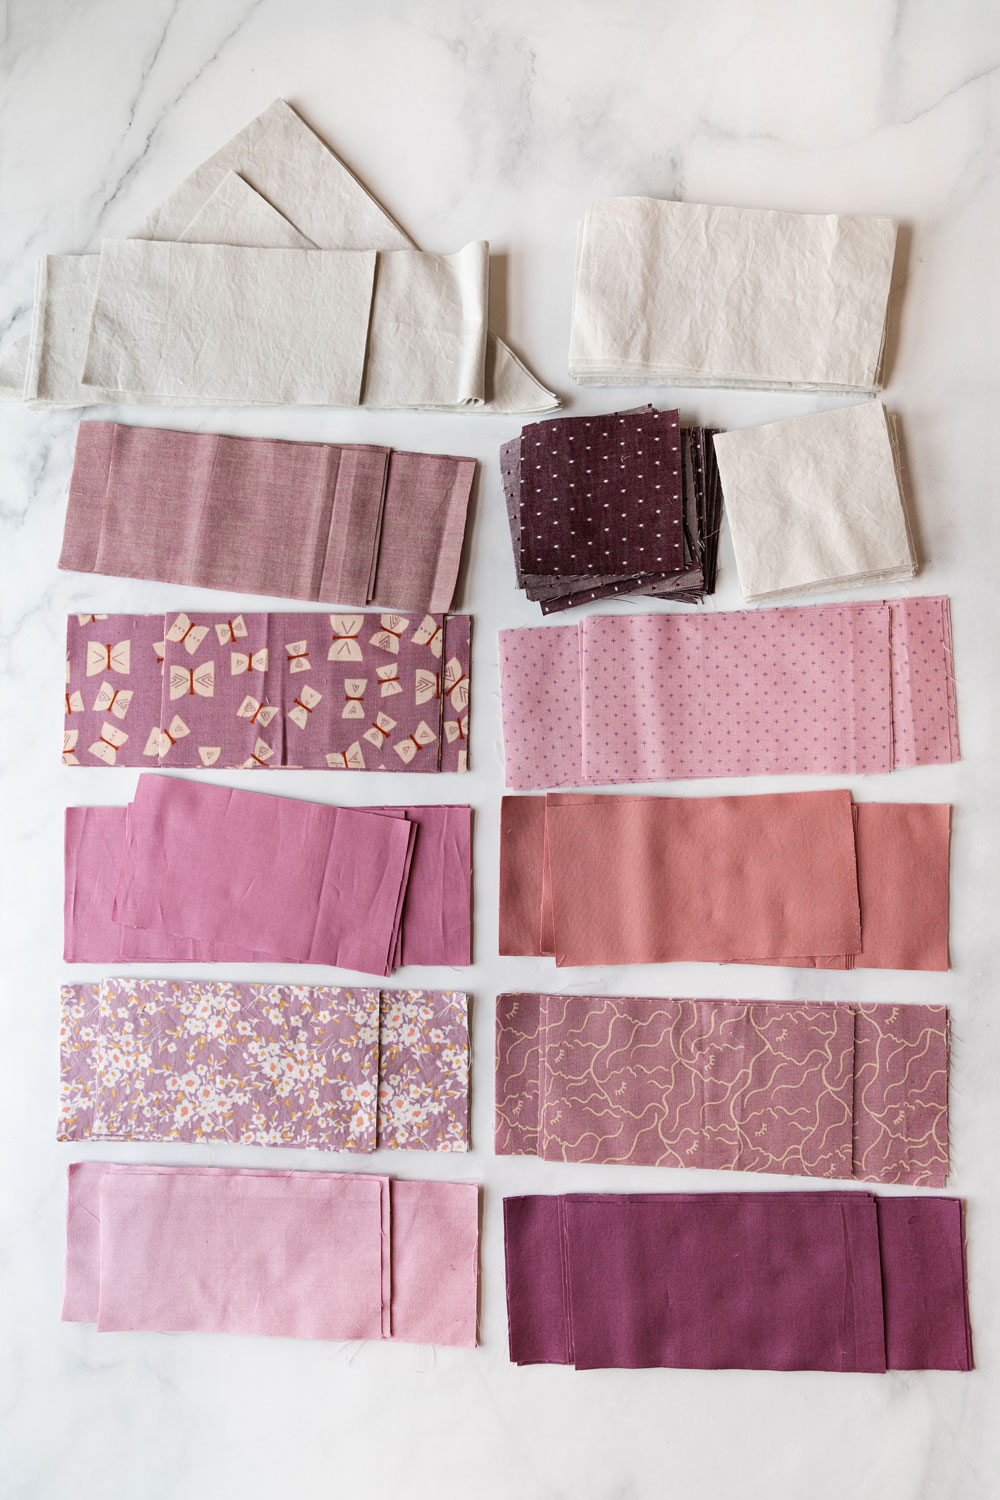
My Thrive Fabric
- Colors 1-9: Scraps from my stash. I think they include: Cotton Couture Solid Aubergine, Alma She in Lilac, Cotton Couture Solid Antique, Add It Up Lavender, Warp & Weft Cross Weave in Lavender, Calico Days Lavender, Cotton Couture Solid Dusty Rose, Alma Butterflies Lavender, Kaffe Fassett Shot Cotton in Mushroom
- Color 10: Kaufman Chambray Dots Burgundy
- Background: Art Gallery Fabric PURE Solid Light Gray
Optional Meditation and Thrive Challenge
If you would like to participate in some mindfulness meditation, this week we are practicing gratitude toward the beautiful fabric we get to use. A lot of creativity, time and hard work was put into making the fabric we now hold.
Let's take a bit of time to think on that and be grateful that we get to own, manipulate and further our creative journey with it! What do you love about this fabric? Do you see the tiny threads woven together to make it? Mundane items can turn into tiny miracles if we view them with curiosity and wonder.
This may feel cheesy, (but hopefully bring a smile to your face) can you thank your fabric? Hold some fabric in your hands, Marie Kondo like, and tell it thank you.
Thrive Challenge: This is when we take outward action. Some time this week check in on a neighbor or friend. These are the people woven into your life, just like the tiny threads that make up our fabric. Check in to make sure the "weft and warp" of your community is thriving.
The Week 2 Prize
Ready for another great prize? This week the online fabric shop, Cottoneer, is donating a $100 gift certificate to the winner of Week 2!
How to Win
- Post a pic to Instagram. The photo prompt for Instagram this week is to post a picture of your cut fabric or progress on your quilt top. Use #ThriveQuiltSA in the caption.
- You must have a public Instagram profile to participate.
- Each photo posted is an entry and you can enter as many times as you want in a single week. Once the week is over, those posts do not count in the next week's giveaway. Every week we start fresh.
- Your photo must be posted between 12:00 a.m. CT on Wednesday, July 8, 2020 and 1:00 p.m. CT on Tuesday, July 14, 2020.
- This prize is open internationally.
- The winner will be picked randomly from all qualifying posts and announced at approximately 4:00 p.m. CT on Tuesday, July 14, 2020.


I’m so excited to get started but my fabric isn’t here yet 😭 Hopefully on Friday!! Still plenty of tome to get it cut before Week 3 rolls around. And I can’t wait to feel my fabric!! AGF is heavenly ❤️
Agreed. So enjoy working with AGF!
I love AGF … cant wait to see what you are using!!!! Happy Cutting!!!!
Suzy, do you have tips for cutting multiples of the same item? Do you cut each square individually or do you sometimes stack strips and go? I’m worried about shapes getting wonky but individual cutting can be a pain in the rear.
Bailey, FWIW I’ve been cutting multiples. It really does save time. I stacked 2 FQs if they were about the same slanty-ness (some FQs are not always cut perpendicular to the selvage, sigh). Then I stack strips to cut the individual pieces. Up to 5 layers, but a sharp blade is imperative. My thinking? My ability to sew in a straight line is not always perfect, so a millimeter or 3 difference in size? eh. YRiskAversenessMV.
I use the creative grids stripology ruler and it is much easier to cut multiple layers for any quilt. Gudrun Erla, the designer of that ruler has excellent videos on her website. (gequiltdesigns.com)
I actually enjoy the cutting process…I guess I’m weird that way!! Your fabric choices in this example are so lovely, I am tempted to make 2. I am using charm packs, fat quarters and yardage…trying to decide whether to wash my yardage…
What is the purpose of the border strip at the top of the pattern, which is made from the cutting strips H? Is it visual or functional? Backing and binding fabrics are on their way, hope they work as well IRL as they do on the screen!
It’s purely visual. I think the layout of these blocks has the appearance of tulips blooming and adding that extra space at the top accentuated that. It can be left off, though, if you don’t feel like sewing it on. 😉
I love the look of all if your quilts . They are clean and refreshing!
What a sweet thing to say! Thank you!