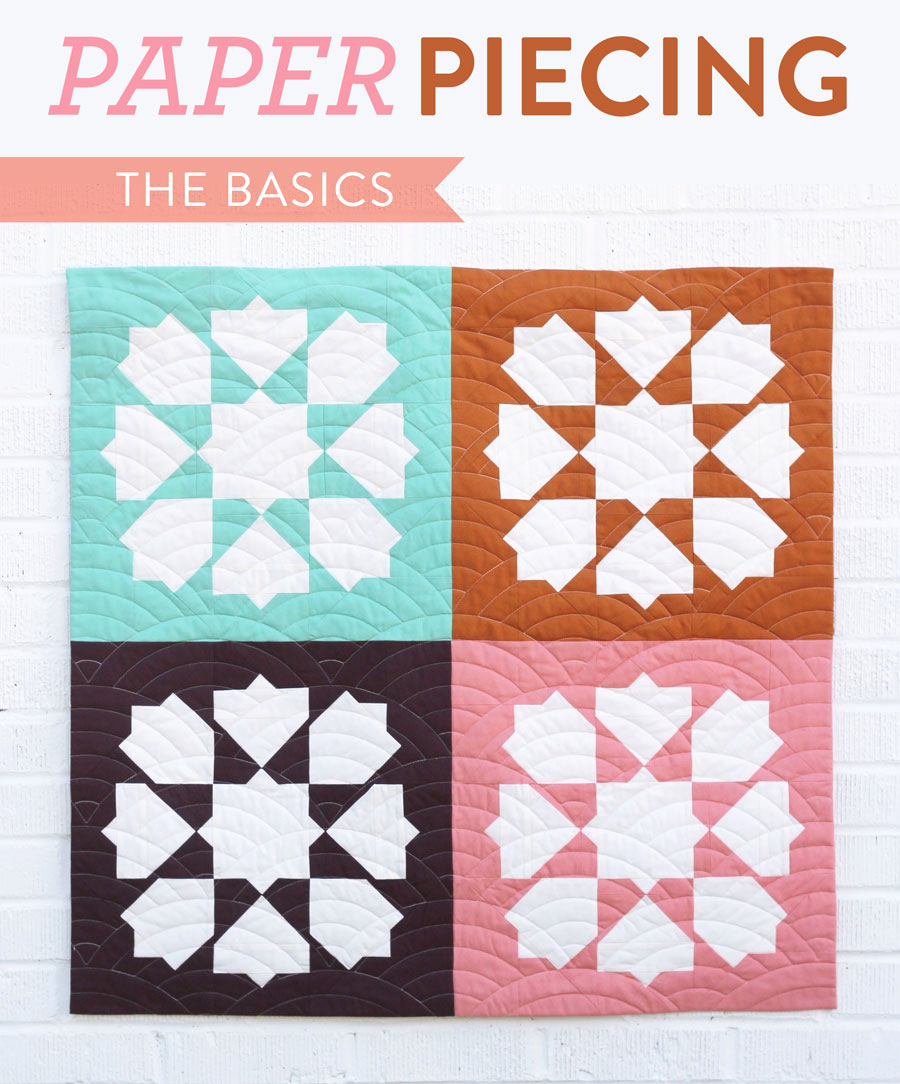
All of the Tips & Tricks You Need for Paper Pieced Quilt Blocks

So by now, y’all have probably noticed that I’m not perfect. Like, not even close. Don’t worry about hurting my feelings – I totally own this. But quilting, it’s one of those crafts that demands as much perfection as you can give it.
When I’m quilting, being imperfect can get pretty frustrating. If you’re like me, and getting perfect points while machine stitching fabric seems impossible, you should definitely try this magical little secret called paper piecing. Paper pieced quilt blocks are an easy (or easier) way to reach that near-perfect look we’re all going for.
What Are Paper Pieced Quilt Blocks?
I’m so glad you asked! Paper pieced quilt blocks are quilt blocks made by stitching your fabric directly onto paper. Some people call this foundation paper piecing, or FPP, and it’s especially useful when you’re making small blocks, intricate angles, or when you’re a quilting newbie (don’t we all feel like newbies sometimes?)
This post is all about how to sew your own gorgeous paper pieced quilt blocks. We’ll talk foundation papers, stitch length, needles, and tips. It’s going to be great. Get ready for near perfection.
Paper Pieced Quilt Blocks: The Paper Part
There are actually a ton of paper options when stitching paper pieced quilt blocks. Different people have different preferences, and different papers have different strengths and weaknesses.
Trending patterns!


Quilt Patterns


Quilt Patterns


Quilt Patterns


Quilt Patterns


Quilt Patterns


Quilt Patterns


Quilt Patterns


Quilt Patterns


Quilt Patterns
- Carol Doak’s Foundation Paper: You guys, Carol Doak has got it going on. Her foundation paper is handy (though admittedly fancy and more expensive) because it’s not bulky, it absorbs ink really well, and you can print straight onto it. It holds up really well during stitching, but it’s still pretty easy to tear away afterwards. If you want to set yourself up for success, Carol Doak is your friend.
- Simple Foundations Translucent Vellum: This is also a fancier option than your regular freezer or tracing paper, but it has a higher cost for a reason. Vellum is really easy to see through, and also really easy to cut (and tear away.) If you’re worried about your paper piecing project going well, this will simplify the process a bit. Watch for some light ink smearing straight from the printer--vellum is a little less absorbent than Carol Doak’s creation.
- Plain Old Printer Paper: So, people do this. But unless you love making things super hard on yourself, just don’t. Literally every other paper option is better than copy or printer paper. Printer paper is just not made for this. It is, however, it does work well when printing out digital patterns. (shameless plug. SHOP NOW!) So keep it around.
- Freezer Paper: Some quilters are all about the freezer paper, specifically because you can go ahead and press the first piece right onto the pattern. It’s also considerably less expensive. But here’s the thing about freezer paper: it’s a stubborn little bugger. Unless you have a special set of skills, it can be hard to rip off the back once you’re finished.
After you have chosen your paper of choice, print or trace your pattern onto the foundation paper. This is where you might want to use printer paper – to print your pattern first before tracing it onto a better, more suitable foundation paper.
Paper piecing pattern printed? Perfect. Let’s get stitchin’.
Paper Pieced Quilt Blocks: The Stitchin’ Part
If you choose to perforate your foundation paper (which I highly recommend… it will make the ripping part WAY easier!) you can use a larger sewing machine needle, like a 90/14, and a shorter stitch length, around 15-18 stitches per inch, to make some perfect perforations.
After perforating (or not perforating), you’re ready to stitch! This is the fun part! Gather up your favorite rotary cutter, mat, foundation paper, a ruler, and maybe your favorite bluetooth headphones, and let’s get paper piecing! (Oh, I almost forgot – have some scotch tape on hand… just in case.)
Even though you used a 90/14 needle for perforation, make sure you swap it out for a super sharp 80/12 for the actual stitching. Smaller needles make it easier to sew with accuracy, and we’re going for accuracy here, people! As far as stitch length goes, shorter-than-normal is cool, but super short is going to make it really hard for you to remove the paper later. Go for about 16 stitches per inch.
At this point I could try to explain everything step by step, but I think this is one of those things that is easier to learn through watching a video. You probably already know Mary Fons of Quilty videos. She produced a two-part series that explains this process wonderfully. Check it out!
Paper Piecing Part 1
Paper Piecing Part 2
Paper Pieced Quilt Blocks: The Ripping Part
Before you get ripping, make sure you’re totally done piecing all of your blocks together. Even if your paper pieced quilt block is complete, hold off on your ripping until you have your blocks together. Trust me on this one.
Once you’re really really done, rip away! You’ll want to be gentle about it (quilts are people, too! Well… you know what I mean…) but if you used a lighter foundation paper, and specifically if you perforated first, ripping should be pretty easy.
Paper Pieced Quilt Blocks: The Part Where You Have a Perfect Quilt Block
Now, stand back, and admire the perfection of your hands! Okay, so paper piecing quilt blocks can be a hard method to master right away, and your first go at it may not be as perfect as I promised… but you’ll get there for sure! And I would love to see your finished project… perfect or not :)
Paper Piecing Pro: Lindsey Niell, Pen & Paper Patterns
My friend Lindsey was kind enough to let me interview her about foundation paper piecing. In addition to having phenomenal paper piecing skills, she is a designer and pattern writer with a couple paper piecing quilt patterns available for purchase.
Do you have any paper piecing tips?
A couple of things I’ve learned over the last few years when it comes to paper piecing:
- Don’t skimp on the fabric. When I’m cutting fabric for sections on a paper piecing pattern, I give myself A LOT of wiggle room. There aren’t many things more annoying than sewing on a piece of fabric for a section, being 1/8” too short and having to seam rip the tiny stitches out or, EVEN WORSE, having to start over.
- Take your time! Don’t rush through it. Double and triple check that your piece is positioned on the pattern correctly, that you have enough seam allowance, etc. Like I said, doing whatever you can to avoid ripping tiny stitches later is the goal!
- If you do have to remove your stitches and the paper piecing pattern separates on the sewing line, just use a piece of clear tape to repair the pattern. Be a little cautious when pressing that area later and make sure it’s a hot, dry iron. Steam will cause the paper to curl.
What are your favorite paper piecing notions/supplies?
A tool I find invaluable when paper piecing is the “Add-A-Quarter” ruler. The Add-A-Quarter ruler has a lip along the ¼” marking so when you go to trim the seam allowance the ruler grabs on to the folded edge of the paper piecing pattern, leaving exactly ¼” between it and the ruler. When you trim the fabric away, you have a precise ¼” seam allowance. I find that the ruler really helps to speed up the process too!
Did you teach yourself, take a class or were you lucky enough to have a friend teach you?
I am a self-taught paper piecer. I learned everything I know about paper piecing from YouTube, online tutorials and a lot of trial and error.
Is this something you think new quilters can handle?
Yes, definitely! I think paper piecing appears a lot more difficult than it actually is. There are many very beginner-friendly paper piecing patterns out there that will help you get the basics down and once you’re familiar with the basics, it’s really easy to move on to the more advanced patterns.
The first paper piecing pattern I tried that I think is great for beginners is Michael Ann’s Tiny Geese Keychain pattern. She has a great online tutorial for paper piecing as well!
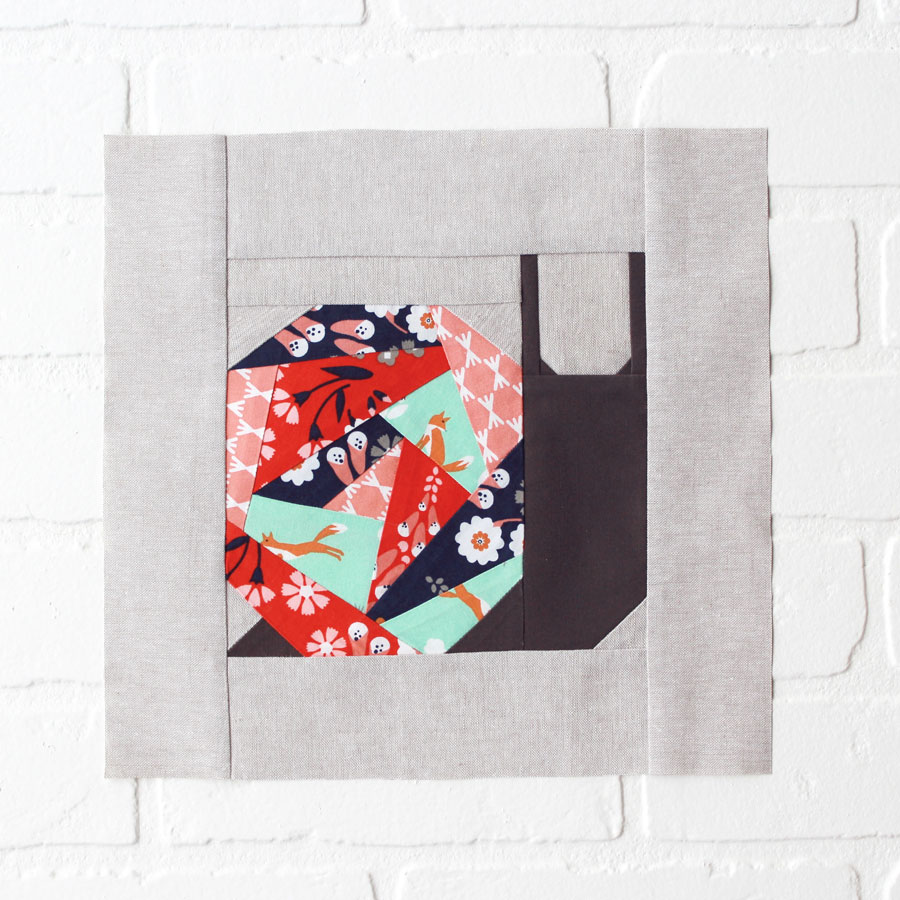
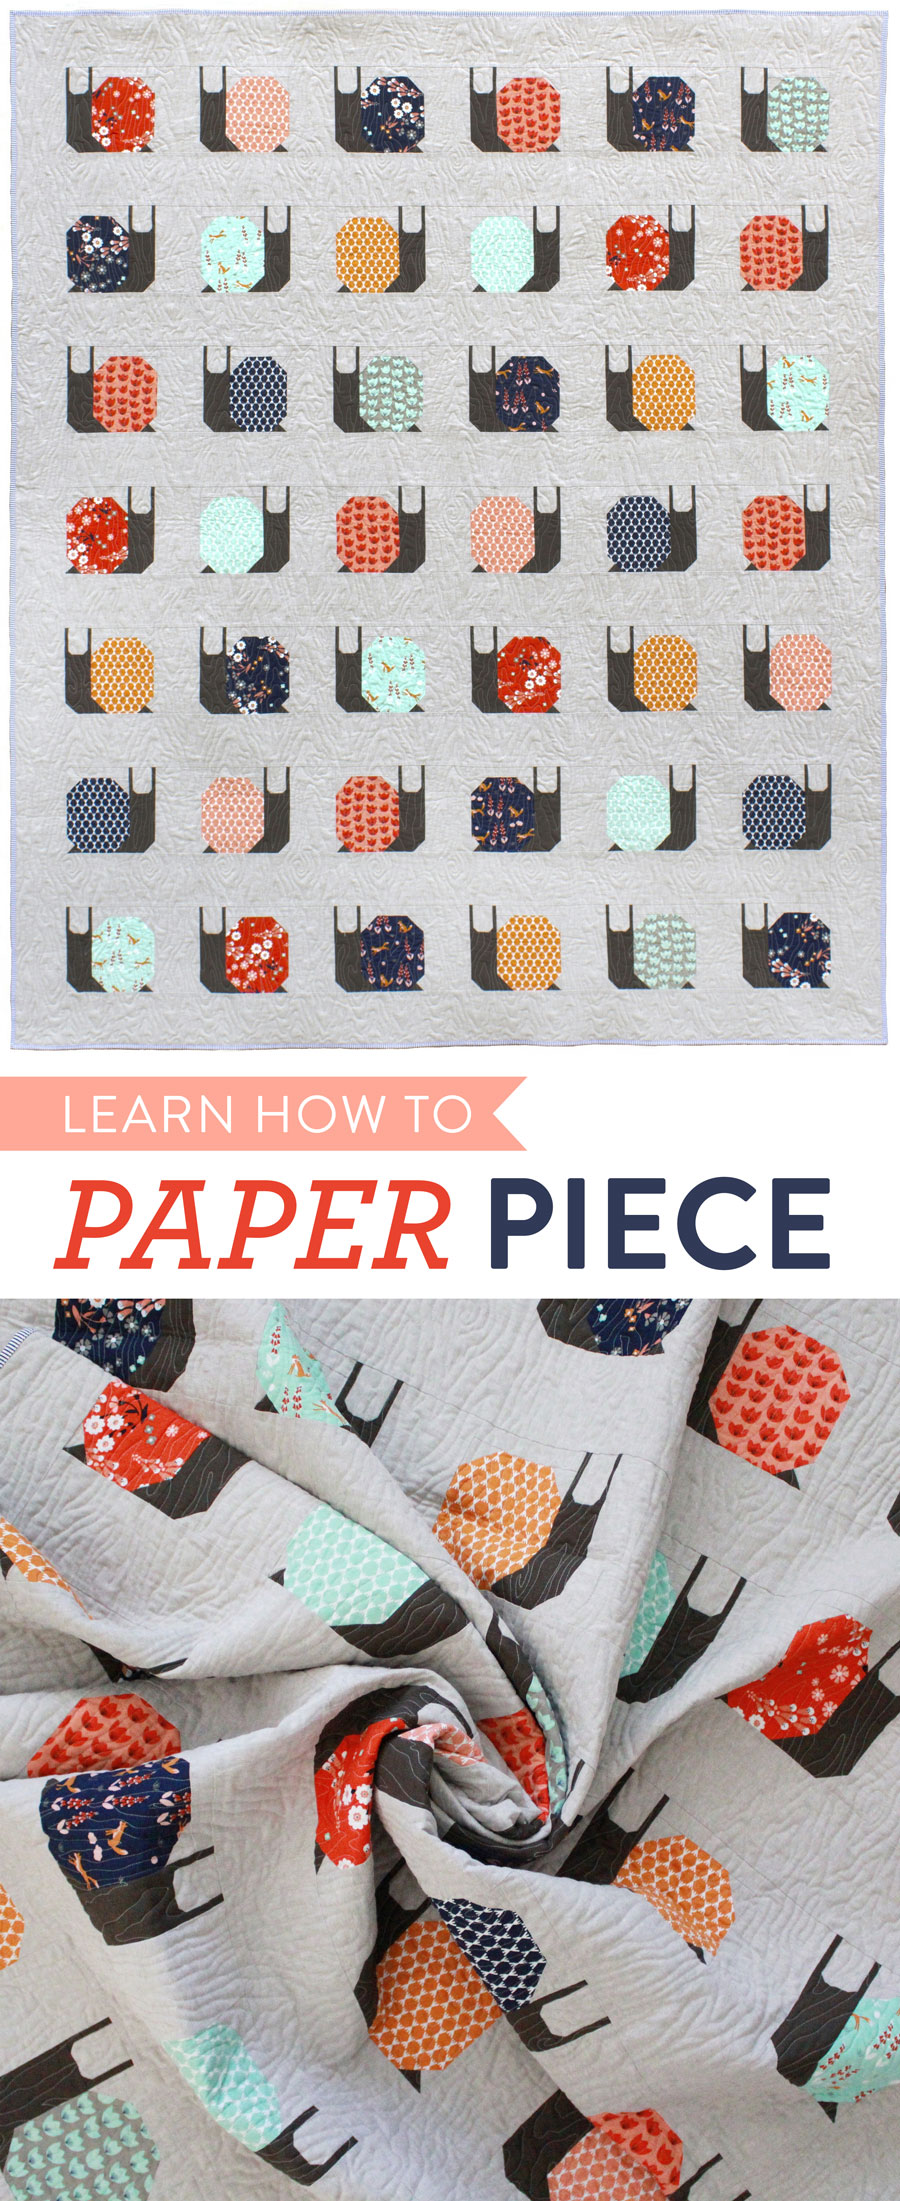
Buy Lindsey's Garden Snails Quilt Pattern HERE and her Tambourine Quilt Pattern HERE!


Hey Suzy!
Thanks for sharing this! I’ve been looking at trying some paper piecing, but I do not have any classes around here. This is that great starting point that I really needed!
Hope you and Scrap are having a great day!
I’ve been using newsprint paper from Amazon, about $11 for 500 sheets. It works fabulously, and such a great price!
I use light tear away 8 1/2 x 11 sheets for paper piecing. It tears so easy in both directions. It can be put through a printer ( directions say inkjet but I use a laser -works great). It is $8.95 for 100 sheets from Marathon Threads Co. A little spendy but I love it. I am not new to paper piecing but always like to find other ways, so read a lot of info and watch a lot of youtube for ideas. Thanks for the tips.
I have been quilting for over a year now and belong to a quilting group. I love to do paper piecing. I thought I would pass along a great tip. Print out or copy the pattern out on tracing paper. You can see the pattern on both sides and the paper come off very easily.
also if you have a lot of jelly roll strips, go to Walmart and get one of the old fashioned indoor clothes hangers for drying you clothes on. That way you can see all the strips and they are wrinkle free.
I have a large amount of backing for machine embroidery that was given to me. Would that be OK to use for paper piecing too?
That machine embroidery backing might be on the stiffer side, so I would try a couple test seams before using a lot of it. When making your test seams, have them intersect in a couple places and then see how easy or hard it is to rip off the backing. If the backing comes off without messing up the stitches, go for it!
What do you use on the back of paper piecing blocks?
I recommend getting some special paper made for paper piecing because it’s easier to tear. I have a few links above.
Hi. Is there any special ‘rules’ to use when determining the total amount of fabric needed for a whole paper- pieced quilt? I will be using about 13 random block patterns then sewing them all into one quilt. However, I want to make sure I buy enough fabric for all the blocks so my colors will be uniform. The patterns themselves do not give any indication of how much fabric each would take. Ideas?
hmmm…that’s hard to say without seeing these blocks. I’d err on the side of too much fabric rather than not enough. Maybe go with this, whatever the finished size of the bits of fabric used, double that. Helpful at all? lol 😉
How do you sew a section that has the hash marks on it? I can’t seem to figure out how to piece it together using the paper.
I don’t think I understand the question. I would recommend reaching out to the pattern designer. I bet they can answer your question better than me. Good luck!
how do I get the snail quilt pattern?
Just watched your videos in preparation for a Zoom workshop with Sarah Bond’s Coming Full Circle quilt patterns. Paper piecing experience wasn’t required (I have none) but thought I’d get a peek prior to the workshop. Your video was clear, precise and makes this look very easy. Thank you!
Thank you so much for the paper piecing videos. I was having a VERY hard time understanding what to do with the annies fiction quilt. You made it so easy. I am delighted.
I am scaling a paper pieced pattern 2.5 times, and a few of the pattern blocks/sections are already the size of a standard 8.5 x 11 sheet of paper. Do you have a suggestion for paper and what to use to attach two pages (not scotch tape, I’m assuming)?
Hey Carla! Personally, I use scotch tape to attach two pages of any pattern that is too large for a single piece of printer paper. It’s transparent and holds great!
I’d like to but the garden snail pattern but the link doesn’t work. Do you know the most current way to purchase the pattern?
Isn’t it cute? You can find that pattern on the Pen & Paper Patterns website 🙂