Fabric Star Ornament Tutorial
Christmas is quickly approaching, which for many sewists and crafters alike means only one thing: time to select this year's handmade, mass-producible gift for evvvvveryone on your gift list! Look no further than the Suzy Quilts blog, friends! A fabric star ornament tutorial to make one-of-a-kind decorations that your friends, family, and coworkers will love. And here's a little secret, they look much harder to make than they actually are!
Don't you love when that happens? Let's dive in!

I lovingly think of these fabric star ornaments as "starballs," although that's maybe not the classiest name for these beautiful decorations. Once you get the hang of the folding and pinning method, these can be very addicting to keep making over and over — and then it will take under an hour to create each one!
Can you tell that I just couldn't stop myself once I got started?
There are endless color possibilities so you can tailor-make each fabric star ornament to fit the personality of the recipient! Last year I made one for my grandma in neutral colors, and she has it hanging in her kitchen window year-round — they don't have to be strictly for the holidays.
Trending patterns!


Quilt Patterns


Quilt Patterns


Quilt Patterns


Quilt Patterns


Quilt Patterns


Quilt Patterns


Quilt Patterns


Quilt Patterns


Quilt Patterns


Fabric Star Ornament Supplies
- One fat eighth (or 1/8 yd) of three different fabrics (because these ornaments are relatively small, large-scale prints can be difficult to read. Solids and small-scale prints work well!)
- 2.8" Styrofoam ball (there are rough and smooth options - both work!)
- Dressmaker pins (200 pins per ornament)
- Small screw eyes - I used the size 17/32"
- 5/8", 3/4", or 7/8" ribbon
- Thimble
- Fishing line or a wire ornament hook
- Hot glue gun
- Cutting mat
- Ruler
- Rotary cutter

Step 1: Cutting the Fabric
You've chosen your three fabrics, and now it's time to start cutting! Cut the following for each fabric star ornament:
- Center of Star Fabric: (8) 2 1/2" squares
- Middle of Star Fabric: (16) 2 1/2" squares
- Outside of Star Fabric: (16) 2 1/2" squares


Step 2: Folding the Squares
Next up is folding the squares. This step marks each square into quadrants.
Take each fabric square and fold it in half WST (wrong sides together), finger pressing to make a crease. Then, fold the square in half in the other direction and finger press again. Your square should now be divided into four sections. Repeat for all squares.
Pro Tip! If you use an iron you can press multiple squares at once, speeding up the process.

Folding is arguably the least fun step of the fabric star ornament tutorial, but never fear, the fun begins in Step 3!

Step 3: Pinning and Folding the Center Star
After you've folded all your squares and pressed them into quadrants, it's time to get to the good stuff — folding and pinning them onto your styrofoam ball!
Take one square of your center of star fabric and hold it in your hand, wrong side facing up. Take one dressmaker pin and push it through the fabric just below the center of the square.


Then, push the pin into the styrofoam ball (a thimble is very helpful and saves your fingers in the pin-pushing process!)
Fold the top of the fabric down, matching it to the bottom edge of the fabric. The right side of your fabric should now be showing, and your fabric square will be folded in half.


Next, fold the upper righthand corner down, aligning it with the center crease. Place a pin to hold it securely against the ball.
Flatten the remaining corner of the triangle against the ball and place a pin in the corner.

Repeat the folding and pinning process for the opposite side, leaving a small gap down the center crease.


Grab another center of the star fabric square, and repeat Step 2, placing the pin as close to the first pin as possible without overlapping. Create a mirrored image of the first triangle, keeping the center creases aligned.
As you work your way through the fabric star ornament, you'll find that it works best to place one square, then work on the piece directly opposite it, creating a mirrored image.


Repeat this step to fill in the gaps between the triangles. Your ornament should now look like this.
You may have to adjust a bit to ensure there are no gaps between the triangles - they'll overlap some, which is totally fine, and the outer corners will not match up as you can see here.

Step 4: Pinning and Folding the Middle Star
Next up is our middle star layer! Grab a square of your middle star fabric and place a pin through the center on the wrong side.
Measure about 1/2" - 5/8" or so from the center, and place the pin into the center crease of one of the triangles.


Fold and pin the square into a triangle, just like you did in Step 3. Repeat for the opposite side, then repeat for the remaining two sides.


Before moving on to the next layer, we're also going to create triangles in the diagonals! Insert a pin into the wrong side of the middle star fabric and repeat the folding and pinning process on the four diagonals, working in pairs of opposite sides. This will create the star shape!


Step 5: Pinning and Folding the Outer Star
Our fabric star ornament is really starting to take shape! Now, let's add the outer star layer. Take a square of your outer star fabric and place a pin through the center on the wrong side.
Measure about 1/2" - 5/8" or so from the center of the middle layer, and place the pin into the center crease of one of the triangles. Fold and pin to create a triangle, then repeat for the opposite and adjacent sides. Repeat this step for the diagonals as well.
Step 6: The Second Side
Voilà! You're halfway finished and I can tell you're getting into the swing of things! This side will come together even faster.
Do your best to find the center of the opposite side of the styrofoam ball. I'm not too particular, so I just lay the ball face down on the side I just finished and eyeball what appears to be the middle of the blank side.
Repeat Steps 2-5 to create side two of your fabric star ornament.

Step 7: Adding the Screw Eye
Fire up your hot glue gun! Decide which side of your ornament will be the top. I usually shoot for a side where there isn't a whole lot of fabric from the two sides overlapping, which makes it easier to insert the screw eye.
Push the screw eye into the center of the top of your ornament to "pre-drill" the hole. Take it out, add some glue to the end, and reinsert it into the hole as shown below so that the hole is aligned with the sides of the ornament.


Step 8: Adding the Ribbon
We're in the home stretch now! Before we glue the ribbon down, double-check that your ribbon is wide enough to cover all of your pins all the way around. If it doesn't, never fear, just find a wider ribbon!


Cut a piece of ribbon that's about 3/4" longer than the circumference of your fabric star ornament. Fold one end over 3/8" or so and glue it WST to create a nice finished end that won't fray.
Butt this end of the ribbon snug against the screw eye. Begin gluing the ribbon down around the ornament. When you get about 3" from the end or so, figure out how much of the end to fold under to have it fit snugly against the opposite side of the eye screw.
Glue the raw edge under just like you did with the other end, then continue gluing the last bit of ribbon down, butting the finished end up against the other side of the screw eye.

Tie a loop of fishing wire through the eye screw, or use an ornament hanger to finish your fabric star ornament!


And just like that, you've created the first of many fabric star ornaments for everyone on your gift list from your Secret Santa at work to your mailman. There's just nothing that gets me in the holiday spirit quite like a fun, quick, and rewarding DIY project!


My sister wanted one of these and I didn’t have a pattern, but now I do! Thank you so much!
Would it be possible to get these instructions as a pdf?
Your best options are to either bookmark this URL or copy and paste the info into a Word doc.
These are so cute! Love them! Great tutorial, too!
Love these and you are SO good at picking fabric/color combinations. 🙂
Did you have a specific collection of fabrics that you made these with?
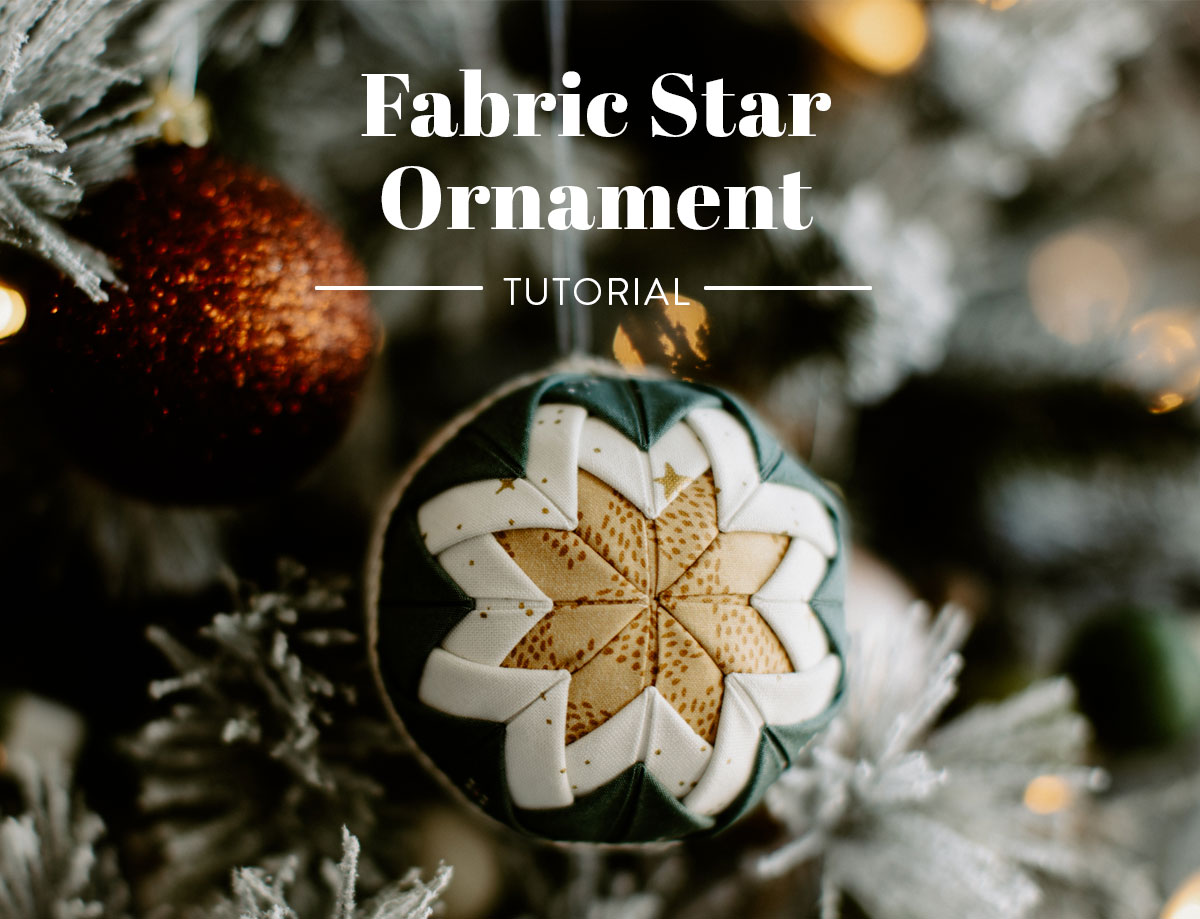
Hi Crystal! For the main ornament in this post, here’s what I used:
Green – Seeded Eucalyptus by AGF
White – Primavera Stars in Cream Metallic by Rifle Paper Co
Gold – Tiger Lily Trail 120-21687 by Paintbrush Studios
Is there a measurement for larger styrofoam balls?
Hi Debby! This tutorial could work for 3″ balls. You may end up with a larger gap between sides at the end and you could use a wider ribbon to cover it. If you want to try even larger, you’ll have to size the fabric squares up. Good luck!
I have 2 dozen three inch balls. Would those work or would I need to change my fabric square size?
I think 3″ balls would work! If you ended up with a larger gap between sides at the end, you could use a wider ribbon to cover it.
Do you think these could be made with a glue gun rather than so many pins?
Unfortunately, I think the styrofoam would melt with the heat from the hot glue! I think pins would be your best bet.
I made these a long time ago and we had an ornament swap last weekend and my mom brought the ones I made. Now I have some requests to make these for my neighbors, they loved them so much! I forgot how many pins it requires 😅
I’m also very interested in finding this particular fabric collection!
Hello! For the main ornament in this post, here’s what I used:
Green – Seeded Eucalyptus by AGF
White – Primavera Stars in Cream Metallic by Rifle Paper Co
Gold – Tiger Lily Trail 120-21687 by Paintbrush Studios
Amazing!!! Grazie for sharing ❤️
Wait, is it really 200 pins per ornament?!
You read that correctly 🙂
Love this! Thank you
Greetings! Very helpful advice within this post! It is the little changes which will make the most significant changes. Thanks for sharing!
Is there any way to have a copy of this to print. I would love to share this with my quilting group.
Thank you
Hi Valerie! This tutorial isn’t available as a PDF download but you can try printing it as is on your printer. You can also send the link to your quilting group so they can have the best format. 🙂
Just finished my first one. Turned out pretty nice. I used my rotary cutter to push the pins in and also didn’t have ribbon to match, so I made a strip out of the fabric. Worked great. Thanks for the easy tutorial. Made it very simple. Now…..what color should I make my next one?? 🙂