Gather Quilt Sew Along: Week 5: Sew HST Rows
Heeeeey-oh. Hey hey heeey-oh! Quiltketeers, we're already in Week 5 of our Gather sew along! Even though the intensely bright and somewhat claustrophobic snowscape outside my window hasn't changed much over the last few weeks, I still see that a lot of progress has been made on this quilt and we are zipping on through!
Just to give you a recap of my week, my son's school was shut down for the second time in 3 months due to a teacher testing positive for Covid, we got exactly one thousand inches of show in Chicago, and I accidentally lit a quilt on fire while giving a live Zoom lecture.
My sanity has been pushed to limits I didn't know I could achieve. But you know what? Here I am. STILL STANDING. And still sewing. (Also still complaining, but let's not focus on that.)
So if you too had the type of week that makes you want to fall into a snowbank and not get up, I'm right there with you! Struggling, sewing, eating frozen dinners, and getting by. Because as people like to tell me, whatever you're going through right now won't last forever. (Even though it kinda feels like it, right??)
Well, should we get back to sewing?
Trending patterns!
For details on how this Gather sew along works, check out the original informational post here. And don't forget to join me for the live video this Wednesday at 7:30pm CST on both Instagram and in the Suzy Quilts Patterns Facebook group.
Gather Quilt Sew Along Schedule
- Week 1, January 20: Pick fabric and gather supplies
- Week 2, January 27: Cut all fabric
- Week 3, February 3: Sew, trim and press HSTs for Colors 1-5
- Week 4, February 10: Sew, trim and press HSTs for Colors 6-9
- Week 5, February 17: Sew HSTs into rows
- Week 6, February 24: Sew strips as needed and assemble the quilt top up to row k
- Week 7, March 3: Assemble the rest of the quilt top and trim
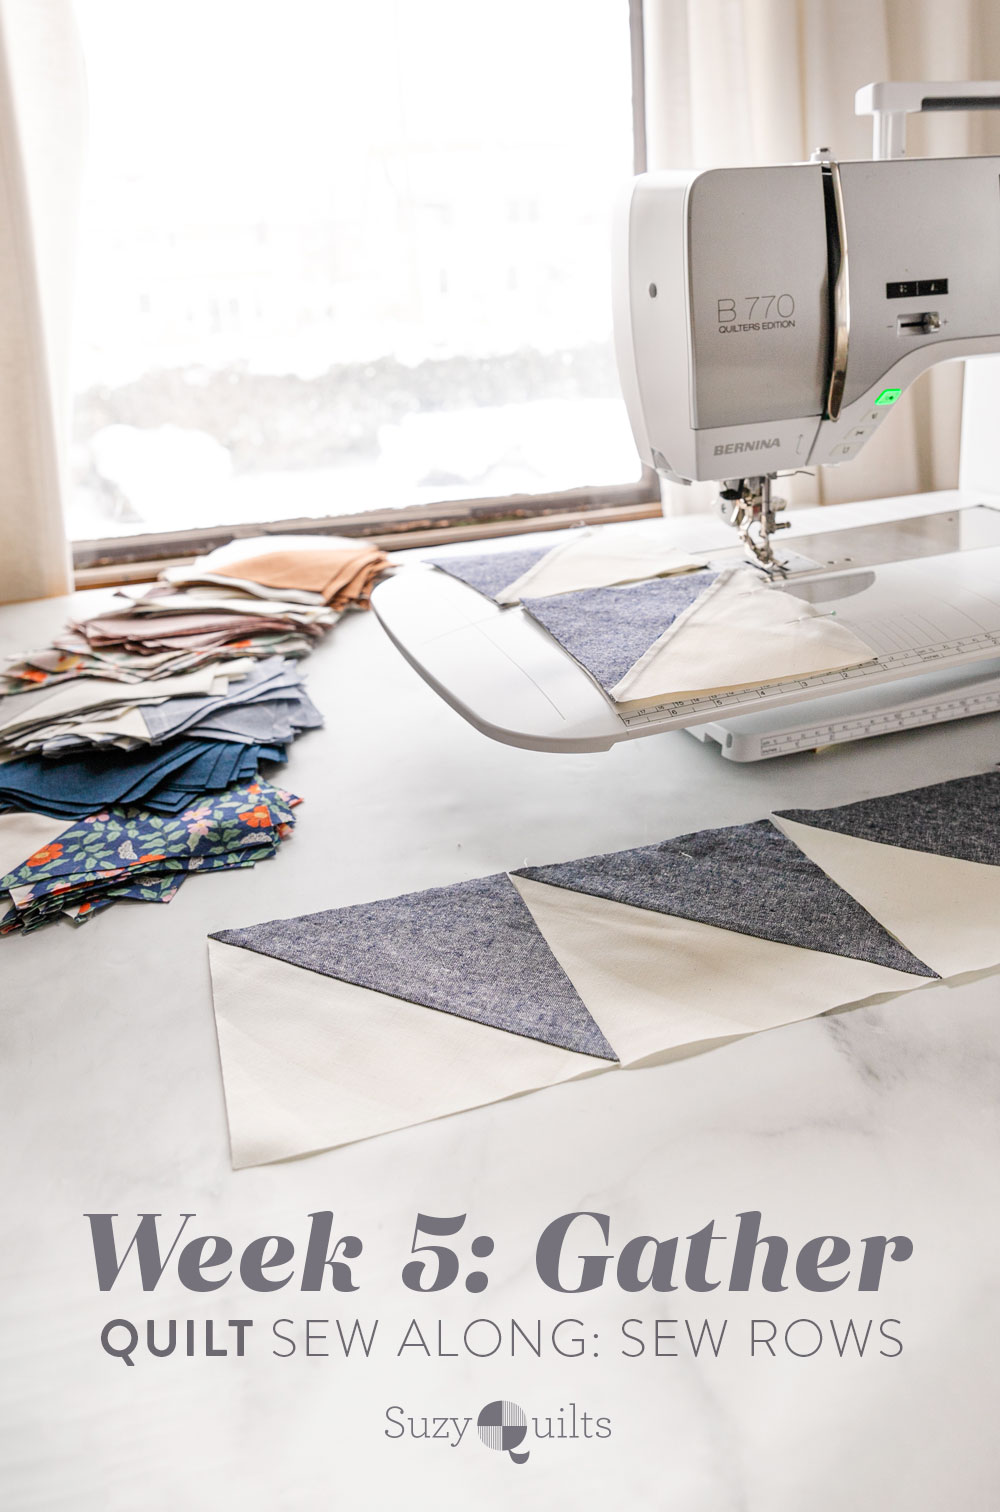
Week 5 Assignment: Sew HSTs Into Rows
Our Gather quilts are beginning to start to somewhat have a little semblance of what they will eventually look like. Exciting stuff! If you are making the Throw size, this week you will be referencing page 5 of the pattern.
It has a chart for my chart-ie numbers-minded people and an illustration diagram for my more right-brained visual people. This week the sewing and assembly is still really straight forward, but I have a few additional tips.
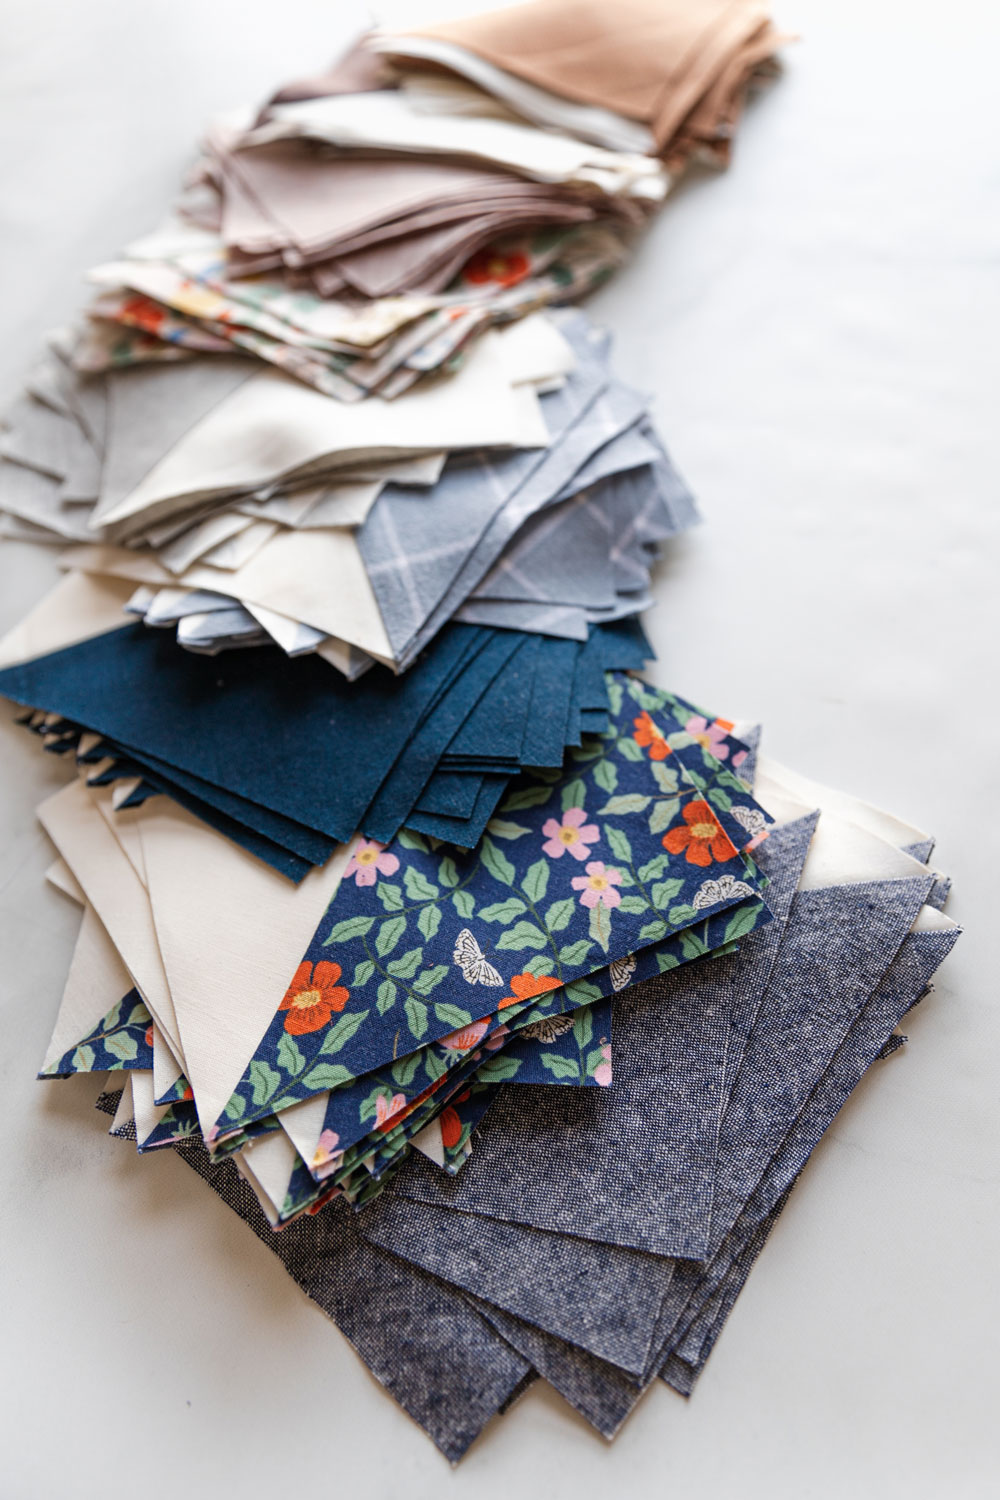
Tip #1: Organize your HSTs from Color 1-9.
Because 9 different colors can be a lot to keep organized, I highly recommend continuing to label your HSTs or at least stack them in order so that when you start sewing rows you're not second guessing yourself.
I don't think I need to beat you over the head by saying more about this one. So just do it. 😉 Below I have my HSTs stacked from bottom to top Colors 1-9.
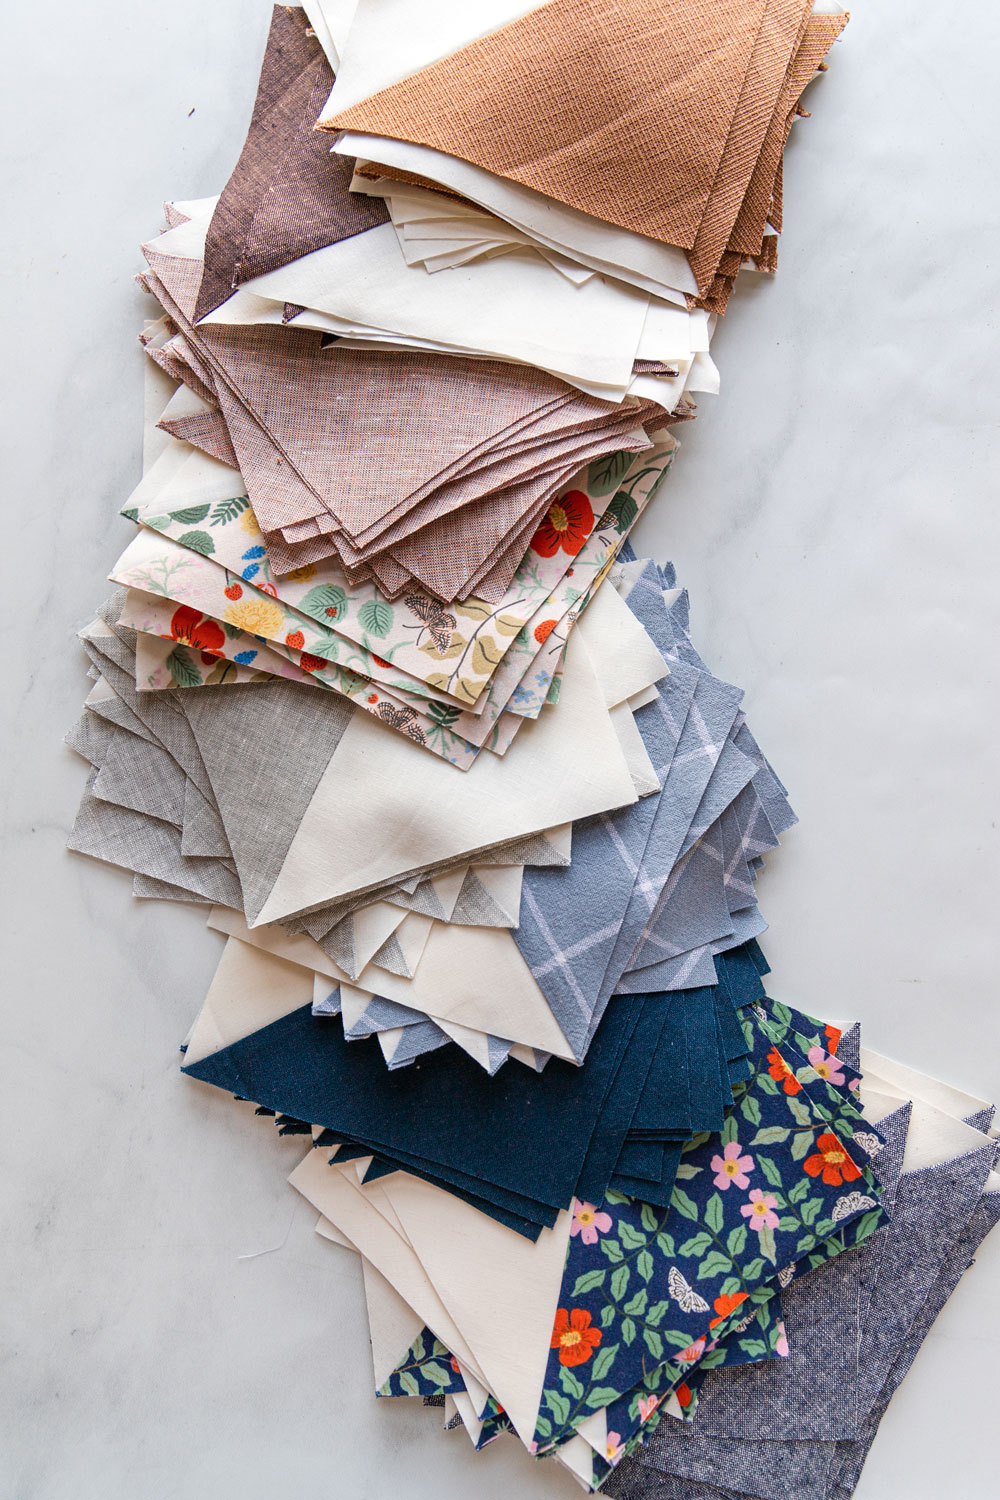
Tip #2: Pay attention to the orientation of the HSTs...or don't.
A question came up in the Suzy Quilts Patterns FB group that went a little something like this,
Suzy, I’m curious as to why you chose to change the direction of the HSTs half way through rows 2, 4 and 8? (well, I guess the row numbers vary with the size of the quilt - but you get my point I’m sure) I’m interested in the creative process of designing and developing a pattern, and am just wondering how/why that decision was made.
Before I answered, different people piped in with their varying opinions. The main takeaway for me was that asymmetry is not for everyone. And you know what? That's OK! Some of you commented that you loved the rotating HSTs, while others were intensely bothered by it. Here's my response,
I rotated some of the blocks to add visual interest and a slight difference between the two sides of the quilt. In many ways this quilt is symmetrical, but just ever so slightly off, to keep it exciting! I see quilt making from a pattern as a collaboration — I bring my creativity to the table and you bring yours.
If there’s ever a thing you’re not digging about a design, change it! In this case, the change would be incredibly simple — just rotate the HSTs so that they all move in the same direction. I’ll never be offended if I see that you started with a SQ pattern, but then put your own spin on it. In fact, I find it quite thrilling to think that we made something together!
So here's the tip: if you like the way the HSTs are rotated, pay attention and make sure your HSTs rotate the correct way while sewing the rows together. If you would rather make this quilt completely symmetrical, sew your HSTs all the same direction. Ain't nothin' else to it!
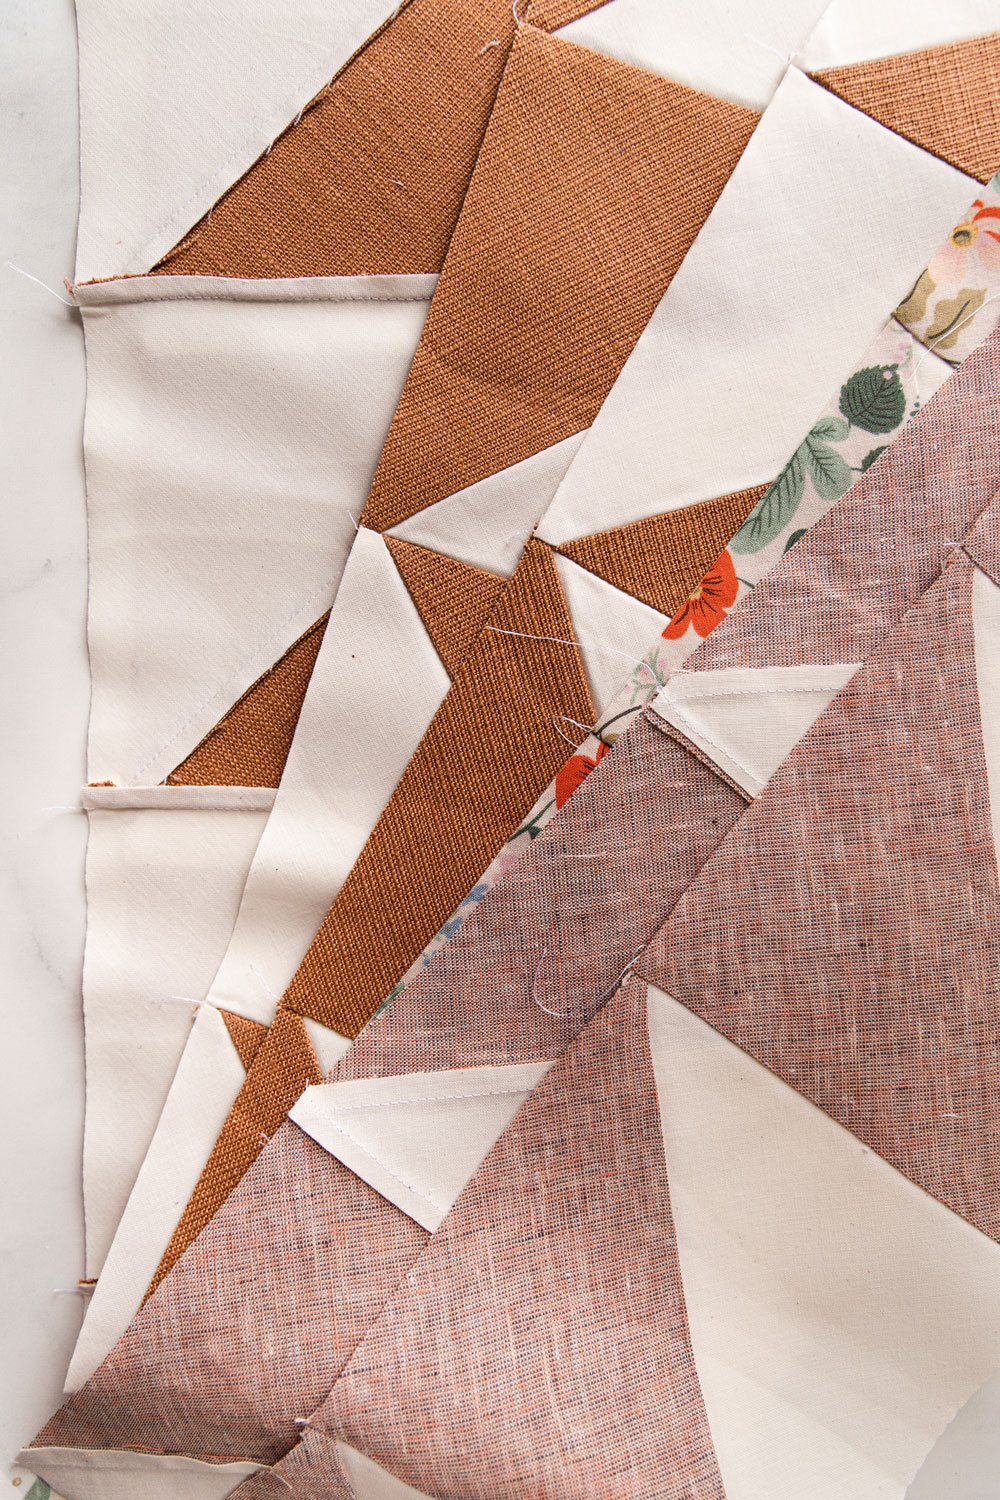
Tip #3: Pin
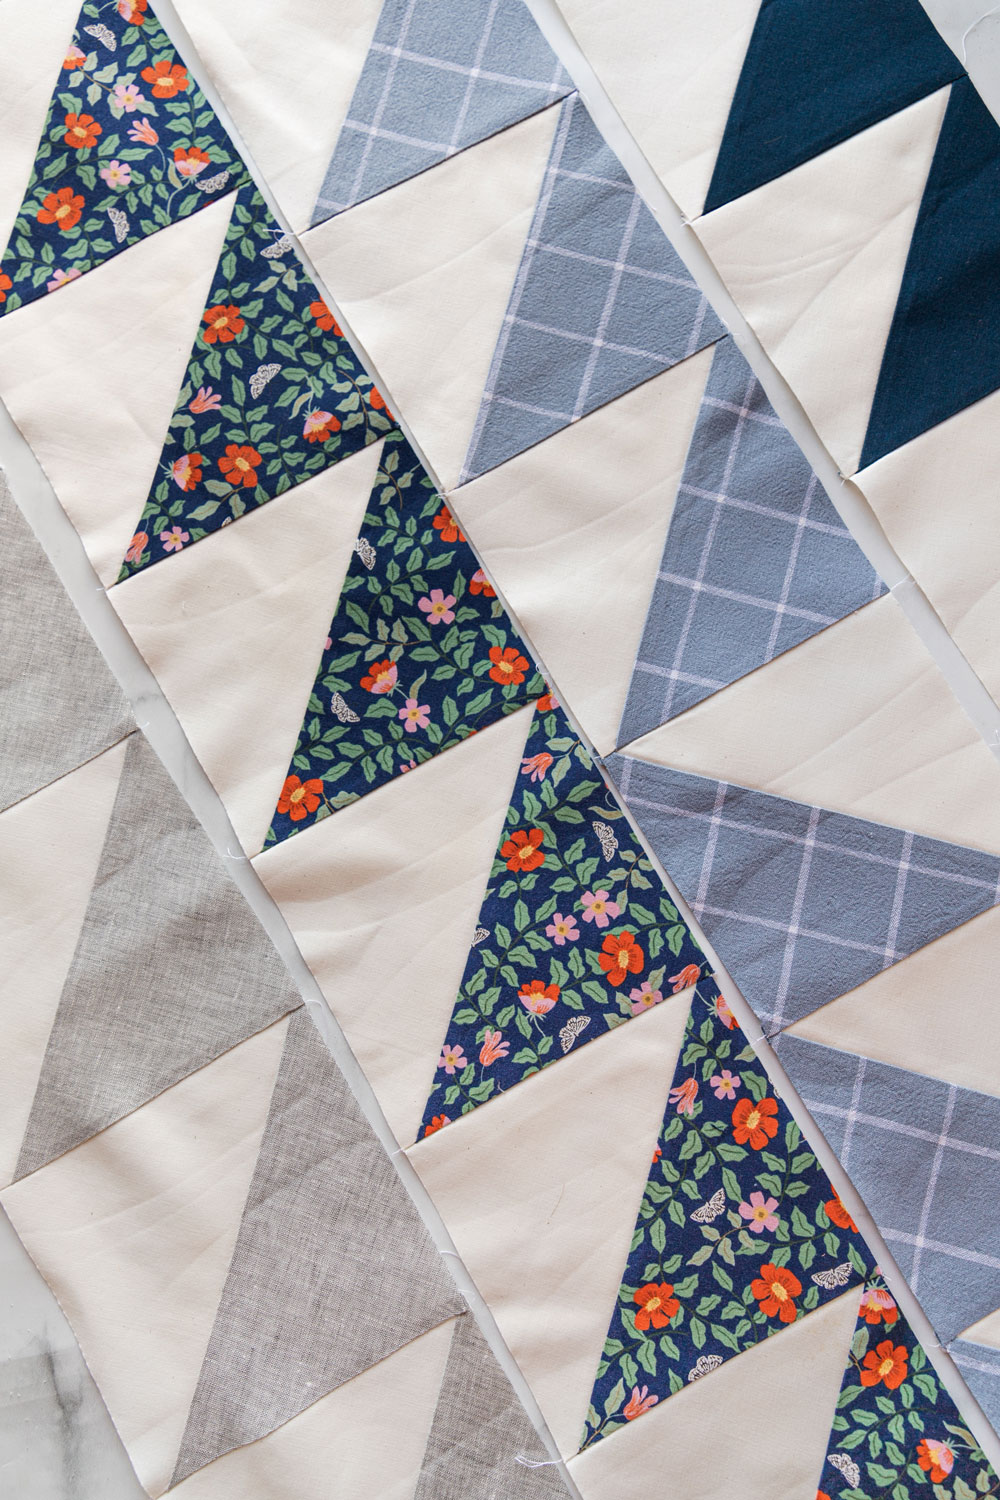
These HSTs were sewn using the 4-at-a-time method which means you're dealing with some bias edges. That's not a big deal, but it does mean you'll want to throw a couple pins into the mix while sewing your rows together.
After you've sewn a handful of seams you can experiment with one pin or no pins, but make sure your layers aren't getting warped or one stretching more than the other.
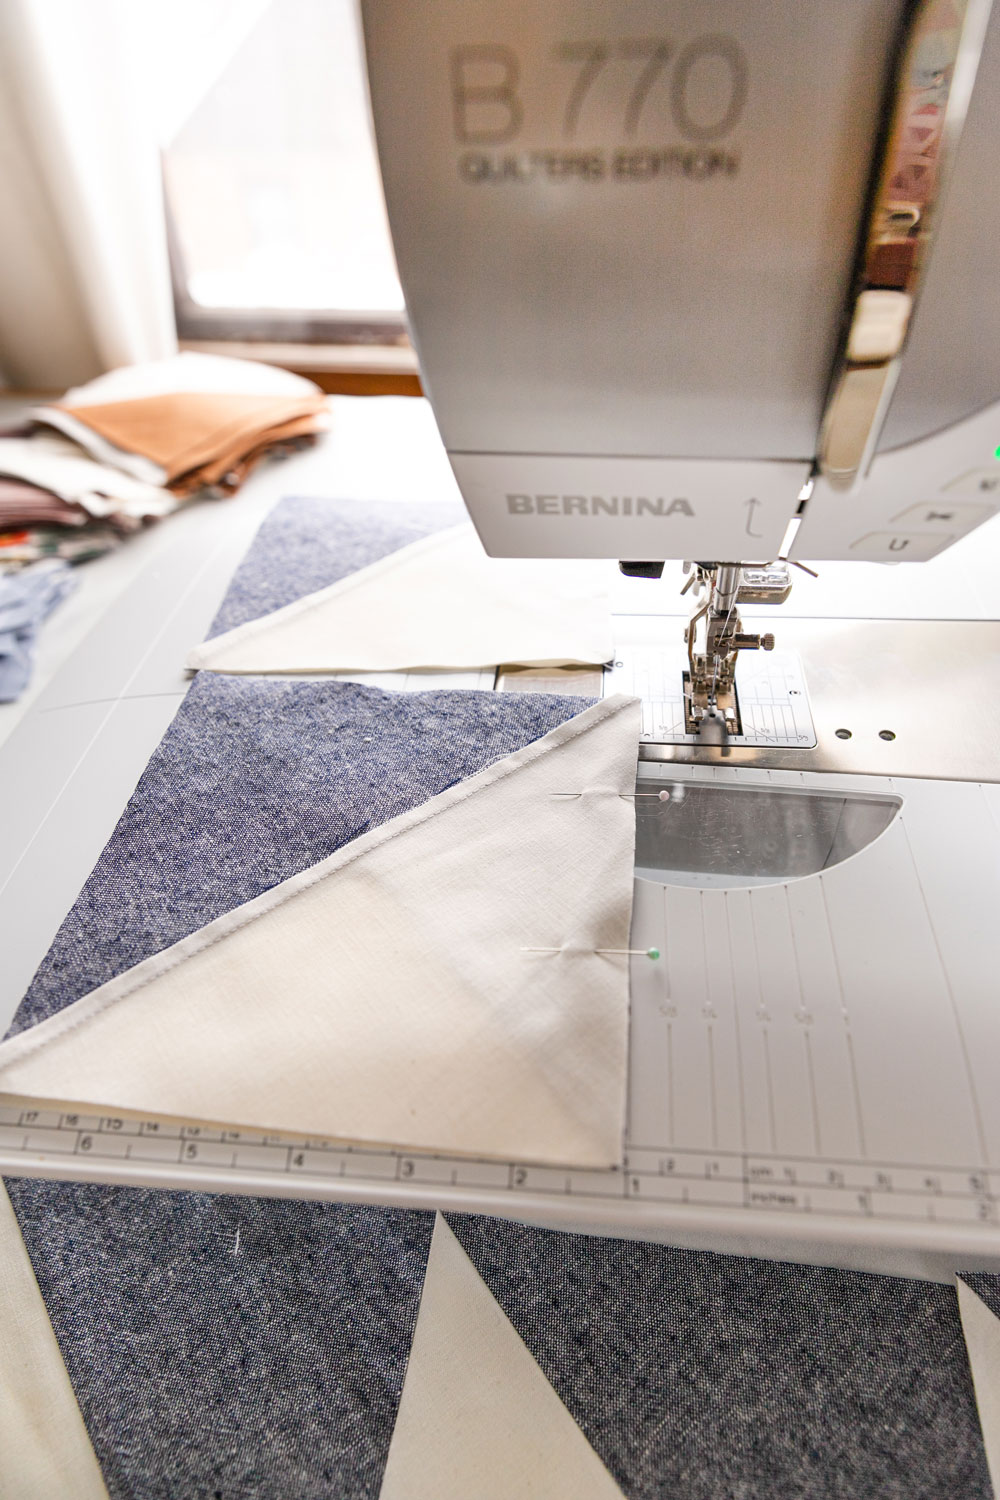
One option that works for me, when I really don't feel like pinning, is raising the pressure on my pressure foot (check out your sewing machine manual on how to do that or google it based on your machine make and brand) and sewing a bit slower.
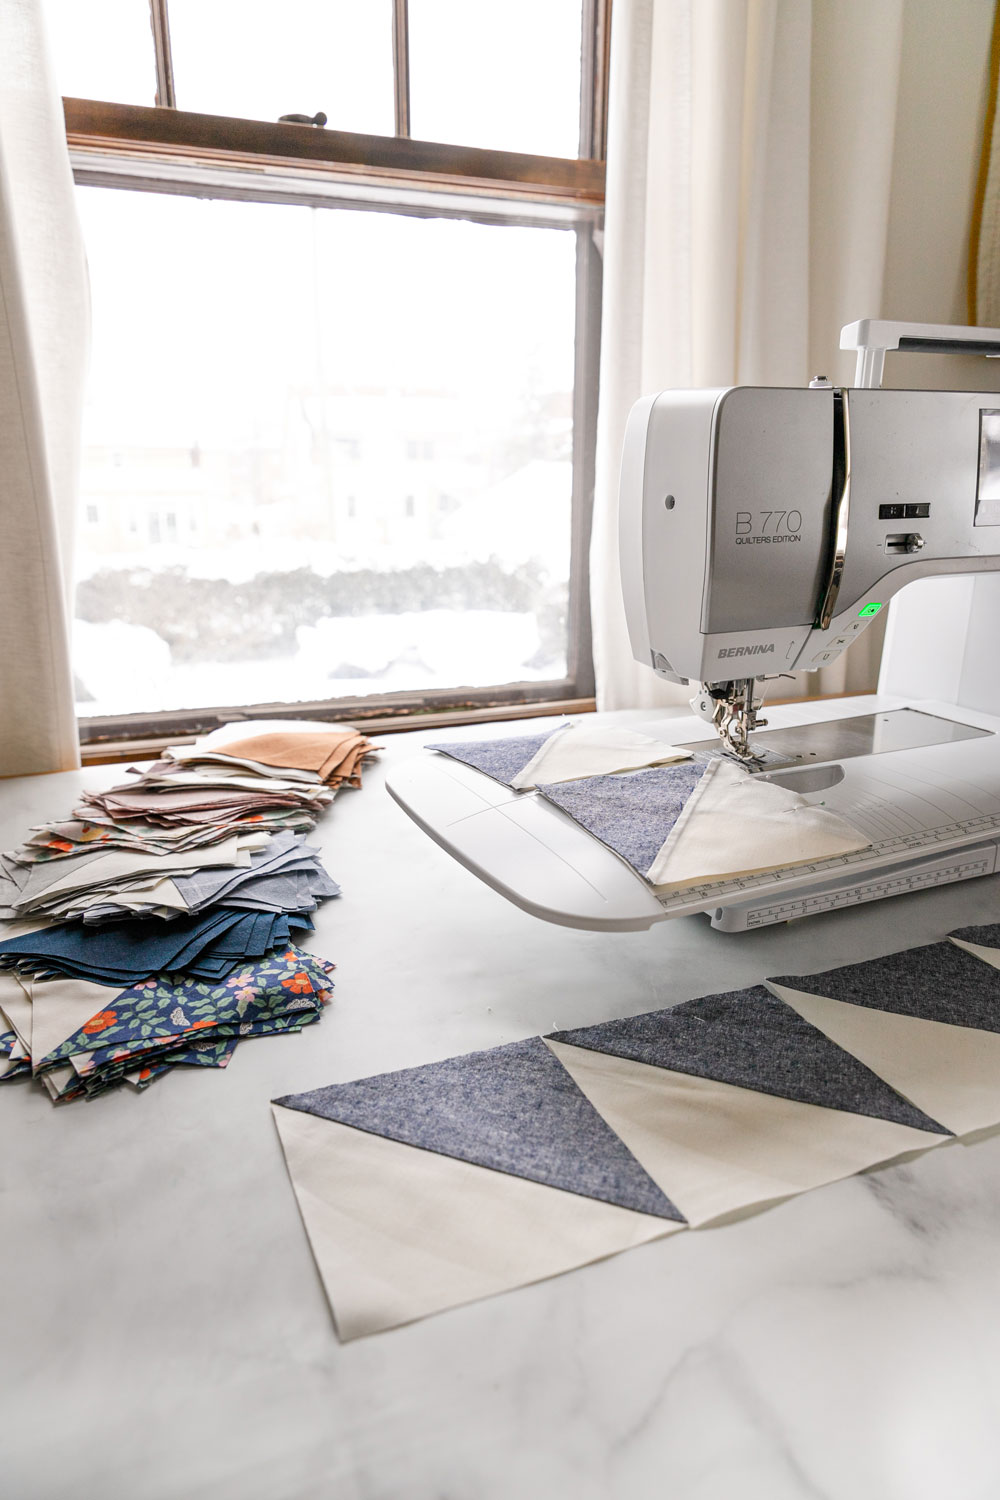
Tip #4: Organize your rows in the order they will be sewn.
Once all of your rows are complete, stack them on top of each other in the order that you will sew them. So on top of the pile will be row a and below that row b, followed by row c and so on.
When I first made this quilt I kept them in stacks based on their color. However, this forced me to constantly reference the sewing diagram on page 8 of the pattern to remember which row was what.
If you stack from back to front, then you always know the next row to sew. Yes, you will still want to reference the sewing diagrams on pages 7 and 8, but your head will spin less.
You can even add your strips to the stack so you have every element in order. With that said, here's a fun bonus tip...
Bonus Tip: Use a drying rack for hanging rows and strips!
You may remember seeing this drying rack during the Grow sew along. It's my go-to way to keep long strips and rows organized without having them thrown all over my cutting table, iron, furniture and dog.
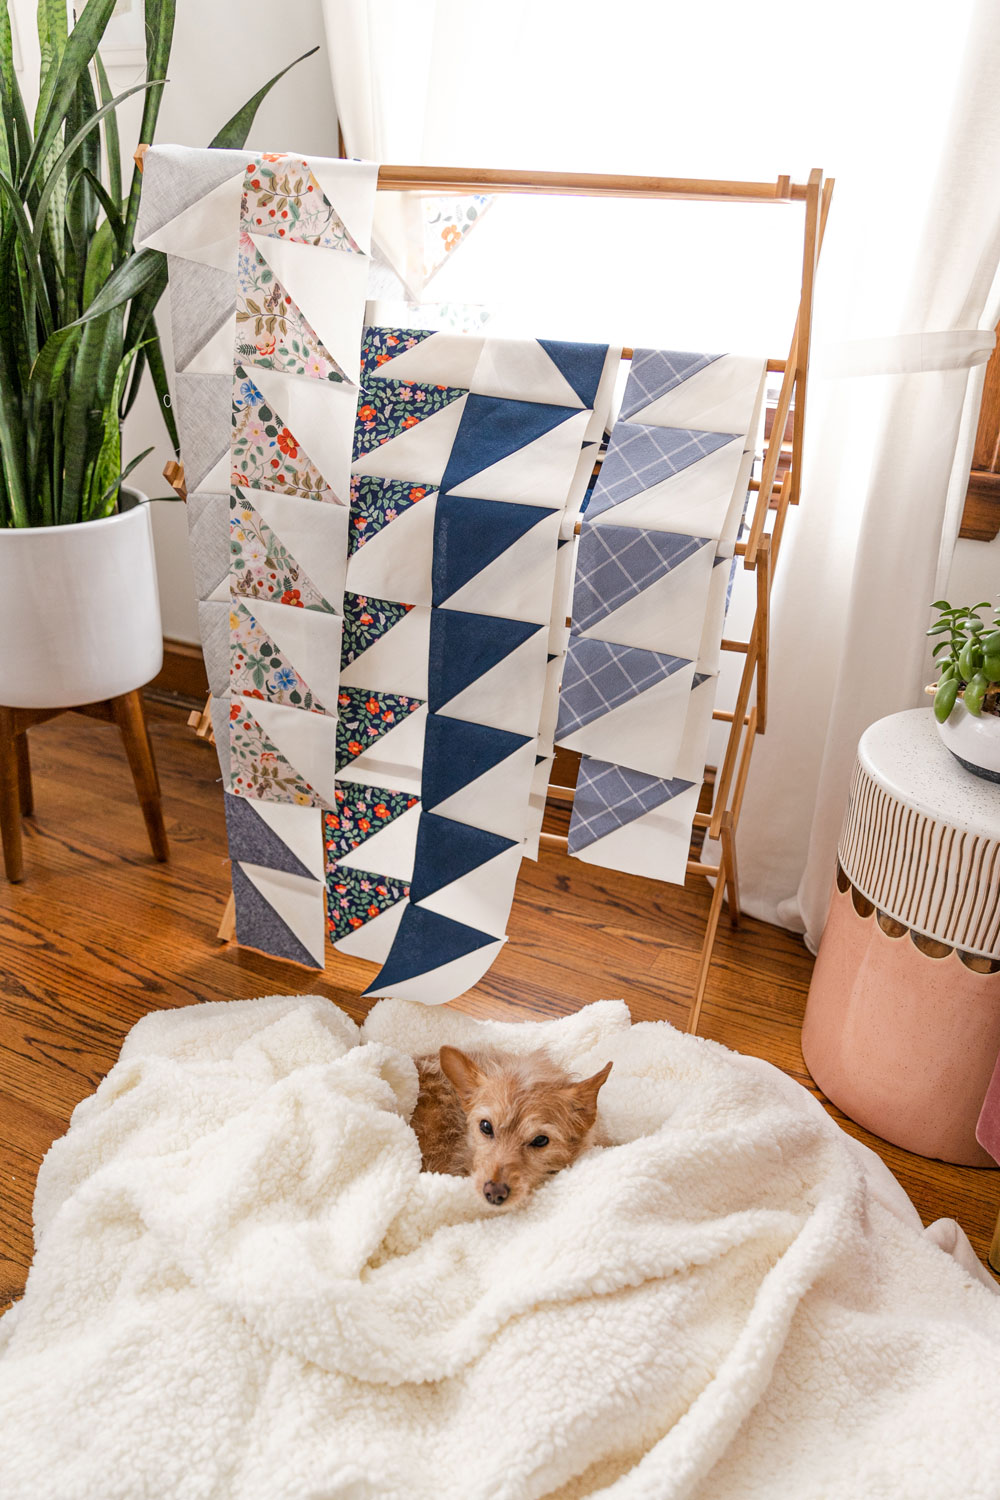
Another great feature about this specific one is when you're finished, you fold it up and tuck it away in a closet.
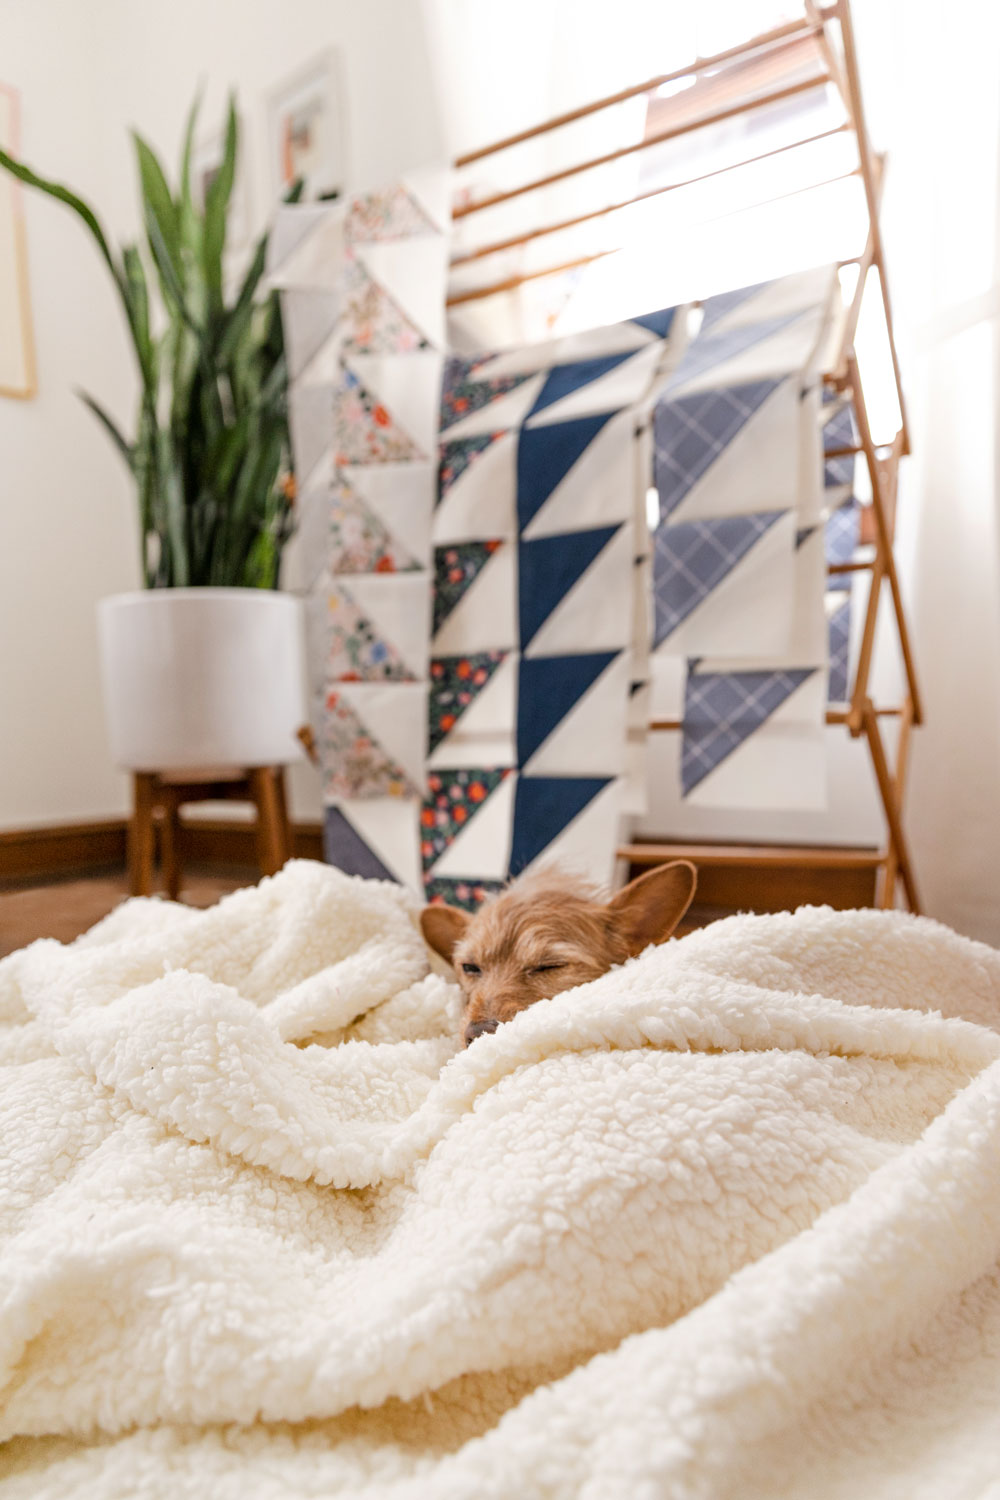
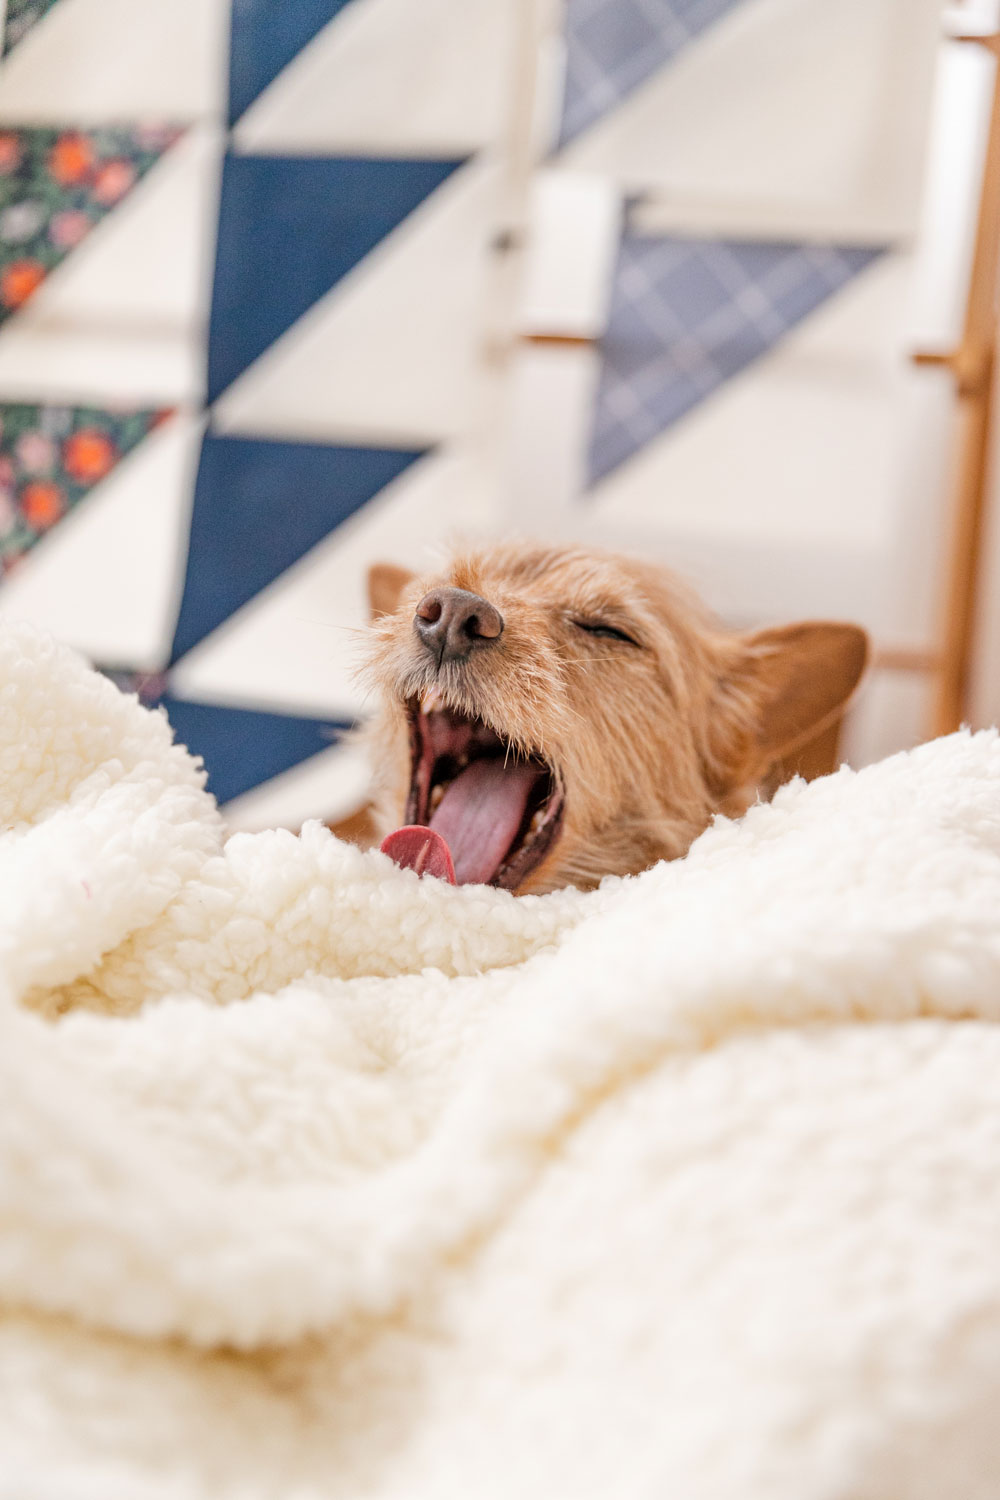
And just because we've (I'm lumping you in with me) all had a hard week. Here are some cute pics of Scrappy being cozy.

Questions?
Do you have questions about supplies, sewing, trimming, pressing or converting your HSTs using the charts provided? Any question you have that's Gather quilt related, there are multiple places for you to ask them!
- Here in the blog comments.
- In the Suzy Quilts Patterns Facebook group.
- During one of the weekly live videos. (Honestly though, this one is the least reliable. I miss a lot of questions during those videos.)
Week 5 Sponsor & Prize
This week we have the largest AND funnest fabric and BERNINA retailer in Santa Monica, CA – Sewing Arts Center. As an exciting prize, they will be giving away $100 worth of thread and notions, including some adorable designer Gingher embroidery scissors!
How to Win
- Post a pic to Instagram. The photo prompt for Instagram this week is to post a picture of your Gather quilt progress. Use #GatherQuiltSA in the caption.
- You must have a public Instagram profile to participate.
- Each photo posted is an entry and you can enter as many times as you want in a single week. Once the week is over, those posts do not count in the next week's giveaway. Every week we start fresh.
- Your photo must be posted between 12:00 a.m. CST on Wednesday, February 17 and 1:00 p.m. CST on Tuesday, February 23, 2021. The winner will be picked randomly from all qualifying posts and announced at approximately 4:00 p.m. CST on Tuesday, February 23, 2021.
- This prize is open internationally.


After sewing the HSTs in rows, are the seams pressed open or to the dark side? Thanks
I prefer to press my seams towards the darker fabric, but you can also press them open. There will be strips of fabric sewn to either side of these rows, so you don’t need to worry about nesting seams.
I love your quilt very much!!!
Do you have a video or a link to the 4 at a time method? Thanks!
I was thinking this was a sewing method (wishful thinking!) vs a cutting method…lol! Disregard!
How do you choose your quilt backing? According to colors in the quilt? According to the quilt pattern? I’m slowly putting together your Nordic Triangles quilt. It is made with 4 plain Kona colors plus white. It has been slow going because of non availability of fabrics here. I apologize for asking this question in your gather quilt lessons but my question applies to any quilt so I hope you don’t mind. Thank you, Peggy
Quilts are 3-dimensional, so it’s only fitting that we spend time and thought on the back of the quilt as well as the front. In many cases, you may pick the backing fabric first, and let that guide your fabric choices for the front. However, if you have a quilt top finished, and need to pick fabric for the back, here are some questions to ask yourself:
• How will this quilt be used? This is a practical question and will significantly narrow your fabric choices. (Each of these types of fabric have blog posts with further details on them, so search for them here at suzyquilts.com for more information.)
– Flannel – warm and soft
– Lawn – light and cool
– Quilting Cotton – consistent and durable
– Canvas – rough and tough
– Linen – textured and luxurious
– Double gauze – light and soft
• Do you want the quilting or the print to be the star? If you are doing some fancy quilting on this quilt, that will be accentuated if you use a solid fabric for the backing. If you use a large busy print, the quilting will all but disappear.
• Do you want it to contrast or gently flow with the front?
Thank you so much Suzy! I know exactly what I’m going to do thanks to your answer and the questions you raised in your answer! You are always so helpful!
Peggy