How to Use Adventureland Scraps for Quilt Binding
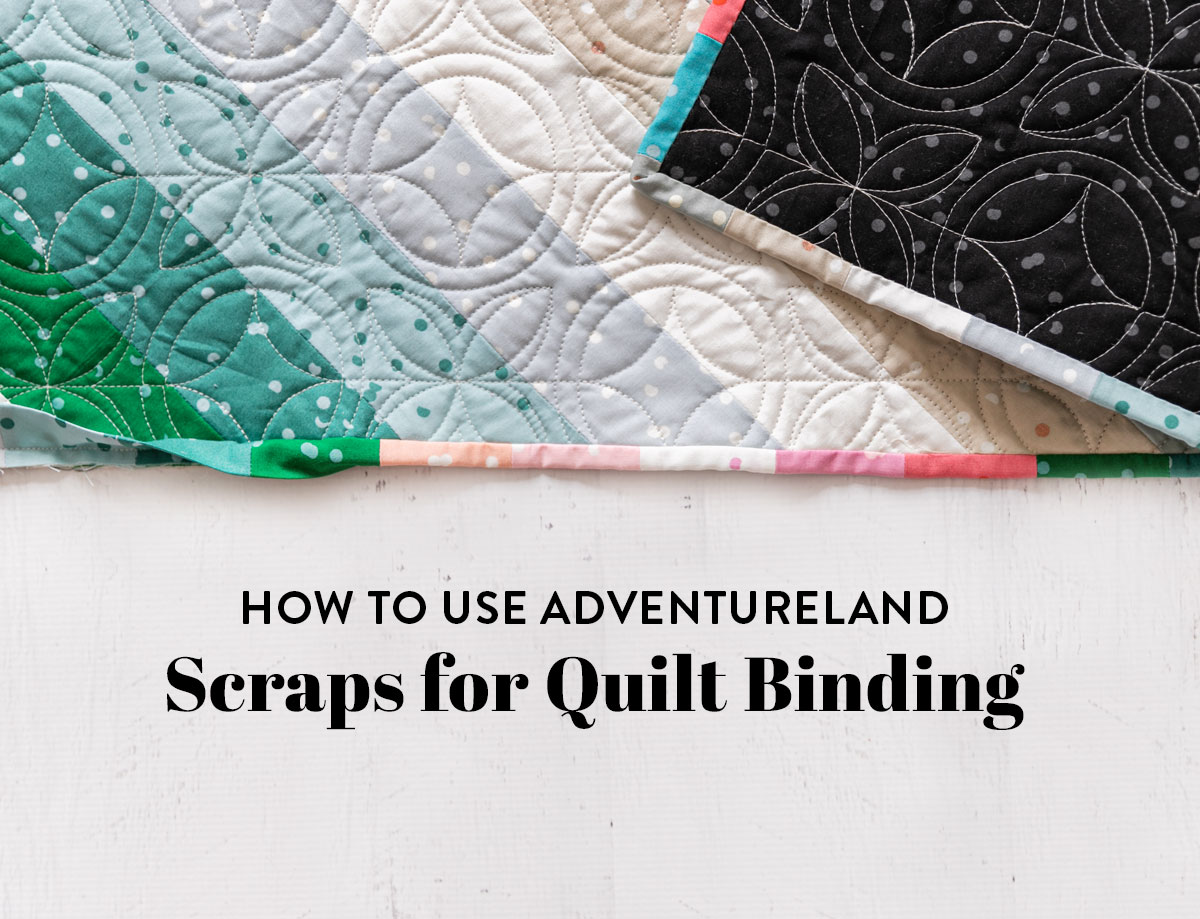
The new Adventureland quit pattern has been recently released and is now available in the shop! Not only is this pattern made for a jelly roll, but it is also perfect for using scrap strips of fabric left over from previous sewing projects. In this tutorial, I will show you how to use Adventureland scraps for your quilt binding.
Imagine that! Use scraps for the quilt and then turn around and use those scraps for the binding! Instead of Adventureland, we should consider renaming this pattern the "No-Waste" pattern. Or maybe even the "No-Waste-Much-Haste" pattern because it sews together so so fast. You won't even believe it when you're finished!
If you are making the throw size you should have enough scraps left over from trimming your quilt top to bind your entire quilt. Yes, folks. You heard that right. If you use this scrappy binding method you don't need to purchase fabric for your binding. Yay!
It's very possible that the same is true for all sizes, but I haven't tried it on the queen/full, twin, or baby sizes yet. If you test this out let us know in the comments!
You May Also Like...
How to Use Adventureland Scraps for Quilt Binding
First things first, you need to purchase the Adventureland pattern and make a throw quilt top. Instead of trimming down your strips like the pattern suggests, leave all of your WOF strips as is. Once your top is finished trim the excess off leaving you four beautiful triangle strips like this...
Trending patterns!


Quilt Patterns


Quilt Patterns


Quilt Patterns


Quilt Patterns


Quilt Patterns


Quilt Patterns


Quilt Patterns


Quilt Patterns


Quilt Patterns


Step 1: Trim the edges of all four triangles.
Line up the guidelines on your ruler just like I did in the photo above and trim off all the wonky edges.


Step 2: Cut your 2.25" binding strips.
Using the trimmed edge, line up your ruler and start cutting 2.25" strips for binding.


Step 3: Rip off pieces that aren't 2.25" wide.
You can use a seam ripper or, if feeling extra bold, just rip the pieces right off.


Step 4: Sew them together into one long strip.
Because these are short little seams I took my stitch length down to 1.5 instead of my typical 2.5. That stopped any of these pieces from separating at the seamed edges.
Step 5: Make sure you have enough.
I suggest laying out your quilt on the floor and wrapping your binding around the quilt's perimeter just to double check that you do indeed have enough scraps. My scrappy binding left me with a lot of wiggle room for connecting the ends.

Step 6: Press binding in half.
Just like you would normally do, take your long scrappy strip and press it in half with wrong sides together. I used steam and a tailor's clapper to make the center crease lay flat since this binding is made up of so many seams. Usually, when I make binding I don't go to the trouble of doing that.
Step 7: Sew the binding to the quilt top.
If you are brand new to binding a quilt, below are some helpful photos on how to get a nicely mitered corner.
- When you get to the corner, stop and backstitch a 1/4" from the edge.
- Fold the binding back and up so the raw edge of the binding lines up with the raw edge of the quilt.
- Fold the binding once again down over itself creating a cute little pocket. This will be the extra fabric you need to create the mitered corner. Just remember that you always want the raw edge of your binding to line up with the raw edge of your quilt.
- Start sewing again slightly less than a 1/4" from the edge. Be sure to backstitch anytime your start or stop sewing.


Video: How to Connect Quilt Binding Using a Vertical Seam
Step 8: Leave 8-12 inches open to connect the binding strips.
Anything less than 8" and it starts to get really tricky to cram everything in your sewing machine. Trust me.
Step 9: Sew the binding ends together.
If you have sewn quilt binding with me in the past from this tutorial video, you have connected the edges using a 45-degree seam. Because all of your fabric pieces are sewn together with horizontal seams, I think it would look odd to connect them on a diagonal.
The process of connecting binding ends using a horizontal seam is very similar to the other way, with just a few slight changes.
Fold the ends together leaving no space between them.
Just like the picture below I am butting up the two ends leaving no space. I'm also trying to avoid the pieced seams. Once I like where everything is, I press down with my fingers to create creases in both ends. These creases will be guidelines for pinning and sewing so make sure you press hard enough to see them.


See the crease? That's some strong finger pressing from Yours Truly. Mostly because I don't see that well. 😉

Use a pin to connect the two ends.
Pick up the left binding end. Stick a pin through the crease intersection on the WRONG side of the fabric. Now pick up the right binding end. Using the same pin that is still in the left end, stick it through the crease intersection on the RIGHT side of the fabric.

Your two binding ends are now inline with each other with right sides together.


Pin the strips together and sew.
Use two pins to pin around that vertical crease. Gently take this to your sewing machine and sew along the crease. Again I used a stitch length of 1.5. Once your edges are sewn trim the excess fabric.

Step 10: Finish sewing the binding.
This part is really gratifying because your binding should snap into place and lay flat against your quilt top. Now all there is to do is pin the last bit into place and sew it down, backstitching at the beginning and end.

Isn't that fun? Such a cute spunky little finishing edge! Here on the blog, we will try out a few different projects using the trimmed scraps from the Adventureland pattern, but this scrappy binding might be my favorite. Actually, we have a bandanna tutorial in the works and that might turn into my favorite. But who am I kidding, they're all my favorites! Haha!
Let me know your thoughts in the comments and if you plan on using some of your scraps for quilt binding.


My only question is: if you are trimming 2.25″ off your completed blocks, is this not going to reduce the size of your finished quilt? Love the idea and the new quilt pattern
Hey Karen! When you make an Adventureland quilt using full WOF strips, you’ll end up with large triangles to trim off of your finished quilt top. Those triangles that are trimmed off of the finished quilt top are what is used for this tutorial! Your quilt top will remain the same size.
Oh definitely will use the scrappy binding!! Love it!!
Such a great tutorial thank you👏 The fabric is glorious, what is it??
Glad you like the tutorial! The fabric is Hole Punch Dot by Ruby Star Society.
Such a great tutorial! Thanks so much. It really makes the quilt top shine. 👍🏼👍🏼
I love the idea of this,….But my question is, what about all those seams? Whenever I lay my binding out, I make sure there are no seams at the corners, but with this binding, it seems like it would be impossible to avoid.
That can be tricky, but as long as you press your seams open it should be ok. I didn’t have any trouble with the corners.
Trudy had my question, and you (Suzy) answered it for the both of us… Thanks so much.
Thanks Suzy!
Yay! I’m totally going to do the scrappy binding! I’ve actually been kind of doing that for some of my last few quilts. I love not wasting anything 🙂
Thanks for yet another great idea !
I love everything about this, the pattern, the fabric, the binding and the quilting! Would you mind sharing the quilt pattern? I would love to use that pattern on my Adventureland quilt! Thank you!!
Sure, Laurie! This quilt was quilted by Trace Creek Quilting using Paper Blooms by Julie Hirt.
I really love all the salvages on fabric now. But when I learned to sew, we were told not to sew with salvages because they shrank different than the rest of the fabric. Is this not the same anymore. I have made small bags with leftover salvages but they have never been washed. Just curious.
Hi Jan! You’ll be cutting off the selvages before sewing your binding strips together to use this method, so you don’t need to worry about that to make this scrappy binding. Though I haven’t heard about selvages shrinking at different rates before, so I would guess it’s not an issue now!
I used the sewn strips left over from my baby sized Adventureland quilt, only I cut the strips on the bias to make double fold bias binding. I usually bind my quilts with bias binding as I feel it wears better. The binding turned out so cute, I am delighted with how it looks.
Is there a final picture of the quilt? Even on the instagram video, I only see the close ups, but would love to see the overall effect!
I used this method to make binding on my very first queen-sized quilt many years ago. Back then, I thought using up the leftover scraps for binding was what one should do. I still use this method. It adds a touch of colour and interest to your quilt’s edge.
Susan has commented on my thought about cutting the binding strips along the diagonal side of the triangle. I don’t usually make the effort to create a bias binding, but this seems like the perfect opportunity to make an easy and cute one!
I just finished a nine patch scrappy quilt and wondered what to do with the leftover squares. They’re 2.5” so perfect for binding! Thanks for verifying my idea!