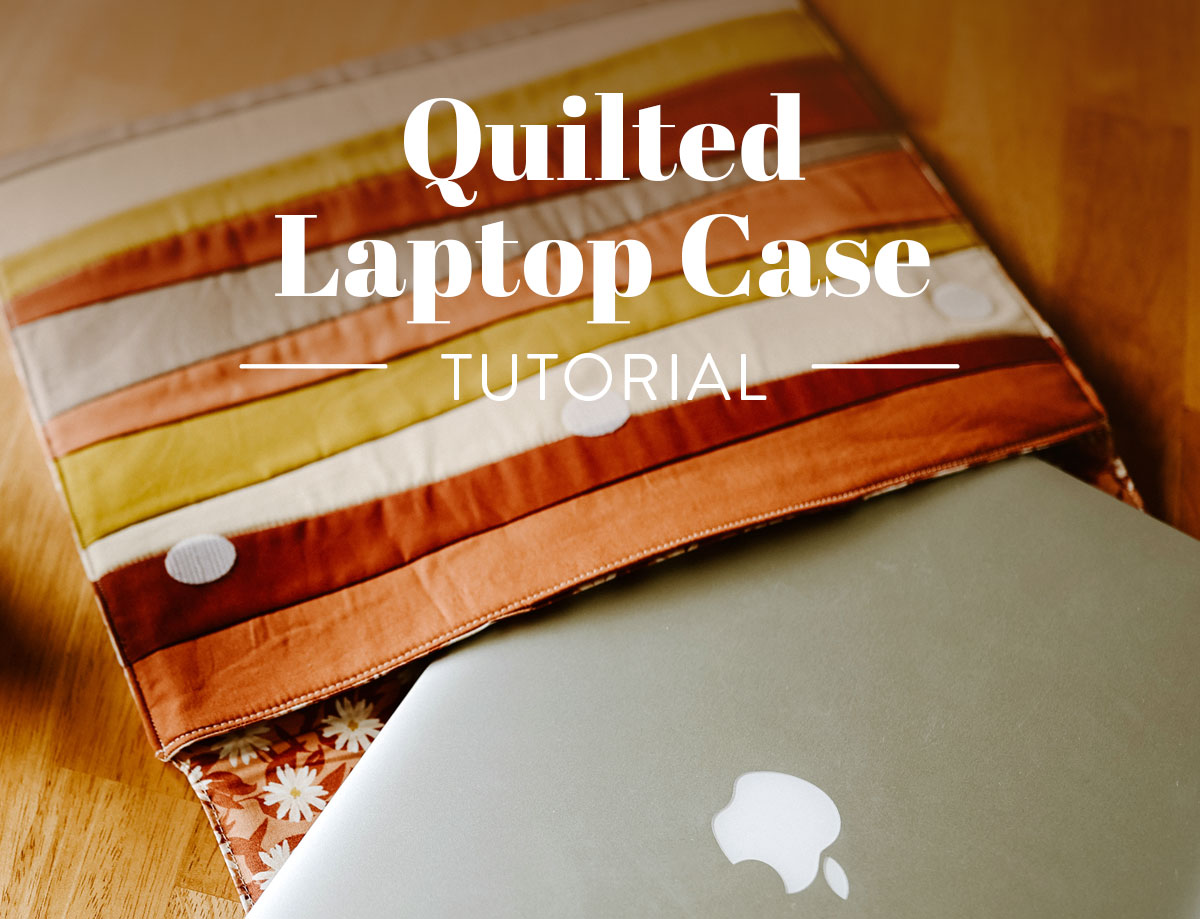
Quilted Laptop Case Tutorial
Are you left with extra scrap fabric from your last sewing project? A DIY quilted laptop case is just the project for you! This tutorial can be sized up or down to fit any size of laptop based on your measurements.
As a professional photographer, shooting takes up some of my time, but exponentially more time is spent sitting and editing photos on my laptop. So when I had some leftover fabric scraps that were just too pretty to throw into the waste bin, I knew that a quilted laptop case featuring a Shine quilt block was just the project to make!

Not only is this quilted laptop case super cute (you know I'll be getting compliments on it when I'm out editing at my favorite coffee shop), it's also super functional! The batting/interfacing provides a cushy layer of protection while the velcro closure makes this quilted laptop case fast to make. Now your laptop is stylish AND protected.
Quilted Laptop Case Supplies:
- Shine Quilt Pattern
- Fabric - Follow the fabric requirements on the Shine Pattern for the Pillow Size, plus some additional fabric for the lining. Do not cut your fabric until after measuring your laptop in Step 1.
- Simple sewing machine
- Thread
- Cutting mat
- Rotary cutter
- Ruler
- Straight pins
- Wonder Clips
- Iron & ironing board or pressing mat
- Fusible Interfacing or Batting
- Sticky adhesive velcro
- Scissors

You Might Also Like...


Step 1: Measure Your Laptop
First things first! Since this quilted laptop case tutorial can be customized for any computer, this step is vital to ensuring it fits perfectly!
Using a ruler, measure the length (longest side), width, and height of your laptop.
Trending patterns!


Quilt Patterns


Quilt Patterns


Quilt Patterns


Quilt Patterns


Quilt Patterns


Quilt Patterns


Quilt Patterns


Quilt Patterns


Quilt Patterns
(I have a 15" Macbook Pro, and mine measured 14 1/8" x 9 3/4" x 5/8".)
Next, use these formulas to find out the dimensions of the main part of your laptop case:
(Laptop Length + 1) + (Laptop Height x 2) = Rectangle Width
((Laptop Width + 1/2) + (Laptop Height x 2)) x 2 = Rectangle Length
Rectangle Width - 1/2 = Flap Width
(Here's what the calculations for my laptop looked like:
(14 1/8" + 1) + (5/8" x 2) = 16 3/8" (Rectangle Width)
((9 3/4" + 1/2) + (5/8" x 2)) x 2 = 23" (Rectangle Length)
16 3/8 - 1/2 = 15 7/8" (Flap Width)
To put this in perspective, check out the photo below:

Step 2: Cutting & Sewing the Long Strips
Next, it's time to cut your fabric! Refer to Pages 3 and 4 of the Shine Pattern for cutting instructions. This is very important: If your Rectangle Width is larger than 12 1/2", you will need to adjust the length of your fabric strips. Your long strips should measure at least 1/2" longer than your Rectangle Width.
Instead of just building one block, use the long strips to build a block as long as the Rectangle Length. Trim your rectangle to the Rectangle Width and Length.

Step 3: Sew the Laptop Case Flap
After you've finished sewing your large rectangle, it's time to sew the flap! The flap of the quilted laptop case will be made of the shorter strips from the Shine pattern. Sew the strips together as directed on Page 3 of the Shine pattern until you have a strip as long as the Flap Width. Trim to square it up.

Step 4: Joining the Flap to the Case
Place the small strip RST with the short side of the large rectangle. Sew together using a 1/4" seam allowance.

Step 5: Adding the Padding
Now it's time to give our quilted laptop bag some cushioning! I used two layers of fusible interfacing, but you could certainly use regular batting as well.
Lay your assembled rectangle and flap on top of your interfacing/batting, trace, and cut out the traced shape approximately 1/4" smaller than the fabric piece on all sides. This will help to reduce bulk in the seams when we sew it all together. Adhere the interfacing one layer at a time to the wrong side of the fabric.

Step 6: Quilt!
Is it just me or is quilting always the best step? Quilt your laptop case however you wish - I opted for a simple stitch in the ditch between strips, but can you imagine how good a little hand quilting would look on this??


Step 7: Cutting the Lining and Assembling
After you've quilted the exterior of the laptop case, it's time to work on the lining.
Place your quilted exterior RST with your lining fabric. Trace and cut the lining to match the exterior piece. Then, pin them together RST and sew around the perimeter using a 1/4" seam allowance, making sure to leave a 7" gap at the bottom.
When you get to where the flap meets the rectangle, stay 1/4" away as shown in the photo below.


Step 8: Turn, Press, and Topstitch
Next, turn your quilted laptop case right side out through the 7" gap left in the bottom of the rectangle. Push your seams and corners out, then press to flatten the seams using your iron. This will help everything to lay flat when topstitching and assembling the case.
After you've pressed everything, topstitch along the bottom seam with the 7" gap 1/8" from the edge, backstitching at the beginning and end. Also topstitch along the sides and top of the flap, backstitching at the beginning and end.


Step 9: Pin and Sew the Laptop Case Sides
We're nearing the end! Fold the bottom of your quilted laptop case up so that the lining is RST. Match the bottom corners of the rectangle to the corners formed where the flap meets the rectangle and pin or clip in place. Then, sew along each side as close to the edge as possible while still catching the front and back of the case in the seam.
I shortened my stitch length to add some extra reinforcement and backstitched at the beginning and end to finish and end my seams.

Step 10: Add the Velcro
Lastly, let's add some velcro to keep our flap closed. I opted to use the peel and stick velcro for fabric, which is really easy and handy to use.
Stick two or three pieces of the hook side of the velcro to the underside of the flap. Then, press the coordinating loop side to each of the hook sides (the sticky side will be facing up) and fold the flap down, sticking the adhesive side to the main portion of the quilted laptop case.


Whether you're working from home, the office, or on the go, this quilted laptop case tutorial will ensure you have the perfect blend of functional and fashion wherever you go!


Hey Lydia and Suzy, I noticed a typo in the calculations section of the blog post.
In this equation:
((Laptop Height + 1/2) + (Laptop Height x 2)) x 2 = Rectangle Length
The first time it says ‘Laptop Height + 1/2″” it should say ‘Laptop Width + 1/2″‘.
Good catch! Thank you! 🙂
What should the width of the flap be? Is it part of the overall rectangle length?
Hello! A laptop case is a great idea! Wondering if any of your pillow patterns could be translated into this pattern tutorial? Looking at the Maypole or Reflections pillow patterns.
I used this tutorial to make a case and it was pretty good! I topstitched on the inside instead of the outside and I think it looks a bit neater, as you can’t see any of those winces of lining fabric. And I used clasps instead of velcro bc it’s what I happened to have on hand. I cut the flap to be 4″ wide and that worked well.
Thanks for providing this useful tutorial 🙂