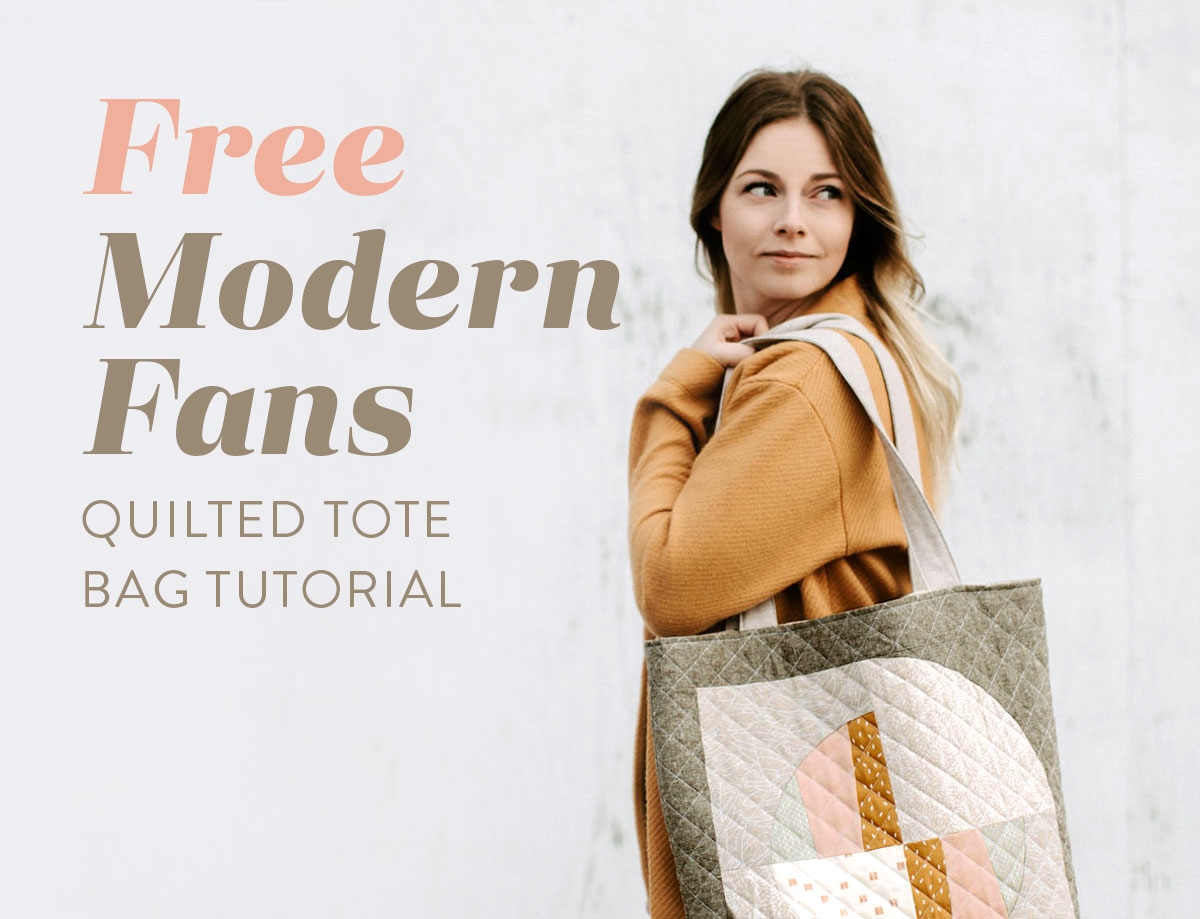
Free Quilted Tote Bag Tutorial Using the Modern Fans Pattern
I'm so excited to bring you this free quilted tote bag tutorial because I'll be the first to admit that I'm a bag lady. Big bags, little bags, bags inside other bags, you name it, there's just something so exhilarating about having the perfect bag for every outfit and occasion.
But I recently realized I was missing something, a big tote bag – perfect for bringing my laptop along for the day or holding my most recent Target purchases. I just wasn't finding what I wanted, so it seemed perfect to write this as I was making one for myself!
This beginner-friendly quilted tote bag tutorial features blocks from the Modern Fans quilt pattern. If you've never made a Modern Fans quilt before, consider this the perfect "first date" to give these curvy blocks a trial run.
This bag is basically all of the fun of sewing curves, but without the quilt-sized commitment. (Spoilers, you'll probably fall in love, sew up a whole Modern Fans quilt, and live happily ever after.)

You May Also Like...
- The Modern Fans Sew Along: Blog Posts for Every Step!
- A Gatsby Inspired Modern Fans Quilt Kit
- 10 FREE DIY Sewing Gifts for Your Best Gal Pal
- 6 Tips for Straight Line Machine Quilting (a.k.a. Matchstick Quilting)
- FREE DIY Sewing Gifts for a New Mom
- How to Hand Quilt (with Video Tutorial!)
- Make a Quilted Zipper Pillow: Photo Tutorial

Quilted Tote Bag Tutorial: Fabric
- Main exterior (and back of tote): ⅔ Yard
- Lining: ⅔ Yard
- Handles: ¼ Yard (not FQ)
- Fabric for blocks: Once you see the templates included in the pattern, you'll see you don't need very much fabric for these, especially if you want to mix and match lots of fabrics. I'd say that ¼ Yard or 1 FQ of each color would be plenty.
- Batting or fusible fleece: ¾ Yard (If you don't want a super floppy tote bag, I recommend using two layers of fusible fleece, or two layers of batting to give the tote a bit more shape. For this, you would need 1 ½ Yard instead of ¾)

Basic Sewing Supplies
- Modern Fans pattern: This is where you'll find the templates and directions for constructing the Modern Fans blocks
- Simple sewing machine
- Thread
- Cutting mat
- Ruler
- Rotary cutter
- Straight pins
- Iron & ironing board
Optional Supplies (that'll make things easier)
Quilting Terms
- RST = right sides together
- WST = wrong sides together
- WOF = width of fabric
- FQ = fat quarter - a pre-cut of fabric measuring approximately 18" x 21"
- Seam allowance = 1/4" for piecing the blocks, but 1/2" for construction of the tote

Step 1: Create 4 Modern Fans Blocks
Using your handy-dandy Modern Fans pattern, create four blocks to form one circular unit. If this is your first time sewing these blocks (or even if it's not), here's a lovely video tutorial that explains the block construction step-by-step.
Trending patterns!


Quilt Patterns


Quilt Patterns


Quilt Patterns


Quilt Patterns


Quilt Patterns


Quilt Patterns


Quilt Patterns


Quilt Patterns


Quilt Patterns
Once you've finished your block, you're ready to move on to Step 2 of this quilted tote bag tutorial!

Step 2: Add the Sashing
Head over to page 5 of your Modern Fans pattern, and add the side sashing (main exterior fabric) as if you were making a pillow with ONE MAJOR ALTERATION: Instead of the listed size for the bottom sashing piece, use a piece that measures 5 ¾" x 19". Once the sashing is sewn on, trim so that your piece measures 19" x 22".
Step 3: Cut the Lining, Back, and Batting
From your main exterior fabric, cut one 19" x 22" piece, and from your lining fabric, cut two 19" x 22" pieces. From your fusible fleece or regular batting, cut two pieces of 18 ½" x 21 1½" (one for the front of the quilted tote bag and one for the back.) If you're like me, and prefer a bit more structure to your tote, cut two more 18 ½" x 21 ½" pieces.

Step 4: Attach the Fusible Fleece
Place the fusible fleece and front piece so that the adhesive (bumpy) side is facing the back of your pieced tote bag front. There are some really lovely instructions that come with fusible fleece, but since I really like to live life on the edge, I've never actually read them and typically just press on medium heat until it adheres to my fabric.
Iron the other piece of fusible fleece to the back of your back piece. (If you are doing two layers, add your second piece of fusible fleece onto the back of the first one.
If you are using regular batting, baste the batting to your pieces however you please, whether that be glue basting, spray basting, or pin basting. If you are using two layers of batting, just double it up.

Check to be sure the fleece or batting is adhered well to the back of your fabric. Since the fleece/batting layer is a bit smaller than the front and back pieces, it will help to reduce bulk in the seams when we are sewing the whole quilted tote bag together.

Step 5: Quilting
Now for the fun part: Quilting! If you've never tried hand quilting, this quilted tote bag tutorial might be the perfect bite-sized project to give it a try on. Although I stuck to machine quilting on mine, I used a hera marker to draw two intersecting diagonal lines, then followed them with my walking foot guide to give my tote a textural crosshatch look.
Quilt the back piece as well.


Step 6: Construct the Exterior of the Tote Bag
Let's give this quilted tote bag some shape! Place your exterior pieces RST and pin around the perimeter, leaving the top open. Sew around the perimeter using a ½" seam allowance, leaving the top open.

Next, press your seams open - I find it easiest to put the bag onto the end of my ironing board and press the side seams open, then place it flat and press the bottom seam "up" on each side for the bottom seam.

Now it's time to box the corners! If you've made a boxed bottom bag before, this will probably seem familiar. If this is your first time, never fear! It's really quite simple.
First, pull your bottom corner of your bag into a triangle, aligning the center of your bottom seam with the center of your side seam. A simple trick to see if these seams are aligned is shown above: Stick a pin through the center of the seam on one side, and it should come out in the center of the seam on the other side. If it isn't quite dead on, adjust as needed.

Second, lay your triangle flat, and align one of the major lines on your ruler directly down the seam. Align the ruler so there is 2 ½" between the seam and edge of the tote on either side of the center line. Mark this line with a disappearing ink pen.


Third, sew along the drawn line, making sure to backstitch at each end. I usually sew over this seam twice, just for a little added reinforcement.

Lastly, trim ¼" from your new seam, then repeat step 6 to box the opposite corner of the tote bag.

Step 7: Construct the Lining of the Tote Bag
Lining time! Place your lining pieces RST and pin. Sew around the perimeter using a ½" seam allowance, leaving the top open and leaving a 7" gap at the bottom to turn the bag out through later. Do not forget to leave this gap, or you won't be able to turn your tote bag right side out!
Follow the Step 6 instructions to box the corners of your lining.

Step 8: Create the Handles
You're making great progress! Now it's time to create a set of handles for the quilted tote bag. Cut two strips of handle fabric 4 ¼" x WOF. Press ¼" over along the long edge, then fold in half and press.

Next, cut a piece of fusible fleece or batting 1 ⅜" x WOF and place it inside the lip of the handle fabric. You may want to use two layers of batting or fusible fleece if you'd like to beef up your handles, especially if you are using a lightweight fabric for your handles.
(If you do two layers of fusible fleece, I recommend fusing them to each other prior to trimming them to 1 ⅜" x WOF.)

Take your handles over to your sewing machine and sew close to the edge of the handle pieces to secure. Be sure you're catching the layer(s) of batting and front and back of the folded handle fabric.

Step 9: Put It All Together
We're nearing the end! It won't be long before your quilted tote bag is assembled and ready for use. Flip your tote bag exterior out so the right sides are facing out.

Next, cut your handles to the desired length, and pin 4" from the outsides of the tote bag with the handles facing down. I cut mine to about 28" each, and left ½" overhang at the top.

Pin your back handle the same way, aligning with the front handle.

With your lining still inside-out with RST, place the exterior of the quilted tote bag inside of the lining. If you made the Rocksteady Stocking, this is probably beginning to feel like deja vu!

Align the side seam of your exterior with the side seam of your lining. Pin in place - I like to use fork pins to keep the seams open when sewing over them. Pin around the rest of the top of the tote to keep the lining and exterior from shifting while sewing.

Sew around the top of the tote bag using a ½" seam allowance. When I got to the handles, I sewed over them twice to reinforce the seam. Trim the overhang of the handles.

Turn your bag out through the hole in the lining, then place the lining inside the exterior. Viola! It's really starting to look like a quilted tote bag!

Step 10: Topstitch
The end is in sight! Press your top seam so the lining lays nicely inside the exterior. Topstitch around the circumference of the opening to secure and give it a good finish.

Step 11: Sew the Lining Closed
Last but not least, sew the gap in the lining closed using an invisible/ladder stitch. Place the lining back in the tote, and your quilted tote bag is ready for use!

If you made it all the way through this quilted tote bag tutorial, you're probably ready for that second date with Modern Fans - might I suggest a long romantic walk... down the aisles of Target, hand in hand with your new tote bag?
If you have any bag-making tips, or if you are just really excited to make this quilted tote bag, let us know in the comments!


Woo hoo! I’m so making this. Although I mostly quilt now, I learned to sew by making bags. My goal for 2020 was to start making bags again. This is the perfect project to combine my main love (quilting) and still keep my resolution. Suzy—you did it again!
I use cotton webbing instead of interfacing/fleece for my handles. I have some fabric similar to what you used for the main fabric. Happy Creating.
I think I CAN do this! Thank you, Suzy!
Oh yes I would love to make this bag, thanks for tutorial.
This is awesome! I loved making the Modern Fans Quilt, I think I might be able to actually make this tote! Thank you for the great photos and great tutorial!
Beautiful. Fabric cut and ready to go! Thanks
For those of us who didn’t buy the Modern Fan Quilt Pattern, are there other options to get the center of the bag pattern without paying $13?
Had the same question… sad that it’s a little misleading.
This tote bag tutorial works with any 18″ standard pillow pattern, however to make this exact bag, you do need the Modern Fans templates.
I love the bee fabric!!!! Do you mind sharing what is called?
The bee fabric is Cotton + Steel Magic Forest Bees in Yellow 🙂
Would you also be able to let us know what other fabrics are used? They work so well together.
Would there be a way to add a zipper to this?
Definitely yes. I just googled “add zipper to tote bag” and I found a few good options. If you like to learn through videos, here’s a good one – https://www.youtube.com/watch?time_continue=773&v=z9KMYmxJi5Q&feature=emb_logo
THANK YOU! I love this bag with that awesome design. Just yesterday i used my Hera marker on a 26 inch pillow top to quilt it. Never using anything else! It was so easy to do and I could follow the lines perfectly. I picked this tip up from you a while back. Thanks again!
Thank you! What a great tutorial and such a nice bag. For all the work that goes into making the bag and writing up a tutorial it’s well worth the money to buy your beautiful quilt pattern used for the block! Thank you to both of you for putting this out for us.
I use polyester lashing straps- available at hardware stores, Harbor Freight and places like Home Depot or Lowe’s. It comes 1″ by 12ft. 2 in a pack for $3.99. So, 24 feet of straps for less than $4. FAR MORE ECONOMICAL than buying cotton strapping from a fabric store.
I’ve been using these for handles for years. Cover with matching fabric and you’re good to go!
Hello Suzy,
What brand of fusible fleece you recommend. I like it to be as natural as possible and environmentally friendly.
What kind of fabrics work best for this bag to make it long lasting? the more decorative fabrics looked like cotton but what was the overall dark gray fabric and handles? This is a beautiful bag and I cant wait to try it!!
I believe the dark fabric is an Essex cotton/linen blend.
I am working on making this for some Christmas presents for my family. Already made one and it was an extremely fast and fun project. Though, quilters beware you’re about to go wild in the FQ section at fabric stores… I have enough to make a small football team this bag.
Why don’t you show the instructions for the first bag shown? Very deceptive and misleading. I am no longer a fan of Suzy Quilts!
Hi Mary! Let’s see if I can help. This tutorial only shows how to make the bag in the first picture, which is the only bag shown in the entire tutorial. If you follow each step in this tutorial, you’ll get a bag that looks just like the first bag shown! If you have any additional questions about reading or making this tutorial, feel free to reach out to us directly at [email protected] 🙂
Best Tote Tutorial that I’ve found !
Thanks for sharing !!
So glad that you liked it! Hope you make all the totes! 🙂
Do you recommend this for beginners? How long would you estimate this takes to complete? I’m looking forward to making this as a Christmas present if you think it’s beginner-worthy. Thanks for a great design Suzy!
I think the hardest part is piecing the quilt block. So scroll through some of the sew along posts giving extra details on that and you should be fine. Here’s a helpful one – https://suzyquilts.com/modern-fans-quilt-sew-along-week-3/
I love the open coat the model is wearing. Is the pattern available.
Hi Jo!
I wish I could say that I made the coat, but it was actually a wool jacket I purchased from Express. However, I think the Wiksten Haori would be very similar if you made the long version of that pattern in a more structured fabric!
What is the finished size of the bag?
You can find more details about the size in Steps 2 and 3, but it’s about 18 1/2″ x 21 1/2″ finished — enjoy making yours!
Hi – great tutorial, looking forward to creating my first quilted tote bag. What fusible fleece do you use/ recommend? From a search there seem to many varieties to choose from. Many thanks!
I used Pellon 987F for this tote – it was the perfect option to give my tote some structure without being too rigid.
What is the finished size of this bag?
This bag measures approximately 18 1/2″ x 21 1/2″ finished. Enjoy!
I will try it.!