Part II: Maypole Quilt Sew Along – Tips
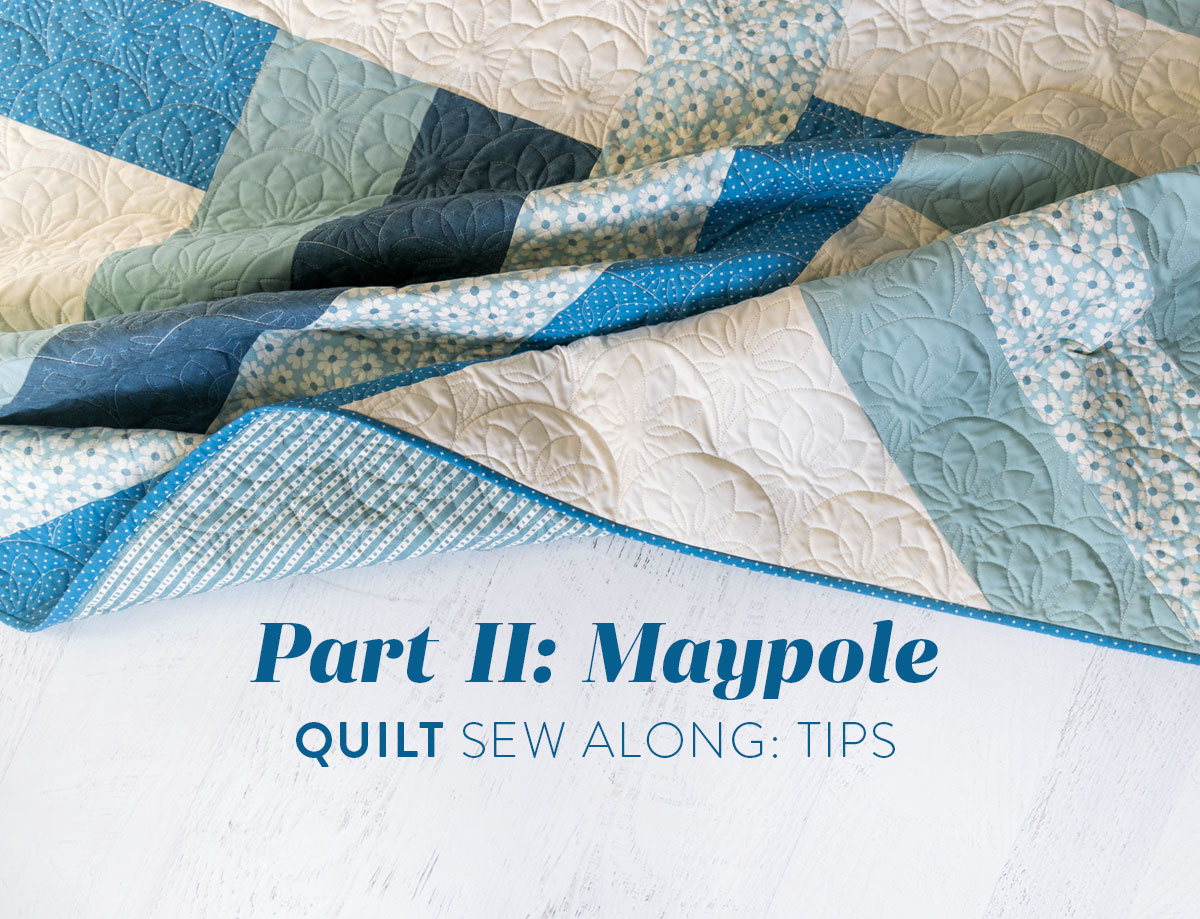
Welcome back for Part II of the Maypole quilt sew along! I hope that Part I in this two-part series gave you loads of color picking inspiration and that you've narrowed your choices to 5 fabrics that you really love. This week is all about construction and trimming, along with some tips for working with woven fabric.

Tip #1: Use a 45° guide mark on your ruler when trimming the blocks.
One of my favorite things about the Maypole Quilt is how quickly it comes together. But sometimes I get a tiny bit nervous when trimming the strips and corners. I have found that using the 45° marking on my quilt ruler is the best way for me to make accurate cuts.
Line up the 45° line on the ruler on the seam or edge of the fabric. The "cutting" side of the ruler should line up with the edge of the fabric, making a straight line once you cut.


Continue until you've added all of the strips to the quilt, then assemble the top.
Tip #2: You can trim the blocks as you go or all at once.
Even though the pattern instructions tell you to trim as you go, it actually doesn't make a difference if you would rather do it all at once at the end. Sometimes leaving it to the end can prevent the blocks from bowing. One benefit to trimming as you go is that it visually lets you know if your strip will be long enough.
Trending patterns!


Quilt Patterns


Quilt Patterns


Quilt Patterns


Quilt Patterns


Quilt Patterns


Quilt Patterns


Quilt Patterns


Quilt Patterns


Quilt Patterns
Tip #3: Repeat Tip #1 when trimming the entire quilt top.
Once the top is assembled and it is time to trim the corners, I use the same method as I did for the strips. I square up the corners using the 45° mark on the ruler, take a deep breath, and trim.
As you'll see, sometimes the 45° line doesn't fall directly on the seam of the fabric, so I just eyeball as closely as I can.

This works with any size ruler, even a classic 6" x 24" quilting ruler. Below I'm using a 12 1/2" square ruler. If you would like to see examples of trimming using different rulers, or even using scissors, check out Week 4 of the Garland quilt sew along or Week 4 of the Adventureland quilt sew along.

Tip #4: Baste around the perimeter of your finished quilt top.
Maypole has a lot of bias edges, so I had to take that into consideration when choosing fabric. This lavender Maypole is made using a lot of woven fabric which can do some stretching if you're not careful.
Laura outlined some great tips for using woven fabric in this Shining Star Quilt. Because all of the edges in Maypole are bias edges, I would suggest also basting all the way around the outside of your quilt top.

To do this, set your stitch to a wide stitch length, around 4 or 5. I like to stitch a little closer than 1/4" to the edge so that my binding will cover the stitch once it's quilted.
BONUS: Quilting Tips!
As you can see, I chose to send my Maypole quilts to a longarm quilter (Trace Creek Quilting specifically.) If that interests you, this post on will help — Hiring A Longarm Quilter: An In-Depth Guide.


In all of these examples, organic patterns or curved designs were used. I think those kinds of all-over designs work best with a pattern that is made from clear stripes.


In the original example Suzy made, this Maypole is hand quilted a couple inches apart following the strips of the pattern. If hand quilting isn't for you, you can achieve a similar simplicity through machine quilting.
This double gauze baby quilt is quilted simply by stitching on the pieced seams — also known as stitch-in-the-ditch quilting.

In this outdoor canvas Maypole quilt, Suzy excluded batting and just stitched simple lines following the pattern. That's a great way to minimize the quilting and focus on the quilt pattern design.


In the quilt above Suzy used both stitch-in-the-ditch quilting and hand quilting as an added touch. This is also a fun way to add little pops of color through stitching. Can you see the orange thread on the lavender fabric?

Don't forget the Maypole extension patterns!
We added extra sizes in these Maypole quilt extension patterns!


Use the Maypole Wall Hanging Extension Pattern to make an adorable floor pillow!

There are just so many options when it comes to making this quilt! The one thing I know for sure is that Maypole is a pattern you will find yourself revisiting time and time again. Let us know in the comments if you have any questions about making your Maypole quilt and if you found these tips helpful!


Great tutorial Sarah! Love the family picture!
I am a beginner a very eager newbie quilter. Love the pattern of the Maypole and so want to start it. I have Enjoyed reading your tips on the maypole quilt sew along part 1&2. Your patterns are so modern and clean I love them and cannot wait to get started!
That’s wonderful! I hope you enjoy the process 🙂
I’m not sure , but can’t figure out how wide to cut the strips of fabric?
Hi Robin! You can find the cutting instructions in the Maypole quilt pattern, available in our shop here: https://suzyquilts.com/shop/maypole-quilt-pattern-download/
Enjoy!
I carefully followed the piecing directions for the throw size of the Maypole pattern – double check each strip for the Block A and B. When I assembled the quilt, Block A was longer than Block B by an inch or two. In double checking my measurements, side i – block A is matched to side d – block B but I is 5″ x 37″ and d is 6 1/2″ x 40″. How is this supposed to match? Can someone help….
Many thanks, Barb
Hi Barbara, Suzy’s tech editor here. You’re correct: the d side of piece B is about 1.5″ shorter than the g/i side of piece A. This looks less strange if you save all the trimming until the very end (another option), but regardless, there’s just extra built into the length of the pieces to provide plenty of room for trimming the final quilt top. As long as everything aligns in the middle as instructed in the pattern, you’ll be fine. I do recommend making sure to pin before sewing these bigger pieces, as it’s easy to get things stretched out. If it helps, you’ll also notice that, in the trimmed quilt, the seam lines don’t end in the four corners (they’re offset a bit). You’ll see how this works out once everything is sewn together. Feel free to email me directly for help if you’re still having trouble ([email protected])!
Thanks so much, I will go ahead and join the pieces pinning first. You were so quick to get back to me – I appreciate it very much, Barb
I’ve just finished my first quilt top using the Maypole pattern and love it.
I was wondering on the version where you did the straight lines only if there’s a specific direction you should do the quilting in, either all lines in one direction then the ones going in the other direction, or do you do a strip then turn and do the one that runs in the opposite direction from it?
Hi Cat! Most of the lines on the original Maypole quit don’t touch. You’d do all the quilting in one strip, stop and bury the treads, then move on to another strip. Hope that helps!
Is there a video tutorial on how to make this quilt?
Hi Shana! There’s no video tutorial for making Maypole, but the pattern and additional sew along posts should be of great help!
When sewing the longer strips (cut WOF) I clearly have to join pieces together: where is the best place to make that seam? I’ve tried looking closely at the photos but I cannot see your seams…
Hi Shirley, that’s the beauty of it, the seams hide perfectly once the quilt is quilted! Sew the WOFs together and don’t worry too much about where these seams land. You probably won’t be able to find the seams on yours either 😉
I’m making this pattern as a wedding gift using the bride’s colors. She doesn’t want a queen and I think that the throw might be too small. Is there any easy way to enlarge the throw?
What a lovely wedding gift! You can definitely scale the pattern up, with a little bit of math, making the strips wider. Or if you don’t want to do some of the mental gymnastics, a border around the throw size may help you get to your desired dimensions. Good luck!