Star Crossed Sew Along (The Highlights)
Hello, hello and welcome to an abbreviated Star Crossed sew along! In this first post I'll cover the making of this quilt from start to finish. Next week I'll do the same thing with the Star Crossed 2.0 variation of this design, and in the third and final week, I'll answer any questions you post in the comments here and on social media and then give you lots of quilting options for finishing your quilt tops. Sounds good?
Even though this is a shortened sew along, we still have some fantastic discounts on longarm quilting running.
- Jenn B Quilts is offering 25% off longarm quilting on all Star Crossed quilts through November.
- Trace Creek Quilting is offering 25% off all Star Crossed quilts that arrive at their studio by the end of November. This includes a guaranteed holiday finish too! You can kind all of the details on the Trace Creek Quilting blog.
Star Crossed: Pick Fabric
Jumping right in to picking fabric, I want to remind you how the Star Crossed quilt pattern is different than the Star Crossed 2.0 pattern.
Star Crossed Quilt Pattern

Star Crossed 2.0 Quilt Pattern

Star Crossed is the more beginner friendly of the two because it avoids Y-seams (those are the seams that give Star Crossed 2.0 the beautiful star points.) If you're antsy to make Star Crossed 2.0 and just can't wait until next week for its post, check out this post for fabric requirements and inspiration. There's is a video tutorial on Y-seams in the pattern, so I have every confidence that you can still make it without me. 😉
Star Crossed Fabric Requirements

Even though I'm dying to make this limited-color version from the pattern, I'm going to use a version of the Pastel Rainbow mockup from page 17 in the pattern to make a multi-colored Star Crossed.
Trending patterns!


Quilt Patterns


Quilt Patterns


Quilt Patterns


Quilt Patterns


Quilt Patterns


Quilt Patterns


Quilt Patterns


Quilt Patterns


Quilt Patterns
Limited-Color Star Crossed Fabric
All of these colors are from the Suzy Quilts PURE Signature solids for Art Gallery Fabrics. Because my solids collection coordinates with the prints from my Duval collection, you could substitute some of the solids for prints if you like.
- PURE solid Glacier (could substitute with Boho Birds Glacier)
- PURE solid Pearl (could substitute with Tiny Moon Breezy, Tiny Moon Pearl, or even Diamond Stripe Glacier)
- PURE solid Poppy
- PURE solid Snapdragon (could substitute with Basket Weave Shrimpy, Boho Birds Snapdragon, or Blocks Snapdragon)

Multi-Colored Star Crossed Fabric
Just like the limited-color version, the cover quilt uses all Suzy Quilts PURE Signature solids and the Duval collection.
- Boho Leaves Nova
- Boho Birds Glacier
- PURE solid Honeymoon
- PURE solid Glacier
- Diamond Stripe Glacier
- Blocks Snapdragon
- Boho Birds Snapdragon
- Tiny Moon Pearl
- Basket Weave Shrimpy
- PURE solid Shrimpy
- Binding: Key West Bound
- Backing: Tiny Moon Nova in Flannel
If you feel at all stuck on color placement or what fabrics you should choose in general, the color mockups on pages 16-19 are a great place to start. You can also use the blank mockup on page 15 to experiment and add your own colors!

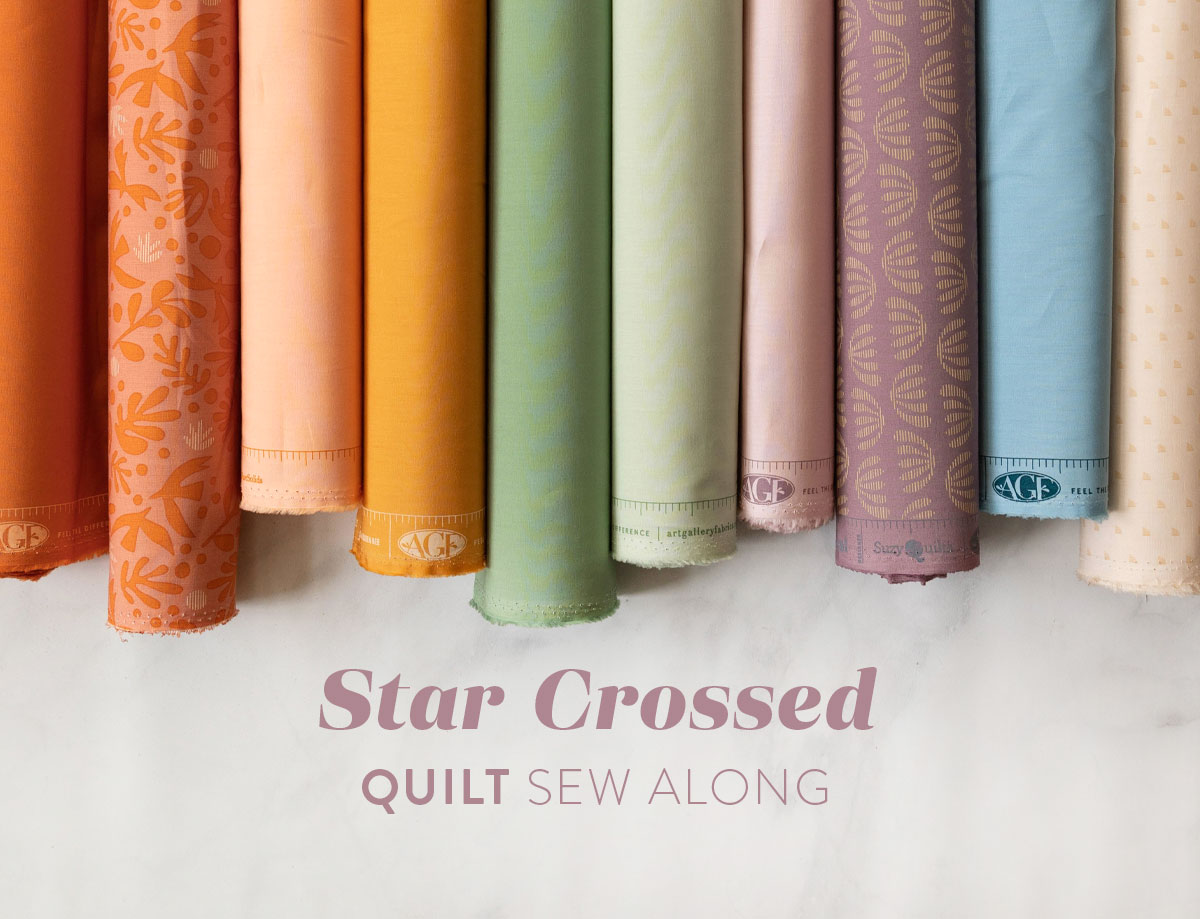
Pastel Rainbow Star Crossed
If you're interested in making a Star Crossed quilt like mine, these are the fabrics. All of them are either Suzy Quilts PURE Signature solids for Art Gallery Fabrics or prints from my Duval collection.
- PURE solid Spiced
- PURE solid Snapdragon (Subbing the print Boho Birds Snapdragon)
- PURE solid Queen Bee
- PURE solid Shrimpy
- PURE solid Monet
- PURE solid Haze (Subbing the print Boho Leaves Haze)
- PURE solid Pistachio
- PURE solid Pearl (Subbing the print Tiny Moon Pearl)
- PURE solid Cerulean
- PURE solid Matcha

Fabric Picking Tip #1: Start with solids.
If you're starting from scratch, I think it's easiest to start with all solid fabric and then mix in prints that can easily substitute for a solid. The reason I recommend this is because that way you know you're still going to get the overall look of the original design, while adding extra interest and texture from some printed fabrics.
Fabric Picking Tip #2: Think of your fabrics as pairs.
Star Crossed is meant to look like strips of fabric woven together. To accentuate that effect, think of your fabrics as pairs. Colors 1 and 2 weave together (Velvet and Thistle), Colors 3 and 4 weave together (Honeymoon and Nova), Colors 5 and 6 weave together (Poppy and Spiced), Colors 7, 8, and 9 weave together (Glacier, Truffle, and Shrimpy) and Color 10 is a cute little accent.

In this mockup, I used shades of the same color in each pair. Of course, this is optional, but it does give it a beautiful and cohesive look.
Fabric Picking Tip #3: Cut a sample to visualize scale.
Each of these strips and squares are 3 3/4" when finished. In the quilt world, that's kinda wide. This could be a good pattern for you to explore some larger scale prints. To see what it would look like, cut a 3 3/4" square from one of your fabrics and see how you like it.
Don't want to waste fabric? Just hold one of your quilting rulers over the fabric and see if enough of the pattern translates in a 3 3/4" square. What do you think? If you do go with a large-scale print, be sure to balance it out with adequate small-scale prints and solids/blenders.
(If you are interested in more information on picking fabric, I have an in-depth article in Issue 2 of The Cutting Table.)
Star Crossed: Cut & Organize
Cut & Organize Tip #1: Print and use the labels from the pattern.
If you are making the multi-colored version of this quilt you have ten different fabrics to keep organized. I wanted to help by adding a new feature to this pattern found on pages 20 and 21 of the PDF. In past sew alongs I've encouraged you to label your fabric. Now, instead of making your own labels, you can print off the labels in the pattern, which also happen to have the cutting measurements!

Even though Star Crossed is a beginner-friendly pattern, it does require you to pay attention and keep your cutting organized. To avoid getting your colors mixed up, before you slice anything, it might also be helpful to make yourself a little chart so you can easily reference which fabric is which color in the pattern.

Cut & Organize Tip #2: Use the guides on your ruler, not on your mat.
If you're new to quilting, cutting yardage can be intimidating. In this video I show you some best practices for both accuracy and safety.
Cut & Organize Tip #3: Stack your strips
This pattern requires you to cut a lot of 4 1/4" x WOF strips. To speed up the process, stack a few fabrics on top of each other and slice them at the same time. Once it comes to sub-cutting, you may need to slow down and stack less.
Cut & Organize Tip #4: Use a roller, hera marker, or even finger pressing for quick seams.
Some strips require piecing before sub-cutting. For example, if you're making the multi-colored Throw, you need (4) 4 1/4" x 23" strips. To get those, I suggest placing 3 of the strips on top of each other (the fourth strip is set aside for piece j), then cutting (3) 4 1/4" x 23" strips.
To get the fourth 4 1/4" x 23" strip, you first need to piece two of your smaller leftover strips together. I quickly took them to my sewing machine, lowered my stitch length to 1.75 to make the seam extra strong, then brought it back to my cutting table.
Rather than firing up my iron, I just used a roller to quickly flatted out the seam before trimming it down to 4 1/4" x 23". If you don't have a roller, you could use a hera marker or even finger press the seam open.
- My wooden roller is from Modern American Vintage. You can find less expensive ones online too.
- A hera marker is another option. And here is a less expensive version.

Cut & Organize Tip #5: Watch this video on cutting a large square of fabric.
In the video below I show you how to cut a large square. If you're making the throw size, you need to cut a 26" square — which I'm guessing is bigger than any ruler you own. It may even be bigger than your cutting mat! If that's the case, follow along with me as I show you how to measure and cut a large square of fabric.
Cut & Organize Tip #6: Use batting tape to stabilize your triangle bias edges.
My favorite batting tape here! I love this batting tape because it is 1.5" thick, giving me lots of stability and wiggle room for ironing and cutting.
About 10 minutes into the video above, I bring out some batting tape. What is batting tape you ask? Well, here's an article all about it and why I love it — Fusible Batting Tape: Why You Need it & How To Use It.
This video uses batting tape in a different way, however. Instead of fusing together small bits of quilt batting, I am ironing it onto the two diagonal marks where I will cut my triangles. Two sides of each triangle will have bias edges. The batting tape will stabilize the bias edges and keep them from stretching and distorting.
In short, when fabric is cut vertically or horizontally, it is cut on grain and does not stretch very much. But when fabric is cut off grain it gets stretchier. In quilting, you typically don't need to worry about this very much because we piece together lots of small pieces and stabilize them with multiple seams. This does matter a bit more when working with large pieces of fabric — like the base triangles in this pattern.
- Crosswise (also known as Weft): runs perpendicular to the selvage. Because it is made from yarns woven over and under the lengthwise yarns it has more stretch than lengthwise grain.
- Lengthwise (also known as Warp): runs parallel to the selvage and has little to no stretch.
- Bias: The 45° angle across the surface of a woven fabric. Fabric cut on the bias stretches easily because it is cut off grain.

Star Crossed: Sew & Final Assembly
Sew & Final Assembly Tip #1: Try to press as instructed in the pattern.
The way you press your seams doesn't always matter, but when it comes to making the "woven" center section of the Star Crossed pattern, it is to helpful for accuracy to press as the pattern instructs. Doing it that way will allow you to nest your seams so each one locks into place beautifully. You're going to love having every seams meet up nicely.
Sew & Final Assembly Tip #2: Lay out your units and chain piece.
Chain piece as much as you can in this pattern. The center section is a great time to chain piece units and then rows. Here's a quickie video of my chain piecing the cover quilt...


Sew & Final Assembly Tip #3: Trim on the floor or a large table.
If you can find a large flat surface for your trimming, that will help you trim the most accurately. You want to be able to lay an entire side of the quilt out flat. Crawling around on the floor is not possible for everyone, but if you have access to a dining room table or even a picnic table outside, that would do the trick.
Sew & Final Assembly Tip #4: Use multiple quilting rulers if you have them.
Just like in Week 4 of the Adventureland sew along, I like to use multipe quilting rulers butted up against each other for the final trimming stage. If you are a visual person and like to see the entire trimmed edge of your quilt before cutting, it's easy to do by butting up quilting rulers to each other to create a long straight edge.
If you only have one quilting ruler you can also use the straight edge of books, cookie sheets, or a cutting board. Once you have your straight edge you can either draw a guideline or place a cutting mat underneath the quilt top and trim with your rotary cutter.


It's really helpful if you line up the 45-degree mark on your ruler with the strips.

Let me know in the comments if you have any questions and use #StarCrossedQuilt on social media to post pics of your quilt and see what others are making too!


Wow! What a tutorial! Thank you! I will start on this in the spring but for now, arm myself with every bit of information you put to us.
Is your profile changing, dear Suzy?
I’m glad to hear it! My profile? haha! I’m not sure I know what you mean.