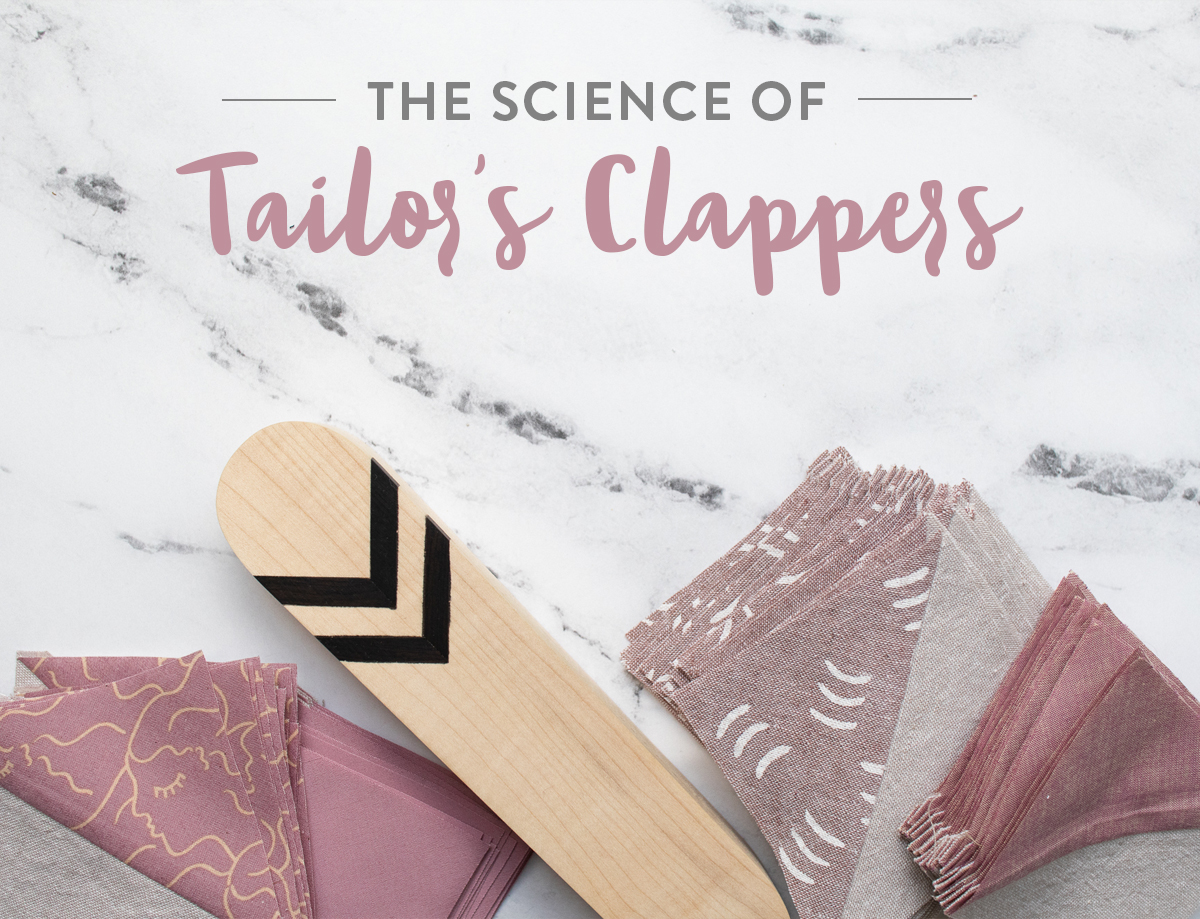
The Science of Getting Flat Seams Using a Tailor’s Clapper
Good pressing takes time and practice, but it can make any quilt shine. That’s why tailor’s clappers are one of our favorite tools here at the Suzy Quilts HQ. We wanted to learn more about this beloved quilting tool, so this post is all about the science of getting flat seams using a tailor’s clapper!
Having flat seams is a goal for many quilters. Flat seams can make your accuracy, piecing, and quilting easier. You can get crisp, flat seams by adding a tailor’s clapper to your pressing, but some quilters are hesitant to take the plunge and give them a try. Keep reading to learn not just how tailor’s clappers work, but also the science behind why they work!

(Note: I am no longer 38 weeks pregnant - we have a wonderful 10 month old now!)
Today we have a Q&A with my husband Mitch! He’s a scientist by day and has a PhD in Materials Science, which is the study of how different types of materials function. He’s also a talented woodworker (see the picture below of the dining room table and wall art he made for our house!), and as a supportive and curious partner, he has learned a thing or two about quilts.

You Might Also Like…
How do you use a tailor’s clapper?
A tailor’s clapper is a wooden tool that is placed on sewn seams to help keep them flat after pressing. Here’s a video that shows how to get flat seams using a tailor’s clapper.
Trending patterns!


Quilt Patterns


Quilt Patterns


Quilt Patterns


Quilt Patterns


Quilt Patterns


Quilt Patterns


Quilt Patterns


Quilt Patterns


Quilt Patterns
Why do quilters get such flat seams using a tailor's clapper?
Heat and steam make fabric fibers flexible, and when they dry and cool to room temperature they stay in the shape they were when hot. That’s why pressing works in the first place! But when you’re just pressing, you remove the pressure of your iron while the fabric is still hot, so the fibers can relax out of shape before they cool and stiffen.
So a tailor’s clapper keeps the heat and steam trapped for an extended period of time, which gives the fibers more time to get into the desired shape - meaning perfectly flat - and then holds them in that exact shape while they cool.
Here are some pictures Laura took of an experiment she did. You can see the difference over time between a seam that was pressed with a tailor’s clapper and one that was not. For both blocks, she used steam while pressing.

Should you always use steam to get flat seams using a tailor’s clapper, or will just heat work too?
Using steam, either by filling your iron with water or spraying water from a bottle onto your fabric before pressing, helps the fibers relax even better into your desired shape. So it’s more effective to use steam, but you will still get some of the effect of the tailor’s clapper from just heat alone. By using only heat, you’re not unlocking the full potential of the tailor’s clapper, and your seams may not be as perfectly flat as they would be if you did use steam.

Are special kinds of wood used to make tailor’s clappers?
A dense wood will hold the heat and steam in the fabric longer, which gives the fibers more time to adjust to being completely flat. The conventional wisdom is that this means using a hardwood like maple or oak. However, the terms “hardwood” and “softwood” actually come from the type of tree, not the actual hardness of the wood. Many hardwoods are actually very soft and light. Denser woods are usually better, but any kind of wood can give a similar effect in flattening seams.
Does the weight of a tailor’s clapper matter?
A heavier tailor’s clapper is better because it will help keep the fabric pressed perfectly flat, but any pressure is better than none. It only has to be heavy enough to hold the fabric flat, but applying any additional pressure beyond that will not make your seams any flatter, so don't worry about applying any extra pressure or pushing your clapper down while your fabric cools.

Can I use a different material as a tailor’s clapper, like ceramic or plastic?
The moisture from your steam has to have somewhere to go so that the fabric can dry. Wood has pores through which water can move and escape, so non-porous materials like ceramic or plastic won’t work in the same way because your fabric will just stay wet underneath.
Why don’t tailor’s clappers have a finish?
A finish on wood is a chemical that closes off the pores in the wood’s surface, which would prevent moisture from being able to pass through it. Since you need the moisture from your steam to be able to escape while your fabric cools and dries, a finish would prevent that from happening.

In your opinion as both a woodworker and a scientist, is a tailor’s clapper a helpful tool for quilting?
Absolutely! The fibers in your piecing don’t want to stay flat after you’ve pressed your seams. Keeping that fold in place to get a seam that lays flat is much easier with a tailor’s clapper - it’s science!
Thank you so much to Mitch for answering some of the most common questions we get here at the SQ HQ about tailor's clappers! If you want to order one of your own, the tailor's clapper in this post is made by the quilt tool woodworking business Modern American Vintage.
Do you use a tailor's clapper? Are you planning to try it out after learning about how it works? Let us know in the comments!


I just got a tailor’s clapper and I really like it already. I wouldn’t want to me without it now.
Same! I use it every time I sew now!
I’m not a quilter but quilting hints are applicable in all sewing. A friend of mine made two beautiful tailor’s clappers for his wife and me. (Two different sizes) Certainly enjoyed seeing your helper in the video.
That’s wonderful! I love hearing about homemade clappers!
Several question. How long do you leave the clapper in place? If you’re working on a large quilt do you need multiple clappers. Can they be used on a longarm?
Hi Judi! There’s a video included under the heading “How do you use a tailor’s clapper?” that you might like! It shows a clapper in action. I leave mine on while my fabric cools/dries under it. It only doesn’t take long, maybe 10 seconds or so. In the video that Suzy made that’s included in the post, you can also see her demonstrating how to move a clapper along a long piece of fabric. I tend to use my clapper on the wrong side of the fabric directly on the seam, so that’s the only difference between the video and how I use mine. Clappers are made to make seams flat, so they should be used when piecing, not while quilting. So they cannot be used on a longarm. Hope that all helps!
This tool actually was used for regular sewing, tailoring suits in particular, in the first place.
Thank you Laura & Mitch! Good to know that we don’t need to whack the seams like that crazy Facebook ad does! Laura, you’re blocks are perfect, but that table … ! It is swoon worthy!
Thank you, that table is loved 🙂
The dining table and wall art are both divine! What a clever and creative couple you are! Thank you so much for sharing this information. (Quick spellcheck observation, the last photo has calppers in the heading) 😉
Ha! Apparently there are only so many times I can write tailor’s clapper over and over again before a mistake pops up! Thanks so much for letting me now, it’s all fixed now 🙂
Thanks Laura! I noticed that you have the wrong side of the fabric facing in these photos. Do you hold the clapper on that side of the fabric after steaming?
Monique
I do! I like to check that both the front and back of my seams look good, so I usually put the clapper on the back. But you can do either! If you check out the Voyage Quilt Sew Along Week 3 post, you can see pictures of how I like to press 🙂
love love love my tailor’s clapper! Suzy gets the credit for introducing me to the concept and it has changed my quilting game so much!
I learned about tailor’s clappers from Suzy too, and they totally changed how I quilt!
I learned about tailor’s clappers in the tailoring class I had while in high school. It never occured to me to use one for anything other than garment sewing until I saw Suzy demonstrate it that way. They make a huge difference in the quality of the finished seam. Love reading all the good explanation about why they work! Thanks, Laura and Mitch.
Do you recommend pressing seams open for quilting if using the clapper or to one side as I’ve generally been taught?
Lots of patterns will note the best way to press, but I generally press to one side. I pressed open in the test for this blog post because it showed up in pictures much better than pressing to one side. But you can press either way using a clapper, it helps with all methods!
I have a tool witch has a flat wooden base and a “U” shaped top covered in wool used for pressing the seams without disturbing the rest of the quilt blocks. Question is, what if I set the wooden base on the seams and use as a clapper. Would this offer the same effect I wonder.
Hey Robin! I’m having a difficult time picturing the tool you’re talking about, but as long as your tool is made of hard wood, I’d try it out! Since wool is also porous, it should still release the steam. Try it on a test block and see what happens before using it on a quilt!
Robin, I have one of those tools, too, and love it for exactly the purpose you described. I’ve tried it as a tailor’s clapper. My observation was that I have to fuss with it more than I want to position it on the seam after pressing. They are fairly narrow, while a tailor’s clapper has enough width to pick up and fits well in your hand. To me, this makes it easier to place upon a seam and keep moving along with pressing.
Thank you for a very informative blog. Also what a beautiful table and stunning wall hanging. Is there a pattern on how to make it? You are Blessed to have such a creative husband and also one who “understands” fabric- lol…and shares a passion for it.
Hi June, thanks so much! The wall hanging behind the table is also made of wood and was just made up by my husband, so there’s no woodworking pattern for it. But I’m glad you like it!
My husband is a woodworker and is trying to make a few of these wonderful Tools!! Could you give me the dimensions of yours? He is trying a piece of teak wood. Thank you for your great video and information! Love the wall hanging also.
Have never used but am going to get one and give it a try. And your table and wall art are amazing.!!
Thank you! I hope you love how flat your seams will be with your new clapper!
My husband made my clappers last year. I have three so I can move through multiple blocks and rotate the clappers as I go. He also does some woodworking. Any chance there are plans for that beautiful table? Mitch’s work is beautiful! What a talented couple you all are!
Thank you! Mitch used a combination of plans and his own designs to make that table, so there aren’t any plans available for this specifically. But it’s so nice that you like it!
Thank you for the information on the clapper. My husband made me one as I wasn’t able to find one to purchase.
That’s so nice of him!
I’ve used a tailor’s clapper in garment sewing for many years. It is a game changer in quilting as well. Love it!!
I agree Sandra, it’s a total game changer!
About how long should a clapper be left in place before removing it?
Great article and beautiful table!
Thanks Jaymie! You should leave it on until your fabric feels mostly or entirely cool. I find this usually takes about 10 seconds or so. Your clapper will still feel warm since it’s absorbed the heat and moisture, but your fabric should feel cool and dry!
Swoon worthy table, your husband is very talented. I don’t have a clapper yet but someone in another quilting group had a wonderful idea. She had an extra bit of oak handrail left over that she used. I’m thinking it would be perfect for grip and weight (now just have to find a short piece).
Give it a try, Mary! You could always buy one later if it doesn’t work! And thanks 🙂
Thanks for the video. I bought a clapper not really understanding how it works! Now I know so I’m going to try it and I also have the wool ironing pad so I’m all set. Thank you again
I have leftover wood from various projects done on my home. Can I just use a leftover 2×4?
I’ve used some very old children’s blocks that are made out of 2 x 4s. I’ve also been using a heavy maple cutting board that has never been used for food. Both work wonderfully.
A tailor’s clapper is indispensible for sewing garments and quilts. Use my smaller one on lighter fabrics – both on the back and also on the front to make sure the seam is perfectly flat. And my much larger, heavier one (with tailor’s point) for thicker fabrics (denim, I’m looking at you!)
I wash cotton duck to shrink it and then have to iron the wrinkled stubbornness. The heavier clapper is very necessary to get out those dang things.
Whatever works for you is great! Tailor’s clappers are great!
Laura, the table your husband made is absolutely gorgeous! What a wonderful talent he has.
Thank you so much, Marsha! I’m lucky to have such a beautiful piece of handmade furniture 🙂
Thank you! Love to learn the science behind this awesome tool. Also that dining room table is beautiful.
Thank you so much! It is such an awesome tool!
The table is breathtaking
Thanks Megen, I’ll tell Mitch you said so!
My husband made my clapper. I use it all the time and love it. He needs to make me a second one.
That’s so nice of him, Darleen! I’ve heard about a lot of homemade clappers recently and I love that people have tools with an extra personal touch. Makes quilting even more fun!
Hi Laura! I just noticed that all the Clappers are sold out. Does Mitch have an idea if/when more will be available? I love the inlay ones!
Thank you and tell Mitch his work is stunning! I’ll be watching for more product to be available including the other tools.
Happy Quilting!
Jean 🙂
Hi Jean, thanks so much! Mitch isn’t the maker of the clapper in this post, it’s Chris from Modern American Vintage (our Voyage Quilt Sew Along Week 3 co-sponsor!). You can reach out to him on his website, but I also just noticed that numbers 3, 4, and 6 are listed as still in stock. Here’s the link to his site: https://modernamericanvintage.com/
Hi Laura, I looked at the beautiful clappers on Chris’ site. They are finished with
beeswax and orange oil, both of which, I would think, would not be good on
fabric. In Mitch’s science info, he mentions using raw wood as it aids in a place for steam to escape. I enjoyed his article….and that gorgeous table he made! Awesome.
Hey Sheryl! Those natural materials should be fine to be in contact with textiles for brief periods, like when pressing. It takes prolonged exposure to harsh chemical or oils to damage textiles, like months or years of continued exposure. Plus, all wood has natural oils that are harmful to textiles over long periods, but are not a problem for short periods. I use and love my Modern American Vintage clapper without any worry, and my speciality in museums in textile preservation! What Mitch is talking about in his article is a chemical finish, like a varnish that would make the wood glossy and shiny, like you see on some furniture. Hope that helps!
This was great! I got a tailors clapper last year and find it super effective. I had an idea of why it works, but this was a good clear explanation and you photo sequence illustrates the effect of a clapper brilliantly. Thanks!
I’m so happy that you found this helpful, Linda! Knowing how speciality quilting tools work is so fun!
Do we still need to use a scant 1/4″ seam allowance when piecing our quilts, then? The fabric “seams” to be perfectly flat as you’ve sewn and pressed it.
Hi Victoria! Are you talking about the Voyage quilt specifically? You can use a tailor’s clapper with any seam allowance – it’s a tool from the garment sewing world and they usually use much larger seams than quilters do! But if you’re asking about the scant quarter inch seam we’ve been discussing in the posts about the Voyage Quilt Sew Along, it’s important to still use an accurate or scant quarter seam for the HSTs in that quilt specifically. Using an accurate or scant quarter inch in the Voyage quilt is about making the HSTs the correct size. Hope that helps!
I hate to show my ignorance, but what is a scant 1/4 inch seam? How is it different than a 1/4 inch seam? Also, just a general question: I know that Suzy’s patterns direct us to cut the squares and rectangles for HSTs or HRTs larger so that we can trim down to get the correct finished size. But do other patterns do this as well, or do we increase the size of the squares or rectangles noted on the pattern on our own in order to be able to trim down to the finished size? This always confuses me. Thank you, I love the tutorials and posts, they are so helpful!!!
Hi Leticia, great questions! A scant quarter inch is a seam allowance that’s just a few fibers short of a full quarter inch. You’re not going small enough that it’s an eighth inch seam allowance, just giving yourself a little bit more wiggle room. There’s a tool to help you find it in the Week 3 Voyage Quilt Sew Along blog post! All HSTs and HRTs need to be trimmed down because of the nature of how they are constructed, but always follow the instructions in whatever pattern you are reading. Different pattern writers use different measurements, but if you need to change any measurements, it would be noted in the pattern. Hope that helps!
Interesting article! I’ve been using my plastic quilting ruler because it gets them perfectly flat and I didn’t see the point in buying another took. The moisture does gather on the underside so I have to give it a wipe inbetween. After reading this it does make me see the value in getting a wooden one and skipping the step of wiping
It’s definitely useful to use porous wood! Using an non-porous material means that while your fabric will cool under a ruler, it isn’t actually drying, so your fibers can pop back up. Hope you enjoy this change!
This was interesting, thanks!. I love my clapper but really had no idea why it worked.
You’re welcome!
Hi! I spray my fabric with starch before pressing. Could I use my starch instead of steam to dampen the fabric? I’m imagining making a cotton “clapper cozy” so the clapper doesn’t get sticky 🙂 Or will I need to press twice – once with starch and later with water & tailor’s clapper?
Steam is one of the key ingredients to getting flat seams, and starch doesn’t create steam. So stick with water! Plus starch is best used before cutting your fabric, not during piecing. I pre-wash all my fabrics, press and starch before cutting, then use water to make steam for my clapper when I’m pressing my seams 🙂
Hi,
As an older dressmaker and tailor, I have quilted only a little bit. I’m too young to make quilts of a necessity as my grandmothers did, but too old to get into the quilting craze now (arthritic hands). What are HST and HRT?
Thank You,
Rosemary
HST and HRT are acronyms for quilt blocks – half square triangle and half rectangle triangle.
The wool pressing mat and the clapper work so well for pressing. I was amazed at the difference.
I just watched your video and love the quilt draped behind you. What is the pattern?
Thanks!
PS. Great refresher on how to best use my clappers!
It’s called Perennial, here’s the link! https://suzyquilts.com/shop/perennial-quilt-pattern-download/
I love my “clapper.” It is a discarded piece of lumber 1.5″ x 1.5″ x 12″. I have been using it for 10 years and it works great. Best of all it was free!
What is on the underside, that makes it lay flatter than pressing alone? Thanks for your answer
On the underside of the clapper? It’s just porous, unfinished wood. The wood helps keep the fibers flat as they cool, which is what makes it flatter than pressing alone.
I just ordered a clapper and it will be here tomorrow. I can’t wait to try it out after watching the video. It sold me. I had a hard time finding one made in the USA. All but the Riley Blake were made in China. Riley Blake said the clapper the have is made in the USA.
Hi Lisa! I’m so glad you’ll be trying a clapper! For future purchases, we recommend Modern American Vintage, which is a small US-based business where each clapper is handmade. The clapper shown in this post comes from Modern American Vintage and there’s a link to their website in the blog post towards the end! 🙂