Voyage Quilt Sew Along Week 3: Half Square Triangles
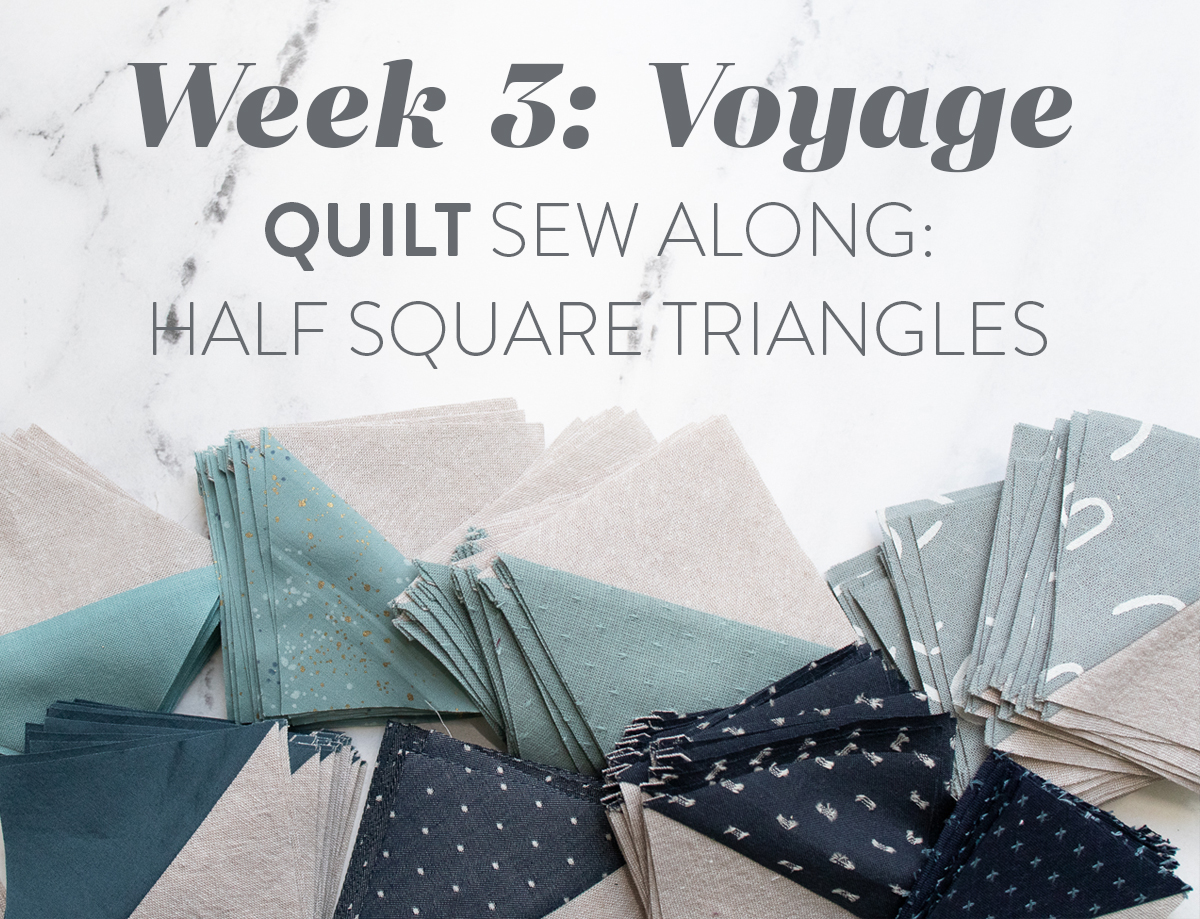
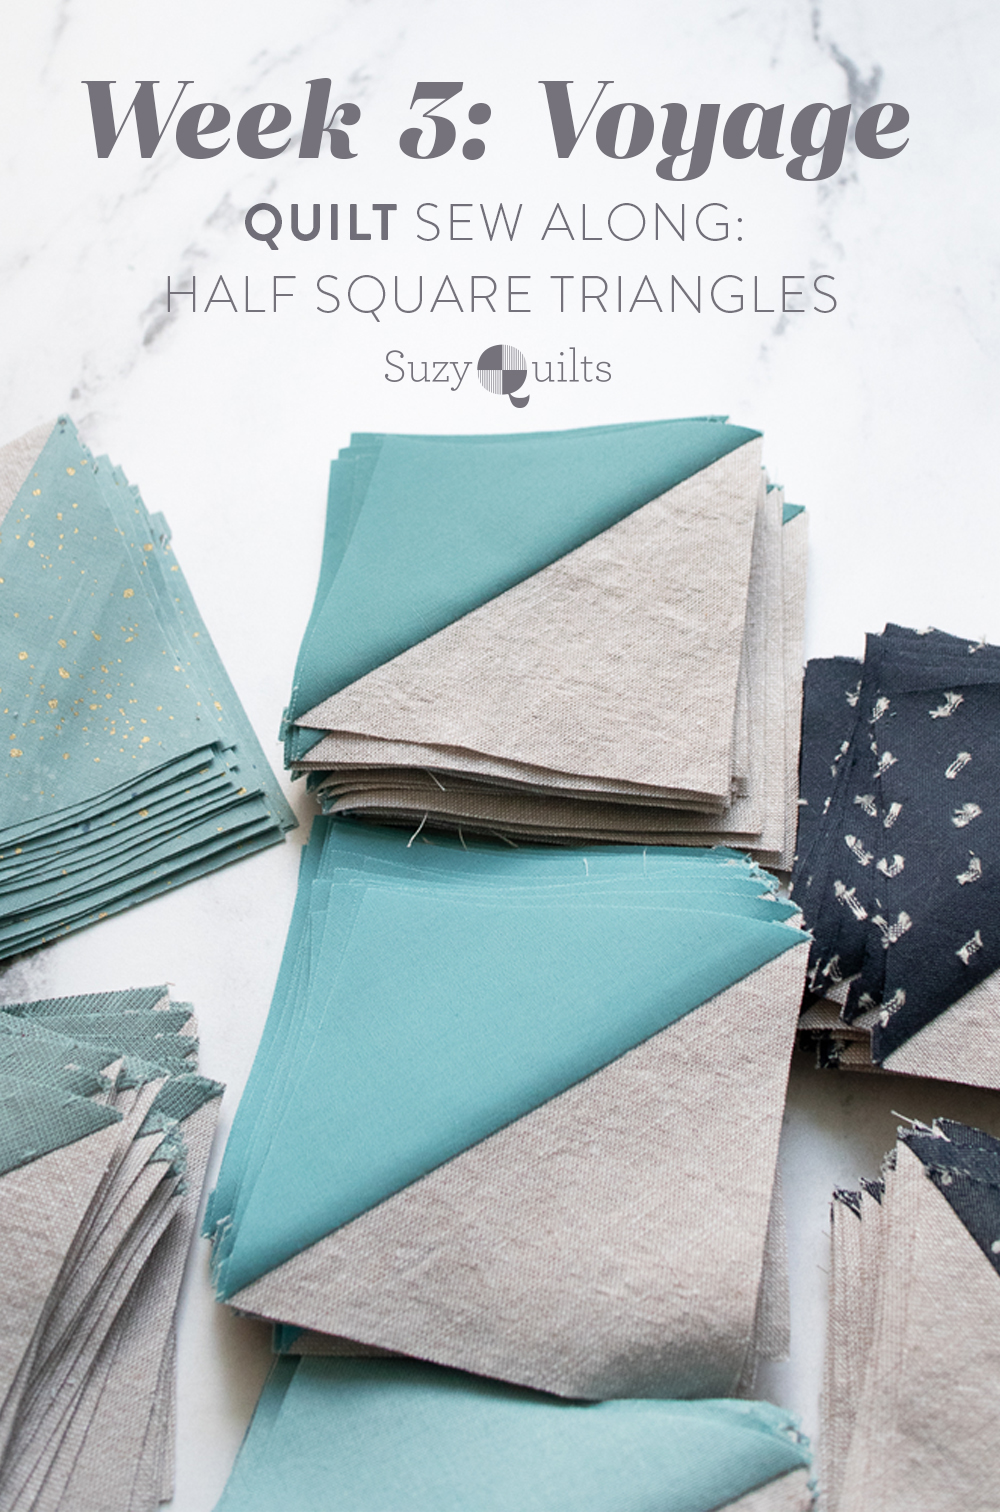
It’s Week 3 of the Voyage Quilt Sew Along! And that means we’re starting to work on the block that forms most of your quilt - half square triangles. We’ll be making as many HSTs as possible this week, but don’t worry if you don’t make all 296 required for the Voyage quilt. You’ll have time to keep working on them during Week 4. So keep reading for tips to help make your HSTs accurate and easy, and make as many as you can this week!
In case you missed the big news, we are all so happy that Suzy's new baby Joanna was born last week! Make sure to check out the @suzyquilts Instagram to see pictures and send Suzy your congratulations!
If you’re still on the fence about joining the Voyage Quilt Sew Along, now’s the time to commit. After Week 3 and Week 4, it will be pretty difficult to catch up and do the sew along live. You can still join and work at your own pace at any time, because these helpful posts will be available permanently on the Suzy Quilts blog.
For details on how this sew along works, check out the Voyage Quilt Sew Along introduction post here, and don’t forget to join me on Wednesday at 7:30pm Central for a live video on Instagram where I’ll go over all of these tips and answer as many questions as I can.

Voyage Quilt Sew Along Schedule
- Week 1, March 31: Pick fabric and gather supplies
- Week 2, April 7: Cut fabric
- Week 3, April 14: Make HSTs - video tutorial
- Week 4, April 21: Make HRTs and finish HST overflow if more time is needed - video tutorial
- Week 5, April 28: Chain piece blocks together - video tutorial
- Week 6, May 5: Assemble blocks
- Week 7, May 12: Sew blocks into rows to make the finished quilt top; discuss quilting ideas

Week 3 Assignment: Sew, Trim, and Press HSTs
One of the best things about the Voyage quilt pattern is that you’re not only building a skill and practicing it a few times. You are repeating a skill, in this week’s case that’s making half square triangles, enough times to become very confident.
We’ll walk through some of the best tips for making accurate HSTs with lots of video demonstrations from Suzy. By the time you’re done making 296 of them for the Voyage quilt, you’ll be ready to take on any pattern that uses half square triangles!
Check Out These Suzy Quilts Patterns That Use HSTs!

Tip #1: Make a Test Block
Before diving in and preparing all of your HSTs, the top tip for this week is to start by making a test block. Put one piece of your background fabric and one piece of your foreground fabric together, and test out the 4-at-a-time half square triangle method using the tips listed below.
Trust me, you don’t want to get to the end of your stack of HSTs and realize that all of them are off because of the accuracy of your seams, precision with your trimming, or care with your pressing! If you're worried about your fabrics sliding while you sew, you can pin your two squares together as pictured above.
Before you get started, make sure to watch this wonderful video Suzy made that demonstrates how to do the 4-at-a-time half square triangle method. Having a visual for these steps will help, especially if you’ve never made HSTs before.
Tip #2: Be Accurate With Your Quarter Inch Seam
The most important tip for making HSTs in the Voyage quilt is to make sure that you are using an accurate or scant quarter inch seam. If your seam allowance is larger than a quarter inch, your HSTs may be too small.
Trending patterns!


Quilt Patterns


Quilt Patterns


Quilt Patterns


Quilt Patterns


Quilt Patterns


Quilt Patterns


Quilt Patterns


Quilt Patterns


Quilt Patterns
Did you know that your sewing machine may need a slight adjustment to help you get that perfect quarter inch? Here’s a tool that can help. The Perfect Piecing Seam Guide is a tiny ruler with a hole in it that’s just big enough for your needle to get through. By putting this on your machine and getting your needle into that little hole, you can test if your machine’s quarter inch seam is accurate!

Once you’ve found your scant quarter inch with this tool, you can mark your sewing machine by putting washi tape onto it as a guide to help you visualize your quarter inch or you can reposition your needle if necessary to get it in just the right place. If you use a quarter inch presser foot, you can also use this tool to check that your foot is the right size.
For the Voyage quilt, you’ll be able to get your HSTs the right size by using an accurate quarter inch seam, but you can give yourself a little more trimming room by using a scant quarter inch seam. And the Perfect Piecing Seam Guide is also designed to help you get a scant quarter inch, which is a seam allowance that is just barely less than a full quarter inch.

Tip #3: Trim Carefully
Trimming is where you’ll start noticing is your quarter inch seam allowance is too big. Here is a picture of a half square triangle lined up with my ruler to be trimmed. For this one, I used as accurate of a quarter inch seam allowance as I could.

Now, here is a picture of a half square triangle made using a scant quarter inch. You can see that there’s a difference in how much I am able to trim off of each block.

If your seam allowance is larger than a quarter inch, you may end up with either no fabric to trim or with HSTs that are too small. That’s why doing a test block first is helpful!
For the Voyage quilt, we recommend using the Clearly Perfect Slotted Trimmer to trim down your half square triangles. This clever ruler allows you to trim your HSTs before pressing them, and also has slots along the sides so you can trim the HST dog ears all in one go. It makes trimming go so much faster!
Here’s a video Suzy made showing you how to trim HSTs using this ruler.
I got a suggestion from someone doing the Voyage Quilt Sew Along that she liked using a 28mm rotary cutter with the Clearly Perfect Slotted Trimmer because the blade was able to get into the small slots better. You can see the difference between a 45mm and 28mm rotary cutter below.

The smaller 28mm rotary cutter blade does fit into the slots on the Clearly Perfect Slotted Trimmer easier, but depending on how your blade releases, you may have a hard time using it. My rotary cutter's safety cover pulls straight back. That means I wasn't able to get the blade to cut in the slots because the safety cover was basically blocking the blade from dropping down far enough. But other 28mm rotary cutters do work. So try it out if you have a 28mm rotary cutter, but I found that using my 45mm rotary cutter worked just fine!
Tip #4: Take Your Time and Press Well
Good pressing technique can make the difference between an accurate HST and one that is too small to use. Here’s how I like to press HSTs, which is almost the exact same way Suzy presses!

I start by finger pressing the front of my HST open. This is a crucial step that helps me see exactly where my fabric will fold over before I press it with my iron. Start with your fingers in the middle and gently work your way out, making sure that you are pressing down and not pulling on the fabric.

Here’s a picture of the difference between a half square triangle that was finger pressed on the front before ironing, and one that was only pressed on the back with an iron.

Next, I give the HST a quick press with my iron for one or two seconds on the front to set my finger pressing.

I like to flip my HST over to the back next so that I can make sure the seam will look right on both sides. After I flip it over, I give it a longer press on the back for about five seconds.

The last step is to put my tailor’s clapper on my seam until it cools and dries so that it stays perfectly flat. In order for the tailor’s clapper to be most effective, make sure you use steam while you press, either by spraying water on your HST or by filling up your iron. Learn all about how this tool keeps your seams perfectly flat in this post about the science of tailor’s clappers!
To see this pressing technique in action, watch this video Suzy made all about pressing seams!
Questions?
Do you have questions about cutting, supplies, fabric, or anything Voyage quilt related? There are multiple places for you to ask them!
- Here in the blog comments.
- In the Suzy Quilts Patterns Facebook group.
- During one of the weekly live videos on Instagram Wednesdays at 7:30 Central.

Voyage Quilt Sew Along Book of the Week
If you’ve been following along with the sew along book of the week, you know that we started by learning about color, and moved on to learning about texture. This week, while we are sewing away at our HSTs, it’s a great time to reflect on this versatile block and learn all the things you can do with it! So our book of the week is a classic that’s been recently reissued in a beautiful and modern way.
The Encyclopedia of Pieced Quilt Patterns by renowned quilt historian Barbara Brackman is, in my opinion, a must have for any budding quilt history enthusiast. Brackman has spent her entire career researching quilt blocks, their various names, and origins. When she first started researching quilt blocks decades ago, she used index cards with line drawings and handwritten notes to keep track of her work. Times sure have changed!
Now in its third edition, you’ll see examples of over 4,000 quilt blocks in the book. These blocks demonstrate how important the HST is in quilt history, as you’ll be able to see hundreds of traditional quilt blocks that can be made using them.
Note that The Encyclopedia of Pieced Quilt Patterns is not an instructional book, it’s an encyclopedia. So you won’t have step by step instructions for making over 4,000 blocks. Can you imagine how huge a book like that would be? Although by doing a little simple math, you can figure out how to make many of these blocks pretty easily, especially the ones with HSTs. This book is more of a resource to learn about identifying quilt blocks and patterns, and it’s taught me so much!

Week 3 Sponsors & Prizes
We have another double sponsor week, which means that one lucky winner will win two prizes! Both of this week’s sponsors are new to the Suzy Quilts sew along line up, and we are so excited to share this week with them.
First up is Aurifil Thread! Aurifil is an Italian thread company that specializes in making 100% cotton thread for quilting and sewing projects. You may recognize their thread by their orange spools! Aurifil is giving away two Aurifil Color Builder collections of your choice. These collections are themed and tell the color stories of either locations in Italy, or endangered animals.
Our co-sponsor this week is Modern American Vintage! The lovely tailor’s clapper used in this week’s sew along post is made by Modern American Vintage. And because we are learning all about the benefits of tailor’s clappers this week, Modern American Vintage is giving away one of their gorgeous clappers!
How to Win
- Post a pic to Instagram. The photo prompt for Instagram this week is to post a picture of some finished HSTs. Because you’ll have time to work on HSTs during Week 4 as well, you don’t need to post a picture of each finished HST. Any amount of HSTs is ok! Use #VoyageQuiltSA in the caption. Make sure to use the correct hashtag! Remember that the quilt is called the Voyage Quilt, not the Voyager Quilt.
- You must have a public Instagram profile to participate.
- Each photo posted is an entry and you can enter as many times as you want in a single week. Once the week is over, those posts do not count in the next week's giveaway. Every week we start fresh.
- Your photo must be posted between 12:00 a.m. Central Time on Wednesday, April 14 and 1:00 p.m. Central Time on Tuesday, April 20, 2021.
- This prize is open internationally.
- The winner will be picked randomly from all qualifying posts and announced at approximately 4:00 p.m. Central Time on Tuesday, April 20, 2021.


Laura, thank you for expanding the HST build and pressing. Do you use the Taylor’s Clapper on the back or front of the HST? I have been using a clapper inherited from my great aunt… just want to be sure I have the correct approach.
Love all your book suggestions!
Oh I love that you have an inherited clapper! You can use it on either side and get the same result. I just like to flip my fabric over to check that the seam looks good from both sides. But if you want to use the clapper on the front, that’s ok too!
Do you do a quick press to set your seam before finger pressing?
Nope, I finger press as the first step. Finger pressing is what gets things accurate, so if I were to set the seam with my iron before finger pressing and getting those fibers exactly where I want them, my block would probably be off. So, I finger press, then do a quick press with my iron on the front to set my finger pressed seam, then flip it to the back to check how the seam looks and do a longer press, then lay my clapper down. Hope that helps!
Thank you Laura, I love the sound of this week’s book recommendation.
Congratulations to the Quilts Family on the arrival of sweet little Joanna. May her life be filled with so much joy and beautiful quilts!
I hope you enjoy the book! It’s an amazing resource that has really helped me become much better at identifying historic quilt patterns. The Week 4 book of the week might be my favorite one though…so stay tuned!
I’m a beginner and a little behind in the sewalong so I’m just starting my HSTs now. Just to double/triple-check, if I’m using the Clearly Perfect Slotted Trimmer, on which dotted line to I line up my seam?
Line the seam up with the line right below where it says 3 1/2. 🙂
Laura, I’m confused by the markings on the clearly slotted perfect trimmer. If I used the 3 1/2 “ dotted line as guide to trim HSQ as you show in picture the end square is only 3” square but the pattern says end result is 3.5 in squares. What am I missing? THANKS!
Hi Karen! If you line the seam up with the 3.5″ dotted line on the Clearly Perfect Slotted Trimmer, you’ll have 3.5″ unfinished HSTs, which are 3″ finished (when sewn into the quilt). Make sure you are lining the seam up with the dotted line, and not lining the bottom of your HST up with it. Hope that helps!
Yes it does…Thank you!
Hi! Love the Voyage quilt process so far! I did buy the 1/4″ Perfect Piecing Seam Guide as suggested and then added the tape on my machine which was super helpful but if it’s a scant 1/4″ do I use the same measurement for my seams when sewing the blocks together? It isn’t much of a difference but I am thinking it’ll affect the results if I continue w/the scant 1/4″. Thank you!
Hi Polly! The scant quarter inch suggestion is best for making the HSTs because it will give you slightly more room to trim them down after they are sewn together. I used a regular quarter inch seam for the rest of my Voyage quilt. Hope that helps!