Chenille Quilt Binding Tutorial
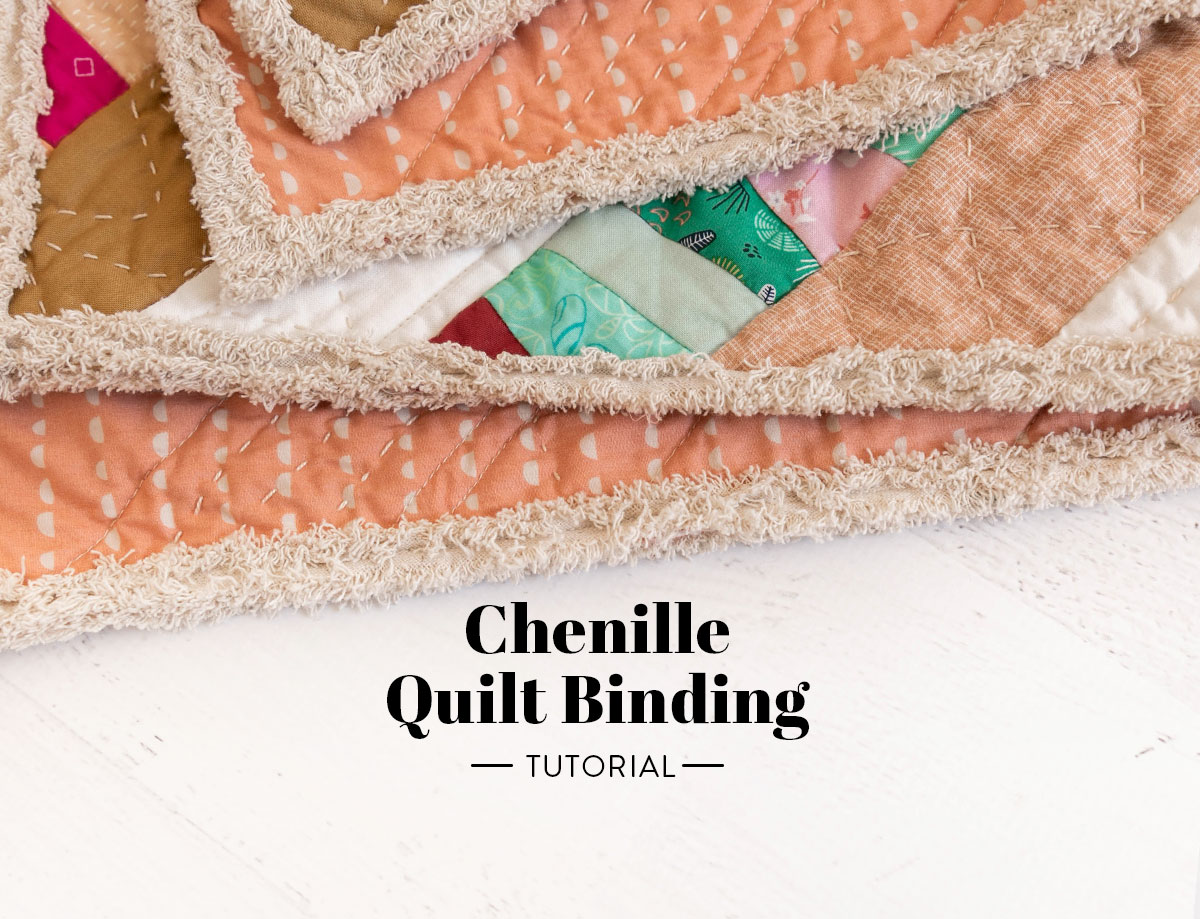
The blocks are sewn, the quilting is finished, and you are ready for binding. Congratulations, you did it! Now, before you grab your traditional binding, why not try something new to add some soft texture to your finished quilt? In this tutorial, you’ll learn how to make the coziest faux chenille quilt binding using Chenille-It Blooming Bias!
Chenille is the French word for caterpillar, and when used to describe fabric, it describes a fuzzy fabric that resembles a fuzzy little caterpillar. Cute, right? When we say it makes the most charming and fluffy binding ever, you’d better believe us! You can even see how soft it feels just by looking at it. And one of the best things is Chenille-It Blooming bias comes in many colors!


I originally used this method to bind a Garland wall hanging.

You Might Also Like...
Chenille Quilt Binding Supplies
This tutorial uses the Reflections quilt pattern but this binding technique can be used with any pattern as long as you adjust the amount of Chenille-It (see Step 4). I used leftover fabric from my Garland quilt, scraps from previous projects, and some Art Gallery Fabrics from my stash.

Get the Garland Quilt Pattern here.
Trending patterns!


Quilt Patterns


Quilt Patterns


Quilt Patterns


Quilt Patterns


Quilt Patterns


Quilt Patterns


Quilt Patterns


Quilt Patterns


Quilt Patterns
Materials
- Reflections Wall Hanging & Pillow Extension Pattern
- Fabric (requirements included in pattern)
- Thimble
- One roll of 5/8" Chenille-it Blooming Bias (I used 5/8" in Pale Pink in this tutorial)
- Scissors
- Serger (optional) OR
- Zig zag foot
- Basic quilting supplies
Optional Materials For Hand Quilting
- Sashiko needle for hand quilting
- Perle cotton #8 thread
- Hera marker

Step 1: Make the Reflections Wall Hanging
Follow the directions to make a 30" x 30" wall hanging quilt. Although the fabric requirements provided are for yardage, you can have fun and use up your scraps for this.

Step 2: Baste, Quilt, and Trim the Reflections Wall Hanging
Once you have your Reflections Wall Hanging top done, it’s time to baste. Your top should measure approximately 30" x 30". I like to cut my batting and backing a little bigger to give myself some wiggle room. In this case, my batting and backing measure 32" x 32". Baste as desired or use this tutorial.
Once your quilt is basted, it is time to quilt. I combined walking-foot quilting and hand-quilting to keep it interesting. Once you’re done quilting, trim off the excess batting and backing and square up your wall hanging.

Step 3: Secure the Quilt Edges
Since this technique does not use regular binding to cover up raw edges around the quilt, the edges must be secured to prevent the quilt from unraveling.

There are 2 ways to do this. The easy one is to use a serger to sew around the quilt. But for those of us who don’t have a serger, you can also use a zig zag stitch to achieve the same goal. Set your stitch width to 4.5 and length to 1.5 — the stitch will cover about 1/4" of fabric from the raw edges of the quilt.
Remember to change your presser foot to a zig zag foot. Each machine has a different setting, so you may have to play around with your stitch width and length to get the desired result

Step 4: Measure and Cut Chenille-it Blooming Bias
Attaching Chenille-It Blooming Bias is different from attaching regular quilt binding. Instead of attaching one strip, folding it over, and then stitching it down, this material is sewn onto both sides separately. See the photos below for an example of what I mean...

Depending on the look you prefer, you can either add one strip on each side or double it to make it extra fluffy. So, instead of cutting two strips per side of your quilt, you’ll cut four strips for each side.
Measure the width (shorter side) and the length (longer side) of your quilt, then add 1" to each side. In this example I am opting for a doubled-up fluffier look. My Reflections Wall Hanging is 30" x 30", so I cut 16 - 31" strips for all 4 sides (4 strips per side).
These measurements can be adjusted for any size quilt you are making. Just be sure that the roll you purchase has enough yardage on it to cover the length and number of strips you’ll need.

Step 5: Attach Chenille-it Blooming Bias
If the quilt you are binding is rectangular, begin by sewing Chenille-It to the shorter side. In this case because Reflections is a square quilt, begin with any side.
Stack TWO Chenille-It Blooming Bias strips along one edge of the quilt with the quilt top facing up. The strips should hang over the corners of the quilt by about 1/4" as shown below.

The strips should hang about 1/8" over the side edges of the quilt as shown below. The overhang on the corners and sides helps to hide the edges of the quilt after the chenille is fluffed up in the next step.

Sew the strips on with 1/4" seam allowance.
Flip the quilt over so the back side is facing up. Carefully stack TWO strips along the same side of the quilt that you just sewed and attach them the same way. You’ve finished one side! Repeat this step with the remaining three sides to finish attaching the strips.

Step 6: Wash and Watch the Chenille Quilt Binding Magic Happen!
Here comes the hardest part…the waiting!
Simply wash your quilt on cold in the delicate wash cycle, then tumble dry on a low heat setting. And voila! A fluffy-edged quilt! The chenille look appears magically and it feels just as magical.
I think this would be super adorable on any baby quilt — the added texture around the edges will be fun for any baby. Hmmm…I see lots of snuggle time in the near future!
What quilt will you bind with chenille? Let us know in the comments! And be sure to tag @suzyquilts and use #SuzyQuiltsBlog on Instagram so we can see your beautiful (and fluffy) creations!


That is very creative. I have never seen that for binding before. I hope to try that on one of my future quilts.
I don’t have a dryer.
Will it still work, ie.the fluffing up part, if you dry it on a rack?
This is an interesting new feature to try on any quilt.
Thanks for letting us know about it.
This is SUCH a fabulous idea. Thank you so much for sharing!
I have used this product before but never in this way.l love your idea
Thank you for the tutorial, after the holidays, I’m going to make a quilt and try this. Always wanted to dabble in chenille.
this is THE COOLEST and it comes in hot pink! just ordered a roll to try. it’s going to be so fun! thanks for this excellent tutorial –
Hi. Looks great! How does it hold up to many washings for a baby quilt? Thanks
This looks incredible. Thank you!
This would be a great binding for the small tag quilts I make for babies. Another wonderful texture.
Oh my Susy…you have done it again. I love the inspiration you give me to try new things.
Thank you! That looks like fun and easy. I have just the project going in my head.
Have used this before, but never realized I could double it up. Perfect for flannel baby blankets. Love the extra texture it will create.
This looks so snuggly! I’m wondering how it holds up over time with use, washing, etc.????
I have put Chenille binding on several baby quilts and it is easy to do and looks adorable. It is also a very quick way to do a binding if you’re ever short on time for completing a gift. I plan to try it on a full sized quilt in the near future.
Just came across this article…hopefully you still read the comments. I have a quilt that I would love to do this on, but I cannot put it in the washer or dryer. Can you just spritz it and get this effect?? This would look perfect!!