How to Make a Quilted Journal Cover
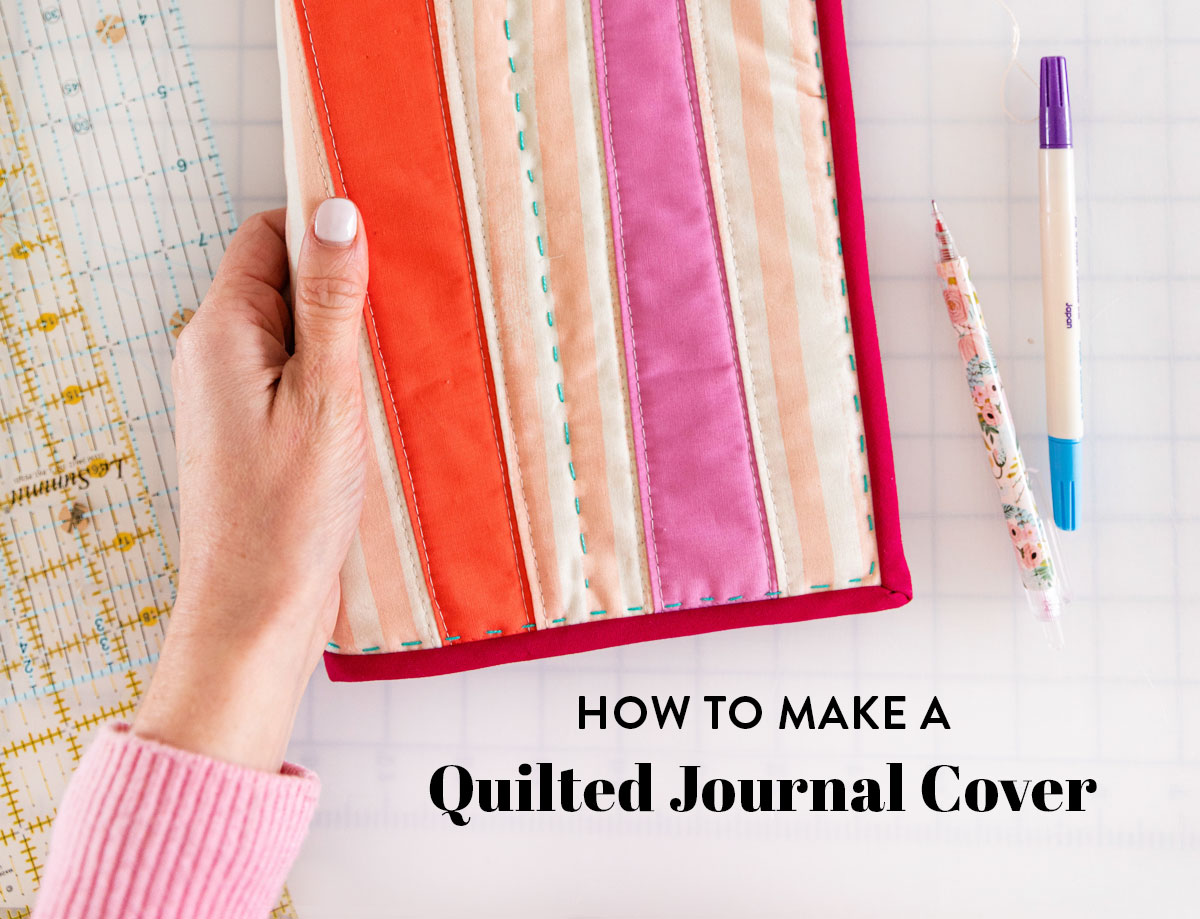
Today I am branching out from writing my typical articles on creative wellness and mindfulness to bring you a quilted journal cover tutorial. Journaling is an important part of learning about ourselves — I swear by my journal! I keep track of projects I’m making, lessons I’m learning, and design ideas I see in my dreams.
As a wellness coach for quilters and other makers, I encourage my clients to journal, too. (Check out my 7 practical tips for quilt journaling.) And this time of year, many of us are reflecting on our lives and planning for the future. What better way to set some intentions for the coming year than in a personalized journal?
My tutorial for a quilted journal cover is a simple approach that you can modify to fit your personal style — and modify to fit any size journal. A quilted journal cover makes a great last-minute holiday gift for others, too!

You Might Also Like...

Quilted Journal Cover Materials
- Journal: This tutorial uses the UCreate Poly Cover Sketchbook, but you can choose any journal
- Fabric (see details below)
- Batting: One scrap measuring at least 12" x 16"
- Cutting mat
- Rotary cutter
- Ruler
- Iron and ironing board
- Binding clips
- Straight pins
- Sewing machine
- Thread
- Basting spray or pins

Quilted Journal Cover Fabric Requirements
You’re unique, and your journal cover will be, too. This tutorial is customizable to the size of any journal you choose.
The quilted journal cover will have four parts:
Trending patterns!


Quilt Patterns


Quilt Patterns


Quilt Patterns


Quilt Patterns


Quilt Patterns


Quilt Patterns


Quilt Patterns


Quilt Patterns


Quilt Patterns
- One quilted cover panel
- Two pockets to hold your journal in place inside your quilted cover
- One binding strip to finish the cover
This project is scrap-friendly and designed to allow you to play! To make it like I did, you’ll need:
- Cover panel: About 12 scraps that measure at least 12" x 3"
- Cover batting: One scrap measuring at least 12" x 16"
- Cover lining: One piece of fabric measuring at least 12" x 16"
- Pockets: Two scraps of fabric that measure at least 11" x 8"
Step 1: Choose Your Journal and Determine the Cover Size
I chose the UCreate Poly Cover Sketchbook which has 75 heavyweight pages because I love to use markers, and the color doesn’t bleed through. But you can use any journal you like! Seriously – the next step shows you how.
Measure your journal to determine the unfinished size of your cover (it will end up being about 1/2" wider than your journal on all sides to allow room to open and close it).
Width: With the journal closed, measure the entire width from the right side of the front cover, around the spirals or spine, to the left side of the back cover. Add 1" to get your total width.
Height: Measure from top to bottom of the cover. Add 1" to get your total height.
For example, if you use the UCreate Poly Cover Sketchbook like I did, the measurements are:
Width (including the front and back covers and around the spiral): 13 1/2" + 1" = 14 1/2"
Height: 9" + 1" = 10"

Step 2: Piece the Cover Panel
Grab your scraps and take courage! We’re going to improv-piece wonky strips together to create a one-of-a-kind journal.
Use scraps that are about two inches taller than your height so you have plenty of room to trim down to the final cover panel size. For example, my cover panel finishes at 10" high so I used strips that were about 12" high.
You can choose to cut strips that are the same width if you prefer a more uniform look, but I love wonky piecing! To create a sense of movement, I cut my strips on a slight diagonal, alternating the angle each time. (If you’ve ever made Suzy’s Shine quilt pattern, you know just how to do this!)

Start by sewing two strips together using a 1/4" seam, then press open or to the side. Add more strips one by one, alternating the angle of the strips to create a wonky look.

As you piece each strip to the cover panel, pause to place the cover panel on your cutting board to ensure it’s at least 1" taller than the finished height measurement. When you’re done piecing your cover panel, make sure it’s at least 1" taller and 1" wider than the size of your finished cover panel. For example, my pieced cover panel was about 16" x 12" before I trimmed it, and I needed a cover that was 14 1/2" x 10".
Once you have pieced all of your wonky strips together, your panel might look a bit, well, messy. Don’t worry! Once it’s quilted, it will be trimmed down to the finished size.

Step 3: Quilt and Trim the Cover Panel
Baste the cover panel, batting, and liner fabric together using your preferred method.

For smaller projects like this, I love Clover Wonder Sewing Pins, which are easy to use… and easy on my hands. And speaking of taking care of our hands, when I machine quilt, I always use these Fons & Porter Machine Quilting Grip Gloves. They make it easier to maneuver your project through the sewing machine.
Once you’ve quilted your panel, trim it down to the size determined in step 2. In my example, I trimmed my cover down to 14 1/2" x 10".


Step 4: Add the Pockets
Grab the pocket fabric to make two pockets that hold the journal cover onto the journal.
For each pocket, cut a piece that’s half the width and the same height as the journal cover. For mine, I cut two pocket pieces each measuring 7 1/4" x 10".
Fold each of the pockets in half lengthwise and press so you end up with a tall, slender, double-thickness pocket (mine are 3 1/8" x 10").

If you would like to personalize your pockets, now’s the time to break out your embroidery tools. If this journal cover is for you, you could embroider a symbol that holds deep meaning. If it’s a gift, consider embroidering the recipient’s name. But it’s cool to leave them plain, too!
Extend your stitch length and baste the pockets to the lining side of your cover, raw edges together, about 1/8" from the edge. Baste on all three raw edges. (The raw edges will be hidden inside the binding.)

Slide your journal into the cover and see how everything fits. If you’re happy, you’re ready for the final step!

Step 5: Binding the Quilted Journal Cover
Cut a 2 1/2" binding strip that’s about 12 inches longer than the border of your cover. For mine, I cut about 61 inches of binding.
Apply the binding fabric to the outside of the journal cover (the side you pieced) and fold it to the inside to finish it, either by machine or by hand. If you’re relatively new to binding, refer to Suzy’s tutorial on how to sew binding on a quilt — she’s got all the good tips for you!
The binding offers another chance to add decorative details, like Sarah Holst’s decorative daisy chains. Now is a great time to add some fun hand quilting details too!
How Will You Use Your Quilted Journal Cover?
Is this a special creation for you, or a gift for a loved one? My quilt guild hosts an annual gift swap and I think I’m going to make one to give away. Let me know how you’ll use your quilted journal cover!


Thank you Suzy for sharing your tutorial on the journal cover. I did make one a few years ago for myself but lost the instructions. This has given me inspiration to make some for Christmas gifts for friends and family.
I hope you have a blessed festive season and look forward to your future posts. Warm regards
hi lynda, thanks so much! i’ve made a few of these now and they are so fun. i love that you’re feeling inspired! happy holidays – jenni
I love this idea! It will make a fabulous gift. Thank you!
hooray! i can’t wait to see what you make – if you post about it on instagram, tag me @coachjennigrover so i can celebrate with you. 🙂
It will make a fabulous gift. Thank you!
i’m making one myself for a guild swap right now. yay! so glad you’re excited about it.
This is going to the top of my project list!!! I adore this and can’t wait to use some of my favorite scraps on a couple. Thank you!
hooray! i’m so excited to see what people make. this is the perfect project for using up scraps! even a scrappy binding would be super-fun
This was a fun tutorial to read through; I’m anxious to try making one. What a great gift it would be – I may plan a half dozen of these to have on hand for gift giving over the next year. The Clover pins and that particular style of machine quilting gloves are both new to me, so I will definitely be checking them out! Thanks, Jenni!
awesome, i’m so glad to hear that, suzi! once you know how to make them (and if you use the same size journal each time) they go SO FAST. i made one in 90 minutes for a friend this week, complete with an improv cover. hooray!