How To Make a Wholecloth Quilt
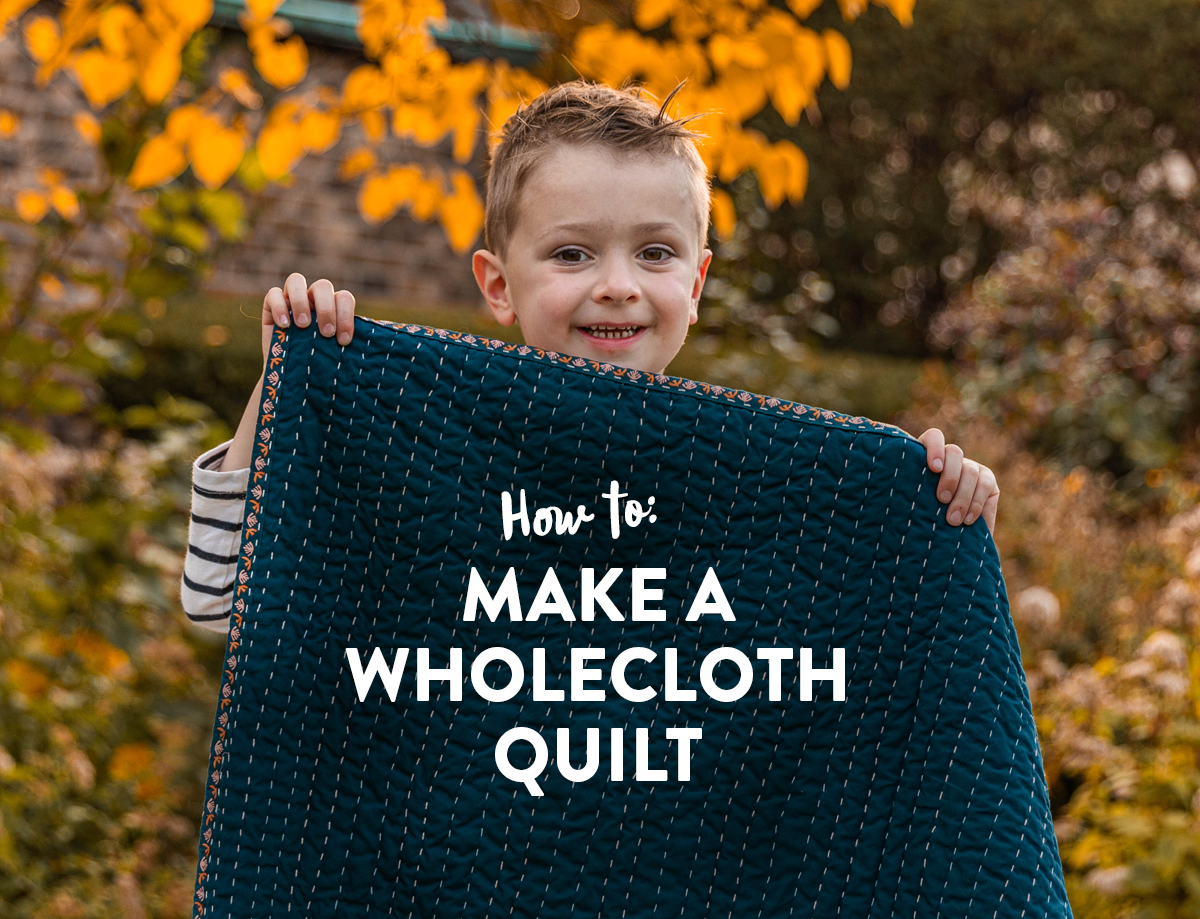
In this tutorial, you’ll learn how to make a wholecloth quilt using Kantha-style stitches. A wholecloth quilt differs from the types of quilts you’ve probably made before because there is no piecing. Instead, two whole pieces of cloth are used for the top and back. That makes this type of quilt excellent for whipping up in a time crunch!
Kantha (KAHN-taa) is a type of embroidery used to repurpose old saris. This method of simple, straight running stitching was practiced by thrifty women in east and west Bengal (present-day Bangladesh). The history of Kantha quilts can be traced back several centuries and is closely tied to the social and cultural fabric of the region. In Sanskrit, the word “Kantha” means rags, but Kantha quilts aren’t usually made out of the actual rags. They are made of discarded fabrics, intended to keep people warm while repurposing unused scraps.
Kantha quilts are not just textiles; they are a reflection of the cultural heritage, creativity, and resilience of the women who have practiced this art form for generations. Today, Kantha quilts have evolved beyond their traditional use as blankets and are often used as decorative throws, wall hangings, and fashion accessories like scarves and bags.
There are a variety of Kantha embroidery stitches, each with its own unique style and purpose. The running stitch is the most popular embroidery technique used for Kantha work. And we’ll be using it to make our wholecloth quilt in this tutorial. It involves simple, straight stitches worked in a straight line or parallel rows to create linear designs.
In the tutorial below I will walk you through for step-by-step instructions so you can make a wholecloth quilt!

The pieced quilt also featured in this photo is the Starling quilt pattern using Suzy Quilts PURE solids in Poppy, Spiced, Queen Bee, Thistle, Pearl, Shrimpy, Cerulean, Snapdragon, and Matcha with Glacier as the background. Find these fabrics on Etsy!
Trending patterns!


Quilt Patterns


Quilt Patterns


Quilt Patterns


Quilt Patterns


Quilt Patterns


Quilt Patterns


Quilt Patterns


Quilt Patterns


Quilt Patterns

Starling is a fat quarter friendly quilt pattern!
You Might Also Like...

Materials to Make a Wholecloth Quilt
The finished size of the quilt shown in this tutorial is 54" x 42". If you'd like a larger size, adjust the fabric requirements until it is as big as you like.
- 1 1/2 yards each from 2 different fabrics for the top and back. I’m using Signature PURE Solids in Nova for the top and Boho Birds Honeymoon in flannel from Duval for the cozy back. Find these fabrics on Etsy!
- Cotton batting
- 3/8 yard of binding fabric, cut into (6) 2 1/2" x WOF (Get this Key West Bound binding fabric on Etsy)
- Pearl Cotton Thread size 8 in Ecru and Yokota Sashiko Thread in Light Blue
- Lecien Hidamari Sashiko Needles (comes with a needle threader)
- Hera marker
- Ruler
- Basting spray or pins
- Thimble

Step 1: Prepare the Fabric
Wash and press your fabric, especially when you use flannel as it tends to shrink. Make a quilt sandwich by laying down backing (right side down), batting and top (right side up). Baste as desired.

Step 2: Mark the Quilting Design
I like to work from the center out when quilting. The easiest way to find the center is to fold the top fabric in half, matching the short edges (your top should measure 21" x 54" when folded). Gently press with your finger to create the crease line along the fold.
Next, decide the distance between the quilting lines. I prefer it to be between 1/2" and 3/4". Start marking using your ruler and hera maker. Drag the hera marker along the edge of the ruler and press gently to create a mark. Do not press too firmly as you could damage the fibers.

I only create four to five lines in the center to give me an idea, and then eyeball it after that. This will create imperfect straight lines, which is the look I’m going for. But if it makes you nervous to do this without marking the lines, you can mark the whole quilt. After all, this should be a therapeutic project that you can use to enjoy the process, not a stressful one!

Step 3: Prepare the Thread
Cut a length of thread, typically 18-24 inches to prevent tangling. Thread one end of the thread through the eye of the needle (a needle threader might come in handy for this). Tie a knot at the other end of the thread to secure it.
TIP: To make a quilter’s knot, hold the tail of the thread with one hand, and use the other hand to wrap the thread around the needle a few times. Hold on to the thread loops around your needle, pull the needle away from the loops while holding the thread loops. You don’t have to hold it too tight, but there should be enough tension when you pull your needle.

Step 4: Start Stitching
Insert the needle in the quilt top layer about 1"-1 1/2" from where you want to start, catching only the top fabric. Carefully push your needle out to where you want to start. Gently pull the thread and pop the knot through the inside of the quilt. Check out Suzy's hand quilting video tutorial to see an example of how to get started!
To create running stitches, insert the needle through the back and push the tip of your needle up to the top at the desired interval. This will determine the length of your stitches. Note that by making the stitches closer together, the quilt will become stiffer in comparison to the stitches being further apart, which will allow more of a drape.
Pull the needle and thread through, ensuring that the stitches are even and consistent in length. Continue this process along your stitching line. This process is very similar to hand quilting!

I’m using two different thread colors, so I’ll be alternating the colors. But you can use only one color or as many colors as you heart desires. Once you find your rhythm, it’s time to turn on your favorite show and binge-watch all of the episodes while you’re working on 7,000 stitches or more…but it will be well worth it!


Step 5: Finishing the Wholecloth Quilt
Square up your quilt and trim off excess batting and backing, if any. Attach your binding and hand stitch to finish it, using this handy binding tutorial to help. I’m using binding fabric from the Duval collection, you can learn how to make your own binding with this reversible binding fabric here.
My quilt shrunk to about 40" x 50" inches after it was quilted and trimmed, so I ended up using only five strips of binding.


What I love about Kantha stitching is that it is very forgiving, which means it doesn’t have to be perfect. Kantha stitches are simply uneven running stitches, and you can make the stitches as dense as you want. Once you get the hang of it, enjoy the process and have fun with your one-of-a-kind creation!


It's Your Turn to Make a Wholecloth Quilt!
Are you going to make a wholecloth quilt with Kantha-style stitching? Let us know in the comments! Share your pictures on Instagram using the hashtag #SuzyQuiltsBlog and tag us @suzyquilts so we can see your creation!


Thank you for this tutorial. I have some fabrics that I don’t necessarily want to cut up for a pieced quilt so it’s nice to know I’m “allowed” to leave it whole 😄
Also, the doll spool is adorable 😍 Where can you get them?
I’m so glad you enjoyed this tutorial! The spool is from Doohikey Designs.
Thank you for the tutorial! I can’t wait to try this. I need to go shopping my stash!
I have been making whole cloth quilts for children because the fabrics were so gorgeous and seemed to tell a story. I included a accompanying story book and machine quilted them calling the blanquilts. But i love your idea so much more so thank you for the beautiful tutorial, and what to do with the three saris I have ready to go.
I love your articles and everything you share is much. I am a fairly new quilter and enjoy learning all of these techniques and tips. Thank you!! I am looking forward to making a Kantha quilt.
Thank you for this free tutorial, Suzy! I will definitely start a Kantha quilt soon. I purchased several authentic ones at an upscale flea market in VA a few years ago and love to have them around the house. Can never have too many!
Love this simplistic quilt and all of the hand stitching. I may have to snag some of that fabulous flannel.
My Mother made whole cloth quilts for at least 20 years. She would use novelty material on one side and back with a solid material. She would quilt by machine. One of her quilts was always a gift in our Christmas gift game. Thank you for spreading the word on whole cloth quilts. Have a blessed, happy Fall
What a great tutorial and great idea for Christmas. Thanks
Thank you very much for this tutorial! I have been wanting to try this but I was too anxious to get started. My fear was unwarranted!
I just bought the fabrics on Etsy…I got Boho leaves since the solid isn’t available… I hope it will work… I’ve never tried to hand quilt… but your directions are always so helpful! I’m excited to try!
I think Boho Leaves will look even better!
Looks like fun. I might try it with a variegated pearl cotton thread. Thank you for the idea!
Oh that’s a great idea!
Thank you for all of your tutorials!! I often refer to your posts/blogs/ tutorials whenever a question arises. FYI I have followed you since you announced your first born and was happy for you with the arrival of your girl!! Hmmm what will the next be 🤔😊
Congrats on your growing family and your growing business. 💕💕💕💕
Hmmm indeed! haha 😉 We’re going to keep the gender of this one a surprise, but I’ll make sure you’re the first to know once the cat’s out of the bag. lol!
This is great! Thank you! I’m newer to quilting and have been wondering about while cloth quilts. Question though, do you baste the layers at all?
For hand quilting, a little bit of basting would be helpful. If you are machine quilting, baste it as you would any other quilt — with basting spray or safety pins at least 4″ a part from each other.
Thank you for this idea. I love hand quilting and like the idea of whole cloth quilts. I saw a picture of a leather thimble. Where can I find that? It looks sturdy! I use the one that’s kind of flimsy that you can get at the big box fabric store. I also love the doll spool. Thanks for listing where to get that.
I saw a picture of a leather thimble in this post. Where can I find it? It looks much better than the ones I buy that don’t last long from the big box sewing store.
Our whole team LOVES these Clover leather thimbles. They come in three sizes, but the leather stretches out with use. Here’s a link to the size small thimble.
Oh wait, I just looked a little closer and this specific thimble is a slight variation on the one I linked to. This one has a metal “coin” sewn into it. Here’s a link.
Thankyou. Very clear instructions.
I have a bolt of vegetable dyed indian cotton lurking in the stash.. along with some plain ochre flannel.
The pattern on the veg dyed cotton will look so much better if it is quilted up this way instead of cut up.
I may try using 2 layers of muslin instead of the wadding/batting. Also from the stash..
Repurpose.
Spring project sorted.
I have a throw size quilt I purchased some years ago for Fab India, in India.
And I been wanting to make one of these, as am all to familiar with this art of quilt making.
I’d watch the village women working on these things as you mentioned they’d do it out of layers of old cotton sarees.
Am into quilting these days and this is one I must try more definitely will.
I love Katha stitching. I think I *need* some of that lovely flannel fabric!
I learned a slightly different stitching technique from a sew along: cut a length of perle cotton that is the length of the entire line of stitching. Start in the middle and take one stitch. Pull the ends of the thread through so they are even. Stitch all the way to the end of the quilt with each long end of the thread; stop stitching about 1/4 to 1/2 inch from the end. No knots to pull through! You can secure the thread ends by tieing a square knot in neighboring thread ends and trimming them off before squaring and binding the quilt. It goes so much faster without all the starts & stops.
Fantastic tip! I’ll try that next time 🙂
Can you use regular cotton bed sheets for this? I’ve never made a quilt before but that seems like an easy and affordable way to get started…but I wouldn’t want to go to all the effort if for some reason bed sheets don’t work.
Yes! Just make sure it’s a high quality sheet 👍
New-ish to quilting… Can I use muslin as one of the fabrics (either front or back)? I’m think of making a whole cloth baby quilt. If so, is there anything specific to using muslin that I should consider outside of the instructions you’ve provided?
basic muslin is like the newsprint of the sewing world. It has a low thread count and higher acidity than quilting broadcloth fabric, so it’s not as soft and will yellow or “antique” relatively quickly over time. It is untreated fabric, so it will absorb stains very easily.
I’ve been wanting to do this for a while so I’m excited to try it. When you use pearl cotton for this, do you separate out the strands or thread the needle with the whole group? I know sometimes with other uses, you don’t thread the needle with the whole set of threads. Thanks!
You don’t separate the strands. You would only do that with embroidery floss.
Thank you!!
Such a great tutorial and a way to use some of those large pieces of fabric that I purchased and have no idea how I had planned to use them. Thank you.