Star Crossed: Quilting & Binding
How much does quilting affect the finished look of a quilt? That's like asking a baker, how much does bake time affects a cake? Is 12 minutes the same as 25 minutes? I already mixed the right stuff together. Can I get a break here?
I'm no baker, but I can tell you that it ain't fun cutting into a raw-in-middle cake. It's worth it to try and get it right. Luckily for us quilters, there is no right or wrong way to quilt a quilt, and Paul Hollywood will not be popping into your sewing room to tell you how you've overbaked your quilt, er I mean cake? I actually don't know what I mean at this point.
In a nutshell, the more you do this part of the quilt-making process, the easier it will get. The more you can see examples of what other people have done, the easier it will be for you to see what you like!
In this post I will show you many quilting examples to show that you've got options. LOTS of options. Some are time intensive and some pretty fast. Some are inexpensive, and some, not so much. Here we go!
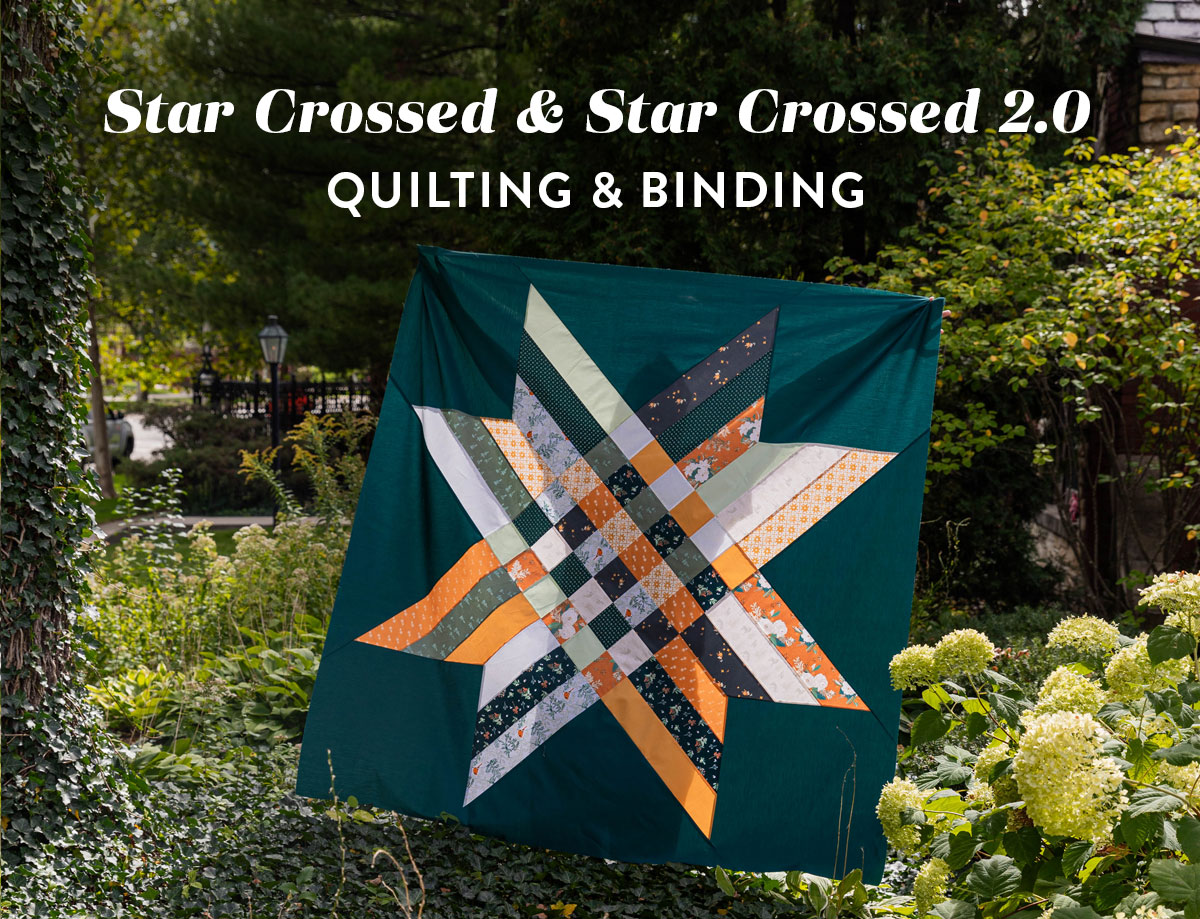
My Star Crossed & Star Crossed 2.0 Sew Along Quilts
I made both of these quilts during our abbreviated sew along. I haven't quilted either one of them yet because I thought it would be fun if we went through the process a little bit together! Here they are...
Trending patterns!


Quilt Patterns


Quilt Patterns


Quilt Patterns


Quilt Patterns


Quilt Patterns


Quilt Patterns


Quilt Patterns


Quilt Patterns


Quilt Patterns


Now I'm going to show you a couple different ways I would quilt these. The dashed lines indicate either machine quilting or hand quilting. Read below for more details on both of those techniques.
Quilting Option 1: Follow the seams

Above is the most straight forward way I like to quilt. It takes very little planning and even less thought. This is the follow-the-seams strategy. You can quilt in the ditch or quilt a little bit away from the ditch so the quilting is more visible. Because of this quilt pattern, this means you'll be quilting at a 45-degree angle.
If it would help you to draw some guidelines, especially in those foundational triangles, go for it. Otherwise, just use the side of your walking foot as a guide.
Quilting Option 2: Gentle curves

This quilting design will take more prep time, but once you start quilting, it actually won't take more sewing time. These are gentle curves you can do with your walking foot. You may need to practice sewing gentle curves before diving into a quilt. The key is to slowly curve your quilt sandwich as it makes its way through your machine.
- Mark your quilting lines with a hera marker or other marking tool. You can eye ball this, use a ruler, or get a piece of string — keeping one end at the corner and stretching the other end to the desired length, creating a curve.
- Start sewing at one corner, backstitching at the beginning.
- When you finish the first curve, keep your needle down, pivot, sew up the side of your quilt until you hit the beginning of the next curve.
- Continue sewing curves, pivoting, sewing up the side of the quit, and then sewing the next curve.
- Assuming you started at the bottom left corner, once you finish that set of curves, move to the bottom right corner. After that, smooth out the quilt and quilt the other side.
Quilting Option 3: Follow the seams (into the background)

Star Crossed 2.0 has significantly more background, so telling you to just "follow the seams" isn't very helpful. You can still use the seams of the star as a guide, but you will need to make some guide marks in the background so you can continue sewing straight.
Quilting Option 4: Vertical straight lines

If you would like to quilt like this, be sure to skip down to the straight-line quilting post I link to in the walking foot section.
Quilting Option 5: Crosshatch

This kind of crosshatch quilting looks fantastic when it's finished and gives the quilt a beautiful tufted look. I talk about the best way to do this in the same straight-line quilting post below.
You May Also Like...
- Star Crossed Quilt Pattern (lots more quilting example pics)
- Star Crossed 2.0 Quilt Pattern (lots more quilting example pics)
- Star Crossed Sew Along (The Highlights)
- Star Crossed 2.0 Sew Along (The Highlights)

5 Quilting Options (covered in this post)
I'll break down each of these and show you examples, but here's the quick list:
- Longarm quilting - Trace Creek Quilting and Jenn B Quilts are both offering 25% off longarm quilting on your Star Crossed quilts through November 2023.
- Free motion quilting on a domestic sewing machine (domestic just means the sewing machine you have in your home)
- Walking foot quilting on a domestic machine
- Hand quilting
- Quilt ties
Quick Side Note on Backing!
Before jumping into quilting options, I want to first quickly chat about backing fabric. Quilt backing is a great time to explore fuzzy, soft, out-of-the-box fabrics. Flannel, double gauze, and lawn are fabrics you may have sewn with, but if not, they make fantastic backings. Also, if you would rather skip the piecing part, opt for wideback fabric. It's 108" wide instead of 42" wide.
Below I'm wearing pants and backed this Star Crossed 2.0 quilt in my Boho Birds Wideback in Nova.


The quilt above uses flannel from my Duval fabric collection. The fabric is called Tiny Moon in Nova.
Some other not-so-common fabrics for backing include:
- Coziness Award: How To Use A Microfiber Blanket As Quilt Backing
- Affordability Award: How To Make A Quilt From Bed Sheets
- Outdoorsy Award: How To Make A Water-Resistant Quilt
Quilting Option #1: Longarm Quilting
You'll see me using this option a lot simply because I don't have enough time to quilt all of the pattern samples I make. This is the quickest way to quilt a quilt because you are most likely giving it to someone else.
The downside to this is that hiring someone else to do your quilting is the most expensive option. Depending on the size of your quilt, and whether or not you go with a custom design or an all-over quilting design, this can cost between $60 and $200.
Longarm Quilting Related Posts:
Longarm Quilting Tips:
- If your quilt pattern is linear (like the Star Crossed pattern that is full of strips and squares) opt for a flowing, curved panto that very clearly is not trying to line up with the quilt pattern. Below are some examples.
- Choose a light to medium-light thread color. My simplest rule of thumb is to match the thread to either the background fabric or the lightest/second lightest shade of fabric in the top. If your quilt uses a wide range of light to dark fabric, a medium-light shade is best. Something too light will stand out more than you probably want. Below is a good example of using a medium-light thread color rather than the lightest thread color.

The quilt above was quilted by Trace Creek Quilting using the panto Strawberry Fields. She matched the thread to the second lightest fabric in the quilt, the pink — which blends beautifully on top of all of the fabrics much better than a bright white would have.

This next quilt again opted for a curved, flowering panto design and matched the thread to one of the light pinks, rather than the bright white. This was made by Sarah Made and quilted by Trace Creek Quilting using the panto Simple Butterfly.

I love the simplicity of this Rosemary panto. I think this is the third Christmas quilt where I've used it and I will probably just keep hitting repeat. Because Star Crossed 2.0 has so much uninterrupted background, I matched the thread to the background fabric. This was quilted by Trace Creek Quilting.
What do you think of my binding? I cut all of my strips 2.25" narrow with the green ones being 2.5" wide and the red strips at 10.5" wide. I wanted them to look like big bulb Christmas lights.
Quilting Option #2: Free Motion Quilting
Free motion quilting is a lot of fun, but does have a learning curve. You will need to practice for a bit before doing this on an actual quilt you care about. True story, I sped through the practicing part, jumped into free motion quilting a baby quilt, and made such a mess of it, I ended up throwing the baby quilt away. Eeek! I do not recommend that!
Free Motion Quilting Related Posts:

Above is the Gather quilt pattern, available in the shop!


Above is a free pattern called Liberty & Flowers.
Quilting Option #3: Walking Foot Quilting
My favorite way to quilt with my walking foot is simple straight vertical lines. I have a helpful blog post on that, so I won't go into too much detail here. (Link below)

Above is the Shining Star quit pattern, available in the shop!

Above is the Glitter & Glow quilt pattern, available in the shop!

If you would like to branch out of vertical line quilting, I highly suggest marking your quilt with some guide marks so you know where to sew. This video shows how I mark with a hera marker.
Below we are using a disappearing marker and a stencil before machine quilting. You can find lots of fun quilting stencils online!

Also be sure to check out the walking foot tutorials and books writen by Jacquie Gering. She's brilliant at walking foot quilting on a domestic machine. Her two books I highly recommend are:
Walking Foot Quilting Related Posts:
Quilting Option #4: Hand Quilting
I adore every aspect of hand quilting, especially the finished result! If you are new to hand quilting, I suggest you first machine quilt in the ditch (that means machine quilt in/close to the seams of the piecing) then add some decorative hand quilting.
Here's an example Mod Mountains quilt. The pattern is available in the shop.


Above is the Sugar POP quilt, available in the shop! This quilt used wool batting, which make the stiches pop even more. More on batting below.
Hand Quilting Related Posts:
Quilting Option #5: Quilt Ties
Finishing a quilt with quilt ties is the fastest and most inexpensive way to secure a quilt. You can use yarn, embroidery floss, or thick hand quilting thread. In the video, I first machine quilted my quilt a little bit, and then added quilt ties for some decoration and added security between layers.
Hand Tying Related Posts:

This quilt uses a combination of crosshatch walking foot quilting and quilt ties. The thread is a light red to match the background fabric and the ties are a contrasting light teal.

Triangle Jitters quilt by Laura Hartrich. Get the pattern in the shop!
Laura has a great Instagram reel on tying quiltings with yarn.
Additional Resources on Batting, Basting, & Binding
Yay, you've made it to the end of this epic post! Before you go, I have some more blog posts to tell you about that may help on your quilting journey. Don't forget that you can find these posts by using the different Quilting 101 categories on our Blog page.
Batting Resources
- Why Cotton Batting Is The Most Popular Choice For Quilters
- How To Choose The Right Quilt Batting
- Is There A Right Side To Quilt Batting?
- The Truth About Black Batting: When & Why To Use It
- Quilting On A Budget With Poly-Blend Batting
- Why Bamboo Batting Makes The Perfect Summer Quilt
- Why Wool Batting Makes The Warmest Quilts
- Fusible Batting Tape: Why You Need It & How To Use It
Basting Resources
Binding Resources
Bonus Binding Pics!
Congratulations, you've finished quilting your quilt! Now for the finishing touch — binding. Binding can be one of the most enjoyable parts of a quilt and the beautiful icing on the cake. Paul Hollywood would approve 😉 Here are some pics to inspire you!
Binding Option #1: Use scraps from your quilt


Read more about the easiest way to connect quilt binding (with video) in this post - The Easiest Way To Connect Quilt Binding

Read more about this scrappy binding in this post - How To Use Adventureland Scraps For Quilt Binding
Binding Option #2: Printed binding fabric

My debut fabric collection with Art Gallery Fabrics includes a specialty binding fabric! read more about it here - Binding Fabric You Must Try!
Binding Option #3: Use your extra backing fabric

This might actually be my favorite binding option (aside from the binding fabric) because I love the slight peek-a-boo effect of the backing on the front of the quilt. If you picked your backing fabric well, it will look fabulous as a tiny trim around the edge.

Read more about this quilt in the post - How To Make A Quilt Using Kids’ Artwork
Binding Option #4: Curved corners
OK so this isn't really a binding option, but since bias binding is recommended with this, I'm throw it in. So cute, right?

Read more about how to round corners and use bias binding in this post - How To Sew Rounded Quilt Corners


Great ideas!
I thought you were always supposed to start in the center of a quilt and work out. In the gentle curves option (which I LOVE!) are you saying to start at one lower edge and work up to the center and then flip the quilt and begin the other side and repeat until you’ve done all four sections? I’d love to try this but want to make sure I understand.
Thanks!
Yes, I would start at a corner and work in quadrants that way. For me that would be easiest because the tensions would be pushing out away from the quilted area and I would be able to use my last row of curves as a visual guide. One reason people tell you to start in the center and quilt out is so the fabric has a place to go as it’s being quilted. Maybe instead of thinking of it as working from the center out, think of it as working so that your fabric will be pushed out instead of caught inside unquilted areas where a bubble could form. Does that make sense?
With this quilting pattern specifically, you could start with the larger curves in the center and work your way out, you would just need to make sure your marked guides are really clear since you won’t have any other visuals to guide you.
WOW!!! The color elements in your Starcrossed 2.0 at the beginning of this post (the dark forest green dominant) really show your training and expertise in color application! Talk about ‘POP’! There is so much said there with the the shades and hues in your color choices. Forget the tutorial on the binding (it is excellent, btw) I am just hypnotized by this creation! Now I will go find my Pantone manual!
What a kind thing to say! Thank you 🙂
Suzy, this is an encyclopedia of quilt finishing topics!! You mentioned Jacquie Gering as a resource for machine quilting books/tutorials – her videos at Craftsy.com offer excellent instruction. Thanks for gathering ALL this information in one spot. It’s going to be a resource to return to again and again.
I’m so happy you found it helpful!
So much great information – thanks! Although I was hoping Paul Hollywood was going to stop by…