Planetarium Quilt Sew Along Week 3: Sew Units
Welcome, fellow explorers, to Week 3 in the Planetarium sew along! This week's adventure includes a little bit of everything — sewing straight seams, sewing curved seams, trimming with rulers, trimming with templates, chain piecing, pressing, and of course, intermittent dancing and snack breaks. There's a LOT to cover, so strap on our oxygen tanks, activate your anti-gravity simulators, and let's float away together!
Planetarium Quilt Sew Along Schedule
For the first time, we will offer prizes both on Instagram AND in the Suzy Quilts Patterns Facebook group! Instructions for how to enter each giveaway are included at the bottom of this post.
- Week 1, January 26: Pick fabric
Instagram Sponsor: Going Coastal Fabrics - Planetarium throw kit + pattern
Facebook Sponsor: Sarah Made - Planetarium throw kit + pattern
IG LIVE — @suzyquilts: Tuesday, January 30 @ 1pm Central - We will discuss fabric selection + Q&A. If you have specific questions you want covered, post them in the blog comments below. - Week 2, February 2: Cut fabric
Instagram Sponsor: Sewing Arts Center - $100 gift card
Facebook Sponsor: Global Fiber Shop - $100 gift card - Week 3, February 9: Sew units
Instagram Sponsor: Art Gallery Fabrics - Evolve by Suzy Quilts fabric bundle
Facebook Sponsor: Art Gallery Fabrics - Evolve by Suzy Quilts fabric bundle - Week 4, February 16: Assemble quilt
Instagram Sponsor: Trace Creek Quilting - Longarm quilting for a Planetarium quilt, batting and return shipping if needed. Additional services not included.
Facebook Sponsor: Jenn B Quilts - Longarm quilting for a Planetarium quilt, does not include batting or return shipping.
Week 3 Assignment: Sew Units
Half-Square Triangles
First things first, let's sew some sweet little HSTs. We are going to use the basic two-at-a-time method. I'm guessing you don't need this, but here is a video on how to do that. It includes chain piecing and then laying them on top of each other when cutting the two HSTs apart.
Tip #1: Pick your preferred way to trim HSTs.
Here on the SQ blog we have a few different HST trimming options. This first way has you trimming before you press the seams. (Skip to at least minute 2 because SHEESH I used to be really wordy! haha!) You can aslo skip to this blog post and check out the technique there - How to Trim HSTs.
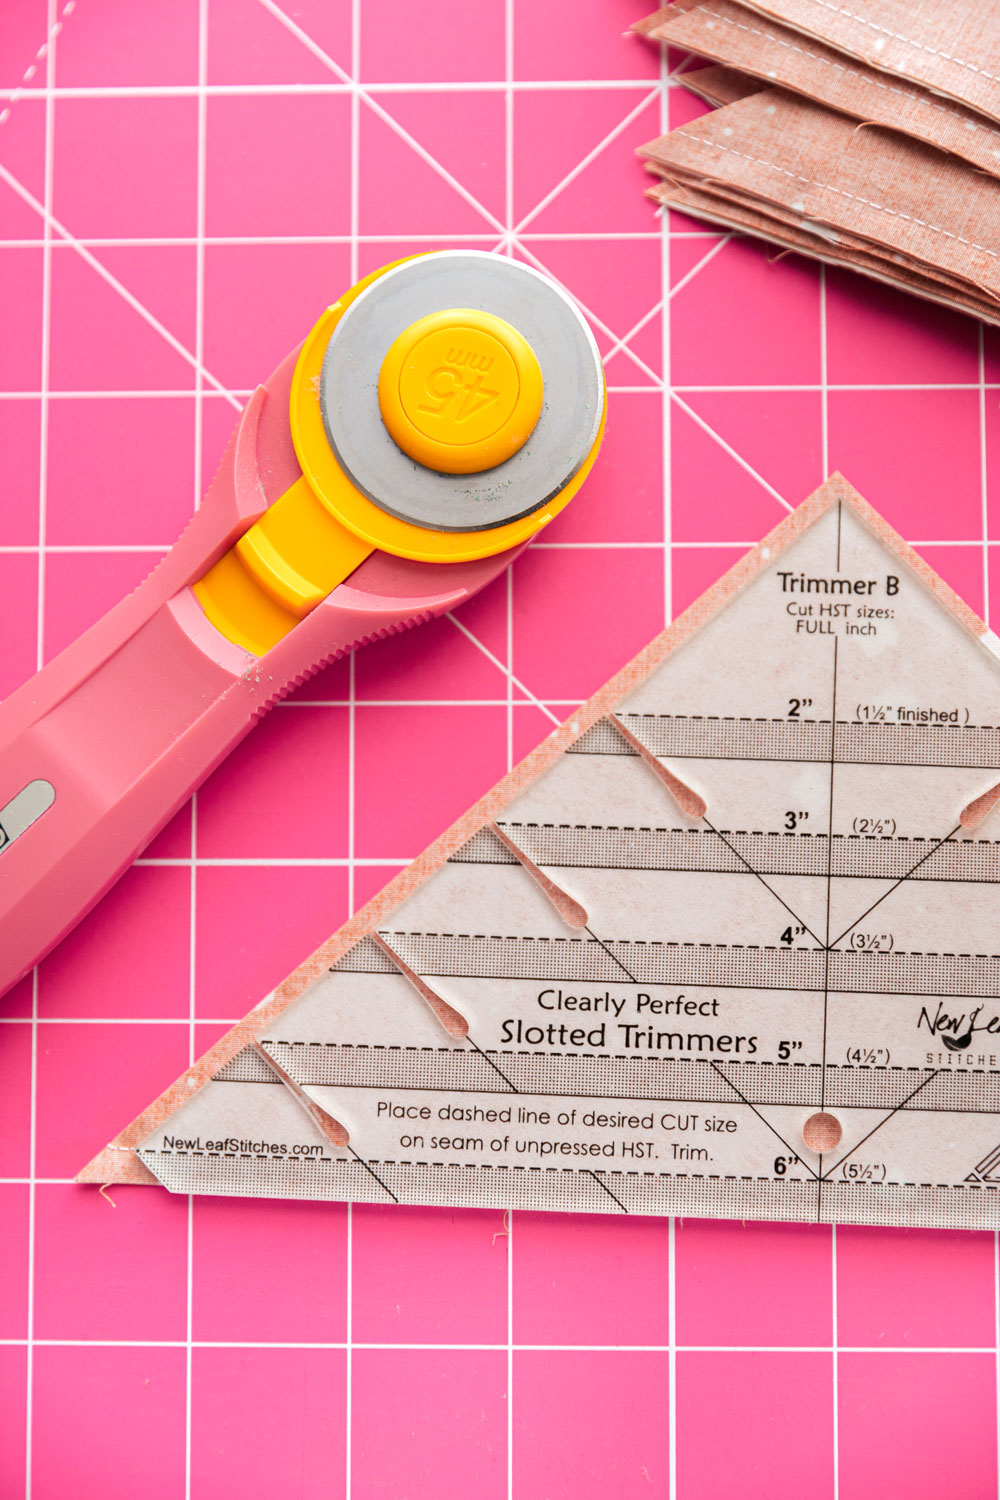
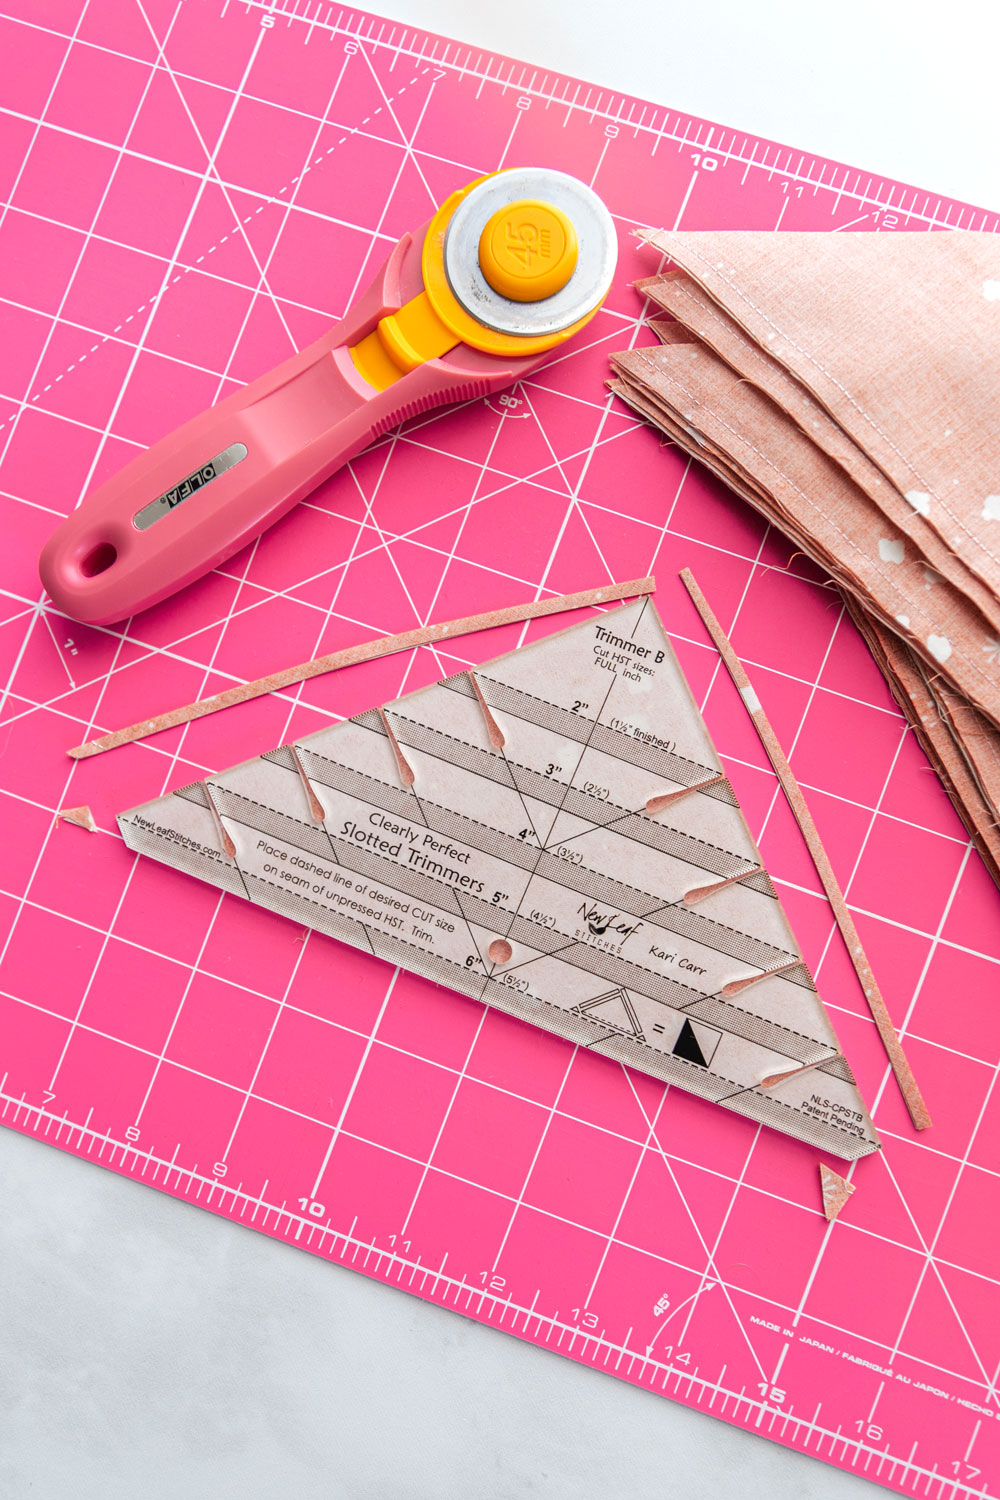
One option is to get one of these specialty ruler. They are called Clearly Perfect Slotted Trimmers and they are quite handy. What's nice about them is that they have little slots so you trim off the pointy dog ears while trimming your HSTs.
Trending patterns!
Another option is to just use a square ruler with a 45-degree guidemark on it. Line that 45-degree guide with the 45-degree seam of your HST and trim to 3 1/2". A rotating cutting mat, like what you see me using in the photo below, can be really helpful in cutting away from yourself.
My square ruler is larger than 3 1/2" so I used a bit of tape to mark the trim line.
During Week 2 of the Holiday Party quilt sew along, I went into great detail about sewing and trimming HSTs, so if you want more info on that, I suggest you check out that post. And maybe you'll end up making the quilt too! (It's such a great one!)
Tip #2: Chain piece your HSTs together.
Just like I do in the video below, layout your HSTs next to your sewing machine in the orientation that they will be sewn together. Sew the HSTs together into rows without snipping your threads. This is the fastest way to assemble these blocks AND keep them organized.
NOTE: The orientation of your HSTs are up to you. You can sew all of the blocks the same way, or have each block's HSTs be a little different.
Tip #3: Don't forget to use your tailor's clapper!
I think that especially with portions of the block that have a lot of seams, it's extra important to get them really flat and STAY flat. There is no better way to make sure that happens than to iron with steam and let the seams cool under a tailor's clapper.
For a full tutorial on pressing seams, check out How To Press Seams In A Quilt (With Video Tutorial!)
Triangle Units
Tip #4: Layout your triangle pieces next to your sewing machine.
Layout your left, center, and right pieces next to your sewing machine in the orientation that they will be sewn together. This is especially important if you are working with printed fabric that has a right and wrong side. This is your time to double check that all of your pieces fit together the right way.
Quarter-Circle Units
Tip #5: Trim all of your quarter-moon units at the same time.
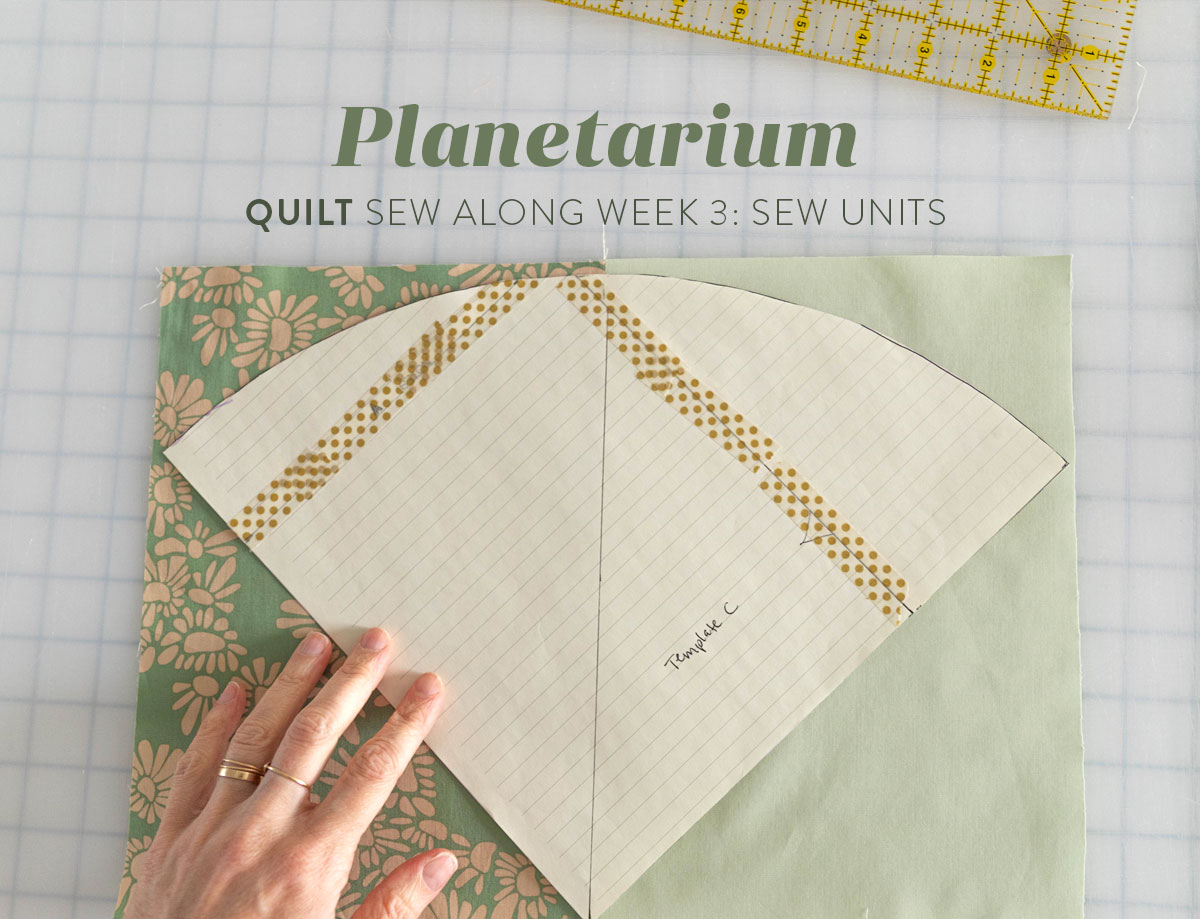
I find this extremely helpful because I am able to trim them all the same if I do them all at once. There is a lot of wiggle room in trimming these blocks and based on how you trim them, they could turn out pretty different from each other — making it impossible to line up the seams once you assemble your quilt top.
Not only can you stack a couple of these quarter- circle blocks on top of each other, like I do in the video tutorial, you also can get into a rhythm, speeding up the process.
Week 3 Sponsors & Prizes
Our week three sponsors are Art Gallery Fabrics for both Instagram and Facebook! For both giveaways, our lucky winners will receive a bundle of my new fabric line, Evolve. If you've been drooling over the fabric I'm using in this sew along, you're going to love this week's prizes!
Here's how to win one of these great prizes!
How to Win on Instagram
- Post a pic to Instagram. The photo prompt for Instagram this week is to post a picture of your cut fabric. Use #PlanetariumQuiltSA in the caption.
- You must have a public Instagram profile to participate.
- Each photo posted is an entry and you can enter as many times as you want in a single week. Once the week is over, those posts do not count in the next week's giveaway. Every week we start fresh.
- Your photo must be posted between Friday, February 9 and Friday, February 16. The winner will be picked randomly from all qualifying posts and announced at approximately 4:00 p.m. Central on the 16th. Good luck!
How to Win on Facebook
- Post a pic in the Suzy Quilts Patterns Facebook group. The photo prompt for Facebook this week is to post a picture of your cut fabric. IMPORTANT: We use hashtags less frequently on Facebook, but in order for us to see each post and randomly select a winner, be sure to use #PlanetariumQuiltSA in the caption of your picture.
- You must be a member of the Suzy Quilts Patterns Facebook group to participate. You do not need to have a public Facebook profile.
- Each photo posted is an entry and you can enter as many times as you want in a single week. Once the week is over, those posts do not count in the next week's giveaway. Every week we start fresh.
- Your photo must be posted between Friday, February 9 and Friday, February 16. The winner will be picked randomly from all qualifying posts and announced at approximately 4:00 p.m. Central on the 16th. Good luck!


I love your patterns and tutorials