Sugar POP Trendy Tote Tutorial

This trendy tote tutorial is based on the popular SQ pattern, Sugar POP. In addition to throw and baby sizes, the pattern includes instructions for an 18" pillow, which is what we'll be using today.
An oversized tote bag is necessary because inevitably there comes a point in every woman's life when her purse is simply not big enough. That point for me was approximately a week ago, as I was running out the door, late for an appointment, trying to shove my wallet, planner, sunglasses, mittens, hat, mask, book, Tums (third trimester heartburn anyone??), reusable grocery bag, and water bottle into a purse that was simply too small.
As I huffed my way out the door mumbling something about needing to buy a bigger purse, a lightbulb went off; what if I MADE a tote bag that would be perfectly functional to house all my necessities, AND matched my winter coat?

After all – here in the midwest, we have to wear those things until like June! And just like that, the idea for a quick and easy trendy tote tutorial was born!
Even if you don't live in a climate where mittens and hats are something you need to bring with you for 9 months of the year (as I type this we have a windchill of -17 today,) this trendy Sugar POP tote would be perfect for everyday use, a beach bag, carrying a few groceries, or even a diaper bag!
Trending patterns!


Quilt Patterns


Quilt Patterns


Quilt Patterns


Quilt Patterns


Quilt Patterns


Quilt Patterns


Quilt Patterns


Quilt Patterns


Quilt Patterns
If you loved making the Modern Fans Quilted Tote, you'll be sure to love this trendy tote tutorial too!!
You May Also Like...

Sugar POP Trendy Tote Tutorial Fabric Requirements
- Fabric for piecing the pillow size of the Sugar POP Quilt pattern
- Exterior Fabric: (1) 18" x 20.5" (this will be the back of the tote) and (1) 3.5" x 18" (this will be on the bottom of the tote)
- Lining Fabric: (2) 18" x 20.5"
- Handle Fabric: (2) 3 3/4" x WOF
- Fusible Fleece or Batting: (2) 17.5" x 20", (4) 2" x WOF
- OPTIONAL: If you would like to add a pocket, you will need fabric for (2) 6" x 9" and fusible fleece for (1) 7.5" x 10.5"
For my Sugar POP tote, I used the Harmony collection by Ghazal Razavi for Figo Fabrics. To say I'm obsessed is an understatement – this stuff is BEAUTIFUL! The linen blend gave me the perfect weight for a tote without being too floppy or stiff, and it was so much fun to play around with the placement of the earthy patterns.

Basic Sewing Supplies
- Sugar POP pattern: This is where you'll find the instructions and fabric requirements to construct the front panel of your tote (use the 18" x 18" pillow size)
- Simple sewing machine
- Thread
- Cutting mat
- Ruler
- Rotary cutter
- Straight pins
- Iron & ironing board
Optional Supplies (that'll make things easier)
Quilting Terms
- RST = right sides together
- WST = wrong sides together
- WOF = width of fabric
- Seam allowance = 1/4" for piecing the blocks, but 1/2" for construction of the tote

Step 1: Piece the Front of Your Tote
Using the Sugar POP pattern, piece the front panel for your tote using the pillow size (18" x 18".) If you've never made a Sugar POP quilt, you might want to after you make this tote! The intersecting geometric lines allow for SO many bold possibilities with prints, solids, or a mixture of both!
I found that it's helpful to label your pieces with sticky notes so you can easily see which piece is which. Square up your finished block up so that it measures 18" x 18".


Step 2: Add the Bottom Strip
Once you have completed the block, take the 3 1/2" x 18" strip of exterior fabric and sew it onto the bottom of the Sugar POP block using a 1/2" seam allowance.

Step 3: Add the Stabilizer
Now it's time to give your tote some structure! Depending on what you have on hand, you can either use fusible interfacing/fusible fleece (like I did) or batting will work as well. One layer will give you a soft, somewhat floppy tote, whereas two layers will give it a more rigid shape.
If you're using a fusible option, follow the package instructions to adhere the interfacing or fleece to the wrong side of the front and back tote pieces.
If you're using batting, baste using whichever method you prefer.

Step 4: Quilt!
It wouldn't be a quilted tote without some quilting! Since the patterns in my fabric were already fairly busy, I opted to stitch in the ditch between the pieces. However - if you're using solids or low volume prints in your tote, this could be a fun project to play around with some hand quilting or even free motion quilting! For the back piece of my tote, I did simple diagonal lines, marked with a hera marker.

Step 5: Construct the Tote Exterior
After you have quilted the front and back panels, place them RST. Pin around the exterior, leaving the top open. Sew around the tote perimeter using a 1/2" seam allowance, leaving the top open.


Step 6: Press Seams Open
Next, press your seams open. This may seem like a trivial step, but it really does help with accuracy in the next step when we box the corners! I pressed the seams open (as shown in the photo) on one side, then flipped the tote over and repeated for the second side.

Step 7: Box the Tote Corners
After you've pressed your seams open, it's time to box the corners! If you've sewn boxed corners in bags or pouches (or if you've made the Modern Fans tote!) this is probably feeling a bit like deja vu.
First, pull your bottom corner of your bag into a triangle, aligning the center of your bottom seam with the center of your side seam, as shown above. A simple trick to see if these seams are aligned is shown below: stick a pin through the center of the seam on one side, and it should come out in the center of the seam on the other side. If it isn't quite dead on, adjust as needed.


Next, finger press your corner flat, and use several pins to hold it in place. On the right side, there will be a seam approximately 2.5" from the point running horizontally from where we pieced the bottom strip onto the front panel. This is what we are going to use as a guide for the boxed corner. Draw a line with an invisible marker so that the line continues across onto the left half.
Sew along the marked line and along the seam used as a guide, backstitching at the beginning and end.

Trim 1/4" from the seam. Then, repeat Step 7 for the opposite corner.

Turn your tote exterior right sides out, push the corners out, and admire your work! It's "tote-ally" starting to come together now!

Check out those beautifully boxed corners!

Step 8: Adding the Interior Pocket (Optional)
One of my biggest pet peeves is not being able to find my phone in my purse! I opted to add a simple pocket to this trendy tote tutorial on the interior side so that it wouldn't get lost in the depths amidst winterwear and antacids.
Place the two 6" x 9" pocket fabric pieces RST. Sew around the perimeter using a 1/4" seam allowance, leaving a 2" gap on the bottom edge. Turn the pocket RST through the 2" gap, push the corners out nicely, and press to create a nice, flat rectangle.


Next, take the 7.5" x 10.5" piece of fusible interfacing, and place the bumpy side down toward the back of one of the lining pieces. This piece of interfacing is going to provide a little extra stabilization for the pocket, since they do take some wear and tear over time, and it'll give that lining fabric a bit of extra durability.
The interfacing is a bit larger than the pocket (which will be sewn onto the opposite side,) so adhere it to approximately where you would like the pocket placed. For mine, I centered it about 2 1/2" down from the top.

Turn your lining fabric over and center your pocket, making sure that the edges will be supported by the interfacing on the opposite side, and making sure the 2" gap is on the bottom of the pocket. I centered my mine about 3 1/4" down from the top.
Edgestitch along the edge of the pocket, leaving the top open. To add a bit of reinforcement, sew a 90 degree triangle when starting and stopping to prevent the pocket from pulling away from the lining over time. It's a bit hard to show on the pocket side since I used black thread, but here's what it ended up looking like on the back:


Step 9: Sewing the Tote Bag Lining
Next, it's time to sew your lining. Place your lining pieces RST and pin. Sew around the perimeter using a ½" seam allowance, leaving the top open and leaving a 7" gap at the bottom to turn the bag out through later. Do not forget to leave this gap, or you won't be able to turn your tote bag right side out!
Follow the Step 7 instructions to box the corners of your lining. Since there won't be a seam to use as a guide for where to draw the boxed corner line, align a quilting ruler with your center seam, and find the spot where there's 2.25" on either side of the center seam. Mark this as your line to sew along.


Step 10: Creating the Tote Handles
We're nearing the end! Next up is the handles. Take each 3 3/4" x WOF piece of handle fabric and press ¼" over along the long edge, then fold in half and press again.
Take two of the 2" x WOF pieces of fusible fleece (or batting) and fuse them together by placing the bumpy sides toward each other and pressing with medium heat. This will create a nice, sturdy handle for your tote. Be sure that none of the bumpy side is overhanging or it will stick to the plate of your iron.
Trim the 2" x WOF down to 1 3/8" x WOF, then slip this inside the handle fabric as shown below.


Edgestitch along the handle on both sides to secure. Repeat this step to create a second handle, then trim to the desired length. I cut mine to about 28", which was just right for me.

Step 11: Final Assembly
Next, pin the front handle to the front side of your tote approximately 4" from the side seams. Pin the back handle to the back side in the same position.


Next, take your tote lining (which should still be inside out) and place your tote bag exterior (which should be right sides out) inside of it.Be sure the handles stay tucked between the exterior and lining. Line up the top raw edges, and align the side seams of each and pin in place.
Note: To keep the interior pocket on the back side of your interior, be sure that side of the lining is on the back side of your exterior as shown below.


After everything is pinned securely, sew around the perimeter of the top of the tote using a 1/2" seam allowance. When I got to the handles, I sewed over them twice to add a bit of reinforcement.

Turn your tote bag out through the gap left in the bottom of the lining. It will quite literally "give birth" to your new trendy Sugar POP tote!

Sew the lining gap closed either by hand using an invisible/ladder stitch, or (if you're like me and realize that you're never going to inspect the seam at the bottom of your tote,) just machine sew it closed.

Step 12: Topstitch
Last but not least, push the lining back into the tote, and topstitch around the perimeter of the top. Amazing! You've made it all the way through this trendy tote tutorial, and if you're like me, you'll want to start using your new tote right away!


Your Sugar POP tote is complete and ready for whatever adventure you throw its way! Whether you're packing up hand warmers or sunscreen, you'll be carrying your necessities in style after sewing through this fun and easy trendy tote tutorial!


wonderful looking bag and great instructions.. thank you for the great bag …
Gahhhh! My Kate Spade diaper bag that looked so sharp when I bought it is in tatters! Gonna save the high-end cuteness cost and keep all the cute and sharp AND use up some scraps for this, THANK YOU!!!!!!
That is an awesome bag thanks for the tutorial. So appreciate it.
When I click on the pattern, it’s $13…but the tutorial says free…am I reading something wrong? Thanks…cute tote!
Correct – the tote tutorial is free, however the Sugar POP pattern is $13.
If I am making multiple bags using the same fabric, will the FQ be able to make more than one bag? Also, im leaning just making them all cotton instead of linen, I feel like that will be fine (giving up some durability of course) but is there anything else I should be considering?
Definitely! This pattern only uses a couple strips so it’s also great for scraps too. If you use cotton and batting, you will just have a nice cushy bag. Sounds pretty great to me!
Do you cut a 3.5×18 piece for the bottom of the lining too?
I also had the same question. In the picture, the tote bag looks rectangular, even though the patchwork is 18″x18″, so I’m a bit confused there. It will also be the first tote bag I’ve made, so I’m just trying to figure it all out 🙂
The sides of the 18″ x 18″ wrap to form the sides of the bag, so that makes it skinnier. However, we add a panel to the bottom of the 18″ square that doesn’t have the same wrap. That’s why this bag does end up being rectangular even though we use an 18″ square. Here’s a photo to help explain.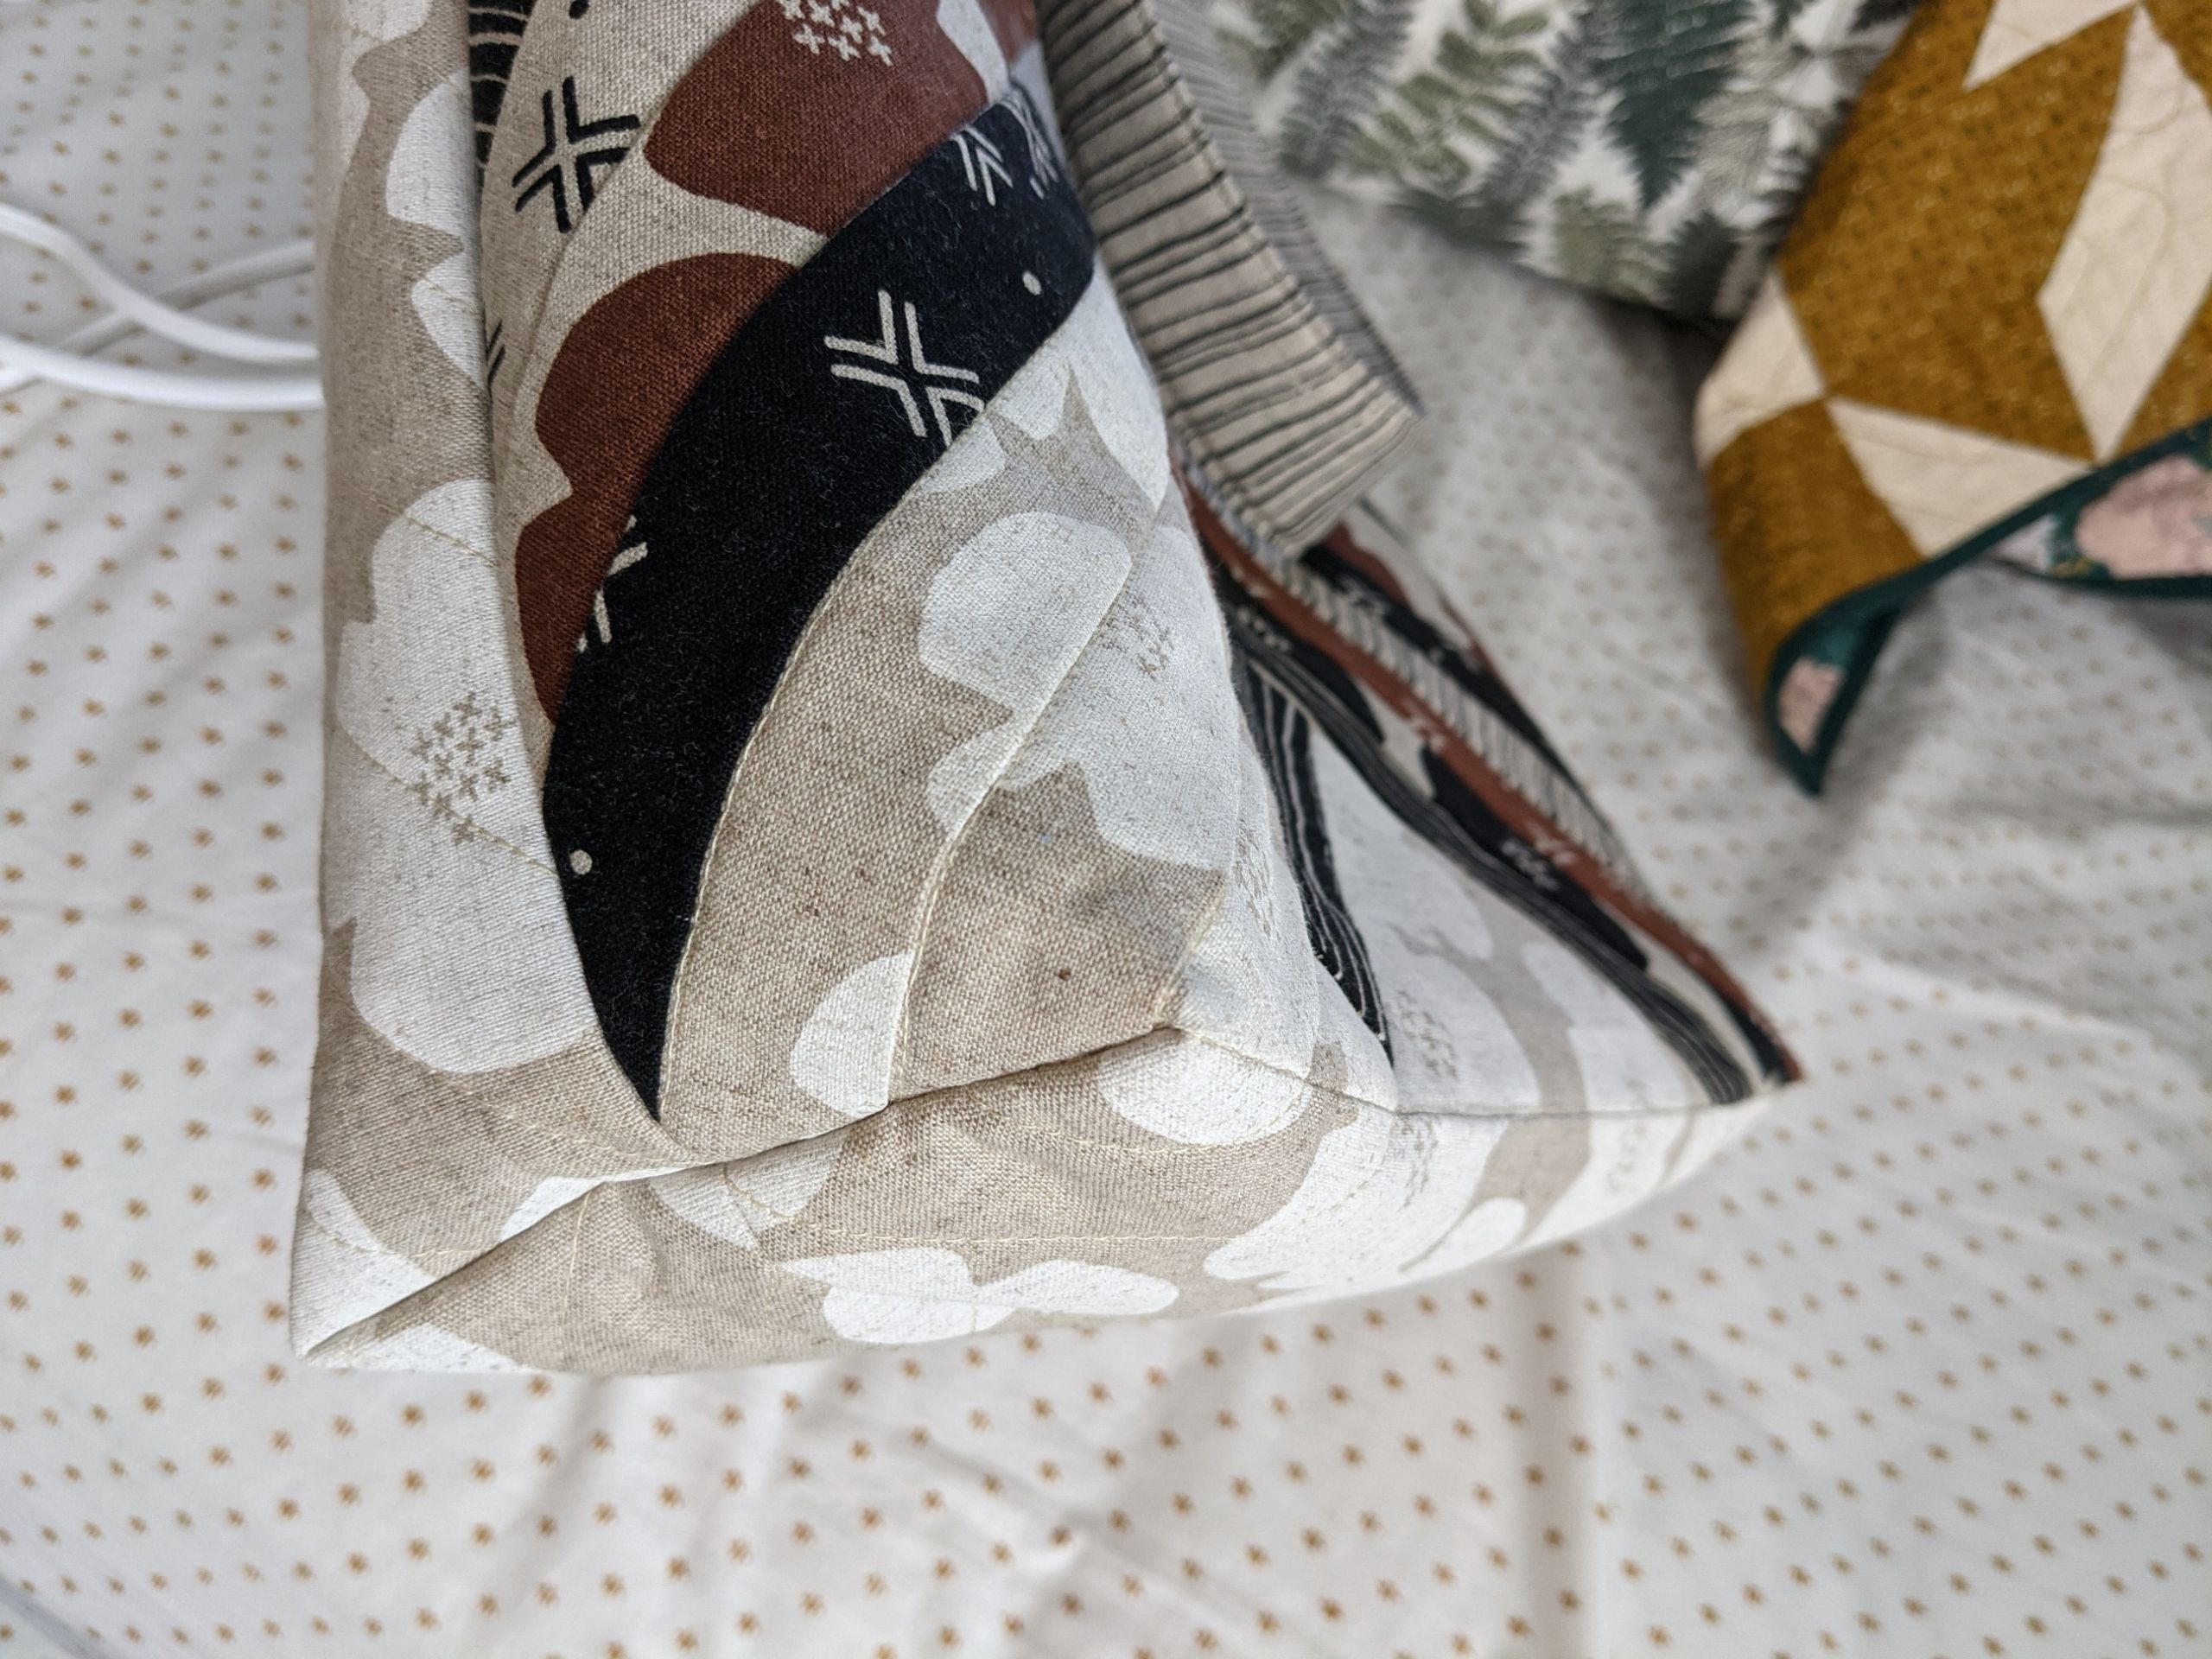
About how long / how many hours does this project take?
I absolutely love this tutorial. I can not wait to attempt this project! I intend to make six bags, one for me and my my five sisters.
That’s amazing! Are you planning to use matching fabrics or change up the colors for each sister? Have a blast!