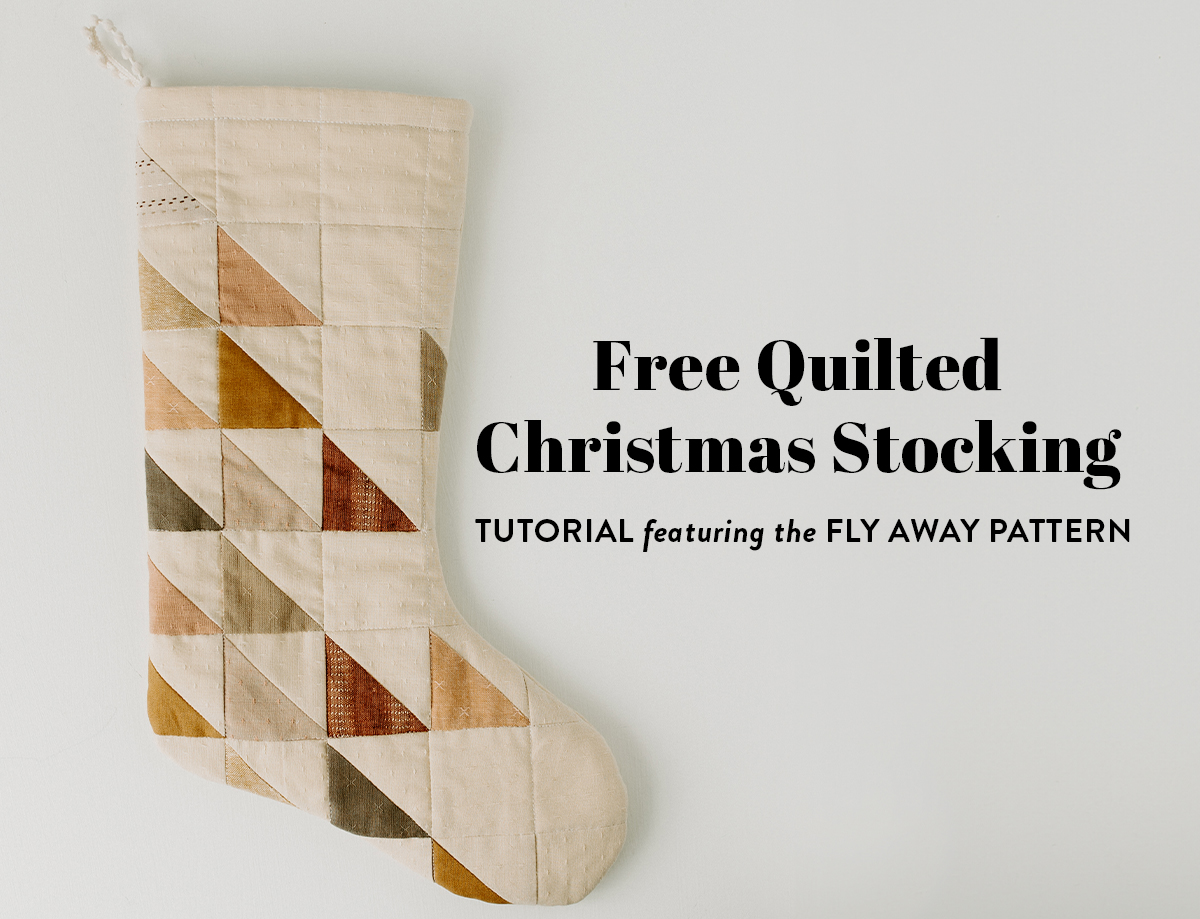
Free Quilted Christmas Stocking Tutorial Featuring the Fly Away Pattern
Here at Suzy Quilts, we love the holiday season and all of the sewing that comes with it! In past years you might have made our Rocksteady stocking, fabric star ornament, felt garlands, tree skirt or any of our Christmas quilt patterns. Well, next up on your winter sewing (snowing?) list is going to be this free quilted Christmas stocking tutorial featuring blocks from the Fly Away quilt pattern!

Fun Fact: the Rocksteady stocking was the first blog post I ever guest-wrote for Suzy Quilts back in 2019, so it's safe to say that stockings hold a special place in my heart. I still have to pinch myself that I get to be creative and sew for "work." It's been a fantastic ride to be part of the team ever since!
When Suzy and I were planning for this year, we agreed that since so many of you have loved making the Rocksteady stocking it was high time for a second coordinating stocking tutorial. The Fly Away quilt pattern immediately came to mind because of its traditional quilt vibes.
This pattern is a modern take on the classic Birds in Flight or Birds in the Air quilt block with some of the triangles or "birds" appearing to fly away. Once you see both stocking designs together, we knew you'd need a whole flock!

You Might Also Like...
Check out the Holiday category on the blog for more holiday tutorials!
Trending patterns!


Quilt Patterns


Quilt Patterns


Quilt Patterns


Quilt Patterns


Quilt Patterns


Quilt Patterns


Quilt Patterns


Quilt Patterns


Quilt Patterns

Free Quilted Christmas Stocking Tutorial Supplies:
- Fly Away Quilt Pattern (For this tutorial we are using the throw/baby sizing)
- 1/2 yd background fabric
- 1 FQ Color 1 fabric (Instead of making all of my HSTs from the same color, I opted to use a variety of colors, in which case you would need small scraps of each)
- 1/3 yd muslin or other non-important fabric (this won't show, it is simply the bottom layer of the quilt sandwich)
- 1/3 yd lining fabric
- 1/3 yd batting
- 5 1/2" piece of ribbon (for hanging loop)
- Printed Stocking Template (originally from a cuffed Christmas stocking pattern)
- Temporary marking tool or pen
- Basic sewing machine
- Thread
- Cutting mat
- Ruler
- Rotary cutter
- Straight pins or binding clips
- Iron and Ironing board
Optional Supplies (that'll make things easier)
- Template plastic - 12" x 18" piece
- Best Press starch
Terms
- RST = right sides together
- WST = wrong sides together
- FQ = fat quarter, a pre-cut of fabric measuring approximately 18" x 21"
Step 1: Select Your Fabric
This step will forever be my favorite! It's always so much fun to pull fabrics for a project, and I went for a cozy, linen/woven theme for this free quilted Christmas stocking tutorial.
I often get asked which fabrics I feature in a project, and unfortunately, none of the fabrics in this pull had selvedges, and have been sitting in my stash for quite a while. Although I don't know any of the names of them, I do know that several are Sprout Wovens from Fableism, which are the perfect addition to any sewing project!

Step 2: Assemble the Front of the Stocking
Next, we're going to start piecing the front of the stocking. Remember to following the cutting instructions for the throw/baby size. Piece the following:
- One Fly Away #1 block (page 4 of the Fly Away pattern)
- The bottom half of Fly Away #2 block (page 5)
- The bottom half of Fly Away #3 block (page 5)
Cut the following from the background fabric:
- (1) 2 1/2" x 2 1/2"
- (2) 2 1/2" x 4 1/2"
- (1) 2 1/2" x 9"
Lay out the pieces as shown in the image below.

Sew the 2 1/2" square onto the bottom right corner of Fly Away #2 block, as shown below.

Sew one 2 1/2" x 4 1/2" piece onto the left side and one onto the right side of the Fly Away #3 block, as shown below.

Next, center and sew the 2 1/2" x 9" piece onto the top of Fly Away #1 block. Then, sew Fly Away #2 and Fly Away #3 blocks together, aligning the left sides.
Lastly, sew Fly Away #1 block to the Fly Away #2 & #3 unit. The entire pieced stocking front should look like the photo below.

Step 3: Cut the Stocking Pieces
Print your Christmas stocking pattern template, and make sure the 1" x 1" square in the corner is to scale. Cut it out and tape it together. If you’d like, you can trace the template onto clear template plastic — this helps so you can see the block placement before you cut.

Place the pieced stocking front WST with the piece of background fabric that will be used for the back of the stocking. Move your template around until you have it where you want it, then trace using a temporary marking tool or pen.

Cut on the traced line, making sure to cut through both layers of fabric. If you're worried about the layers shifting, you can place a few pins throughout to hold them in place.

Step 4: Baste, Quilt, and Assemble
Next, baste the stocking front, batting, and muslin together using your preferred method of basting. The muslin is the bottom of the quilt sandwich, and will help the sandwich move through your machine. Without that layer, the batting may snag while feeding through when quilting.
Do the same for the stocking back.

Then, quilt the front and back of the stocking. I did simple lines in the ditch that followed my blocks, but you could definitely go so many different directions (no pun intended) with the quilting! Hand quilting, anyone??
After you've finished quilting the front and back, trim away the excess batting and muslin.


Place your stocking front and back RST. I'd recommend putting a few pins or binding clips around the perimeter of the stocking to ensure it won’t shift while you’re sewing.
Sew with a 1/2" seam allowance around the stocking edge, leaving the top open.

Optional: After sewing around the edges, trim the curves and the top down to 1/4" — this just reduces bulk in your seams when you turn it inside out. Clipping darts in the curves can also give the same effect.
Turn your stocking right side out, taking time to make sure all the curves are turned out nicely.


Step 5: Assemble the Lining
Fold your lining fabric RST, trace the stocking template, and cut it out. With the fabric still RST, pin around the edges, then sew around the perimeter of the lining with a 1/2" seam allowance. Leave the top open as well as a 6" gap along the bottom, which you’ll later use to turn the stocking right side out.

Step 6: Put It All Together
The end is near! With your lining still RST, place the quilted stocking exterior inside the lining, as shown below.

Cut a 5 1/2" piece of ribbon, and fold it in half. Place the folded ribbon so the loop is pointed down between the quilted stocking and the lining. Align the back of the stocking seam, the loop, and the back of the lining seam, and pin.


Next, align the side seams of the stocking and lining and pin. Pin or use wonder clips around the rest of the opening if you would like. Sew around the circumference of the opening using a 1/2" seam allowance with your walking foot. I found it helpful to take off the extension table off to fit the stocking onto my machine.

Step 7: Finish the Stocking
Here's where it all comes together! Turn the stocking right side out through the gap in the lining as shown below. Then, sew the gap closed — if you're a perfectionist, do this by hand using an invisible stitch or a ladder stitch.
Or, if you're like me and you're fully aware this will be on the inside of the stocking and will never be seen, you can definitely sew it closed on your machine.


Push the lining into the stocking, making sure it doesn't peek out the top. Give it a good press, then topstitch around the circumference of the opening for a nice finish. Normally I'd topstitch closer to the top, but for simplicity's sake, I topstitched in the ditch of the topmost seam.

Ta da! Your quilted stocking is complete, ready to hold goodies for Christmas morning or simply to add a little more handmade decor to your home. We'd love to see what you sew up — tag us on Instagram at @suzyquilts and use #SuzyQuiltsBlog to share your own quilted stocking photos!


Hi, when making the blocks is it the throw/baby sizes that should be used?
Thanks.
Throw and baby actually have the same cutting instructions and make the same size block.
Thanks Suzy.
Is this something I could do by hand or does it require a sewing machine?
Thank you so much for this stocking tutorial! It is well written and the pictures are perfect. I just made two stockings and love how they turned out. Merry Christmas!!
Hi! Would you mind telling me the dimensions on these? I really want to make them!