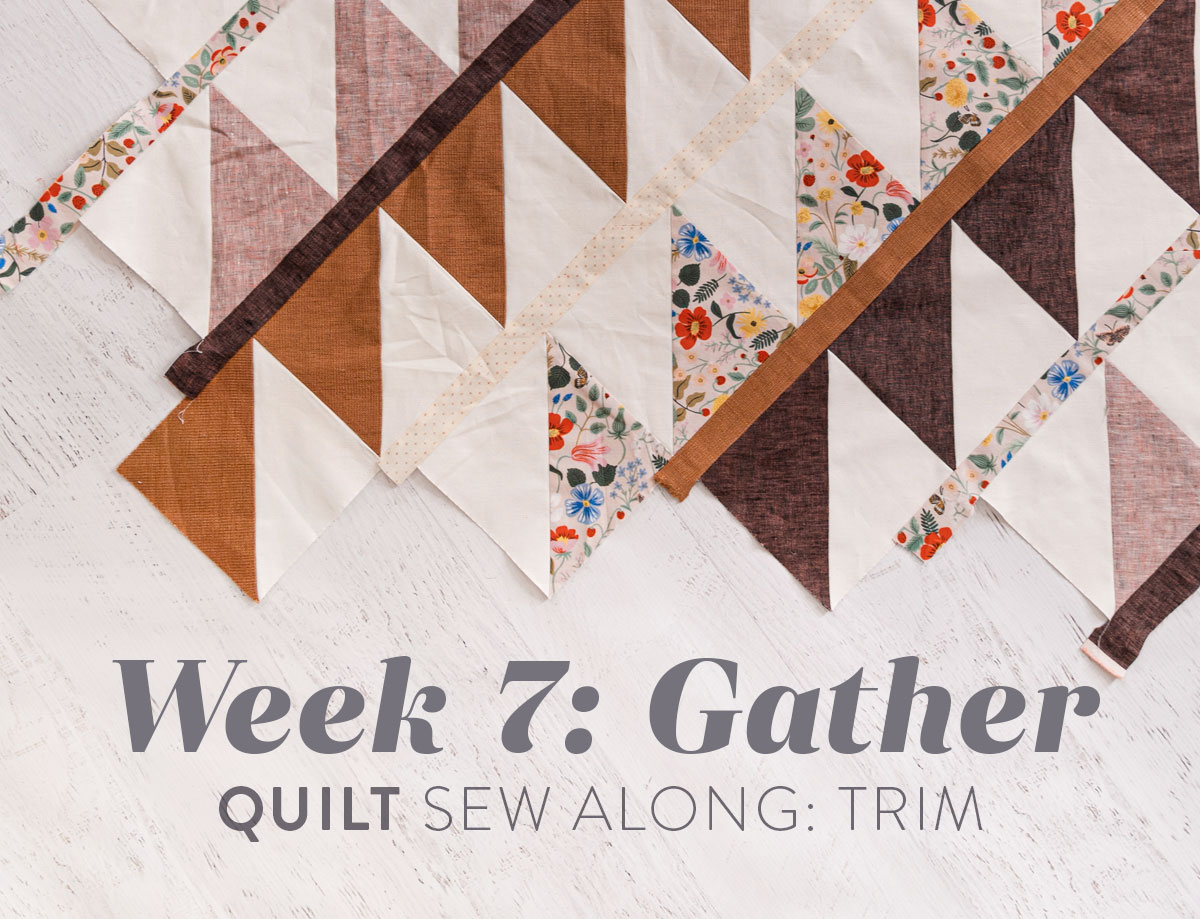
Gather Quilt Sew Along: Week 7: Trim
You did it! Through cutting, sewing, trimming, lots of pinning and then even more sewing and trimming, YOU DID IT! Quiltketeers, you made it to the final week of the Gather sew along. Give yourself a big hug, hold your chin up high and proudly proclaim, I'M AWESOME!
Cause you ARE!
In this final week we finish sewing the Gather quilt top together and then, drum roll...we trim! From what I can gather from the FB group posts, the final trimming portion of this quilt is making some of you a little nervous.
But when have I left you hanging to figure things out by yourself? I'm here today with lots of pics, tips, and of course, to answer any questions that arise during your final days sewing this quilt together.
For details on how the Gather sew along has played out, check the original informational post here. And don't forget to join me for the FINAL live video this Wednesday at 7:30pm CST on both Instagram and in the Suzy Quilts Patterns Facebook group.
Trending patterns!


Quilt Patterns


Quilt Patterns


Quilt Patterns


Quilt Patterns


Quilt Patterns


Quilt Patterns


Quilt Patterns


Quilt Patterns


Quilt Patterns

Gather Quilt Sew Along Schedule
- Week 1, January 20: Pick fabric and gather supplies
- Week 2, January 27: Cut all fabric
- Week 3, February 3: Sew, trim and press HSTs for Colors 1-5
- Week 4, February 10: Sew, trim and press HSTs for Colors 6-9
- Week 5, February 17: Sew HSTs into rows
- Week 6, February 24: Sew strips as needed and assemble the quilt top up to row k
- Week 7, March 3: Assemble the rest of the quilt top and trim

Week 7 Assignment: Finish the Top and Trim
This is the FUN week, my friends! This is the week we get to fully see the fruits of our labor and show off our final quilt tops! If you have any confusion about sewing your strips and rows together, zip back to the Week 6 post for 5 tips on quilt top assembly.
In today's post, I will mainly focus on trimming. But first, there are a couple things I want to point out and two cute little corner pieces you need to sew before it's time to trim...

Tip #1: Your scrappy sides can look different than my scrappy sides.
Even if some of your strips hang a little longer than the diagrams on pages 7-9, that's totally fine. Those scraggly sides will get trimmed in the end.
Tip #2: Pay attention when sewing your final HST row – it's different.
What I mean is that it doesn't line up with the edge of the second to last HST row like the rest of the quilt. If making the throw size, check out the diagram on page 8. The Color 9 HST row lines up with the Color 8 strip and not the Color 3 row. That's different than what we've been doing, so don't get confused.
Check out the pictures below for an example of mine.

Tip #3: Make your corner-setting units separately.
Instead of continuing to work with the entire quilt top and centering each corner-setting piece, make those last two corner units separately and sew them to the quilt top when you are finished.

Fold your corner-setting triangle in half and line up the center crease with the HST seam. This will ensure your unit is perfectly centered!


Tip #4: Pin!
I know you don't need me to say it again and you definitely don't need a photo example, but here are both of those things anyway 🙂
Remember, we pin so our fabric layers are fed through our sewing machines at the same rate and our quilt top doesn't stretch and warp.

Gather Quilt Pattern Trimming Video!
Skip to about 14:30 in this video for a tutorial on how to trim the quilt top.
Tip #5: Trim on a surface that's large enough for your quilt top.
The surface doesn't need to be large enough for the entire quilt top, just half. I'm trimming on the floor (even though I'm 35 weeks pregnant. ugh.) because that allows me to fold, shift and finesse the quilt top into place so it's lined up and ready for trimming.

Tip #6: Smoosh, finesse and refold until the quilt top cooperates.
Quiltketeers, I'm going to let you in on a little secret. Your quilt top won't lay flat perfectly the first time you fold it in half. Fabric can be quite fluid and needs a little guidance in where to go and how to lay in the right place.
Just be patient. You can gently stretch and smoosh it until corners and edges line up to your liking. As Tim Gunn likes to say, "Designers, make it work!"

Tip #7: Use multiple rulers for trimming.
I like to line up a couple long rulers end to end so that I can make sure the quilt top is straight all the way across and not veering off to the side. If you don't have two long rulers, use as many flat edges as you can find around your house.
When trimming a long area, it is so easy to veer a couple degrees off. Then by the time you get to the opposite side, a couple degrees become rather noticeable. Using a flat surface that gets you from one side to the other will prevent that from happening.

Tip #8: Remember to leave 1/4" at the tippy top!
If you look at Fig. 21 on page 10 you will see an illustration of this trimming process. If you want the very top of your quilt to be the tip of a triangle, you need to leave a 1/4" from that seam.
In the photo above you can see my pink linen fabric is the tip of the Color 7 row, so I'm lining up my ruler 1/4" away from that visible HST tip. Do you see that? The ruler is now lining up with the raw edge of the seam.

Once I unfold the quilt top, I have a 1/4" seam allowance from that top triangle tip.

Tip #9: Use the grid marks on your ruler to trim the sides so they are square.
When trimming this quilt top, as much as possible use the guides on your ruler (or rulers) to make your cuts square. You can see in the photos above and below that not only is the flat edge of my ruler lined up with the edge of the quilt, a gridmark on the ruler is also lined up with the bottom fold.


And voila! It's perfectly square! Or is it? I actually don't know. It looks pretty square and that's good enough for me! If you aren't happy with your first attempt at trimming, you can always refold, shift things around a bit, and re-trim.
And if things got warpy and trimming is frustrating, just remember that quilts live most of their lives folded and cuddled. It really is OK if this one isn't totally square. Absolutely no one will notice.
You can also spray it with some water and smoosh it into a more squarish shape when basting. I've been known to do that on occasion... 😉
Questions?
Do you have questions about supplies, sewing, trimming, pressing or converting your HSTs using the charts provided? For any question you have that's Gather quilt related, there are multiple places for you to ask them!
- Here in the blog comments.
- In the Suzy Quilts Patterns Facebook group.
- During one of the weekly live videos. (Honestly though, this one is the least reliable. I miss a lot of questions during those videos.)


Week 7 Sponsor & Prize
Are you ready for a BIG prize befitting a finished quilt top? FREE longarm quilting from Lavender Fields Company! Lisa, the owner, does beautiful work and in addition to offering a large amount of quilting patterns on her website, she also is open to finding new patterns specific to your taste and style!
How to Win
- Post a pic to Instagram. The photo prompt for Instagram this week is to post a picture of your finished Gather quilt top. It must be a throw or larger. Use #GatherQuiltSA in the caption.
- You must have a public Instagram profile to participate.
- Each photo posted is an entry and you can enter as many times as you want in a single week. Once the week is over, those posts do not count in the next week's giveaway. Every week we start fresh.
- Your photo must be posted between 12:00 a.m. CST on Wednesday, March 3 and 1:00 p.m. CST on Tuesday, March 9, 2021. The winner will be picked randomly from all qualifying posts and announced at approximately 4:00 p.m. CST on Tuesday, Tuesday, March 9, 2021.


How is everyone quilting their final gather top? This will be my first ever throw and I’m nervous to quilt it on my cheap little beginner machine. Can qnyone recommend a simple quilt design that works for this pattern?
I am wondering the same! I was thinking straight lines throughout bu I am liking the looks of the wavy lines that Suzy used on the Voyage quilt she posted today. I need a forgiving pattern!
Simple lines is always a great idea. Another slightly different thought is to use quilt ties! Here’s a tutorial on that – https://suzyquilts.com/quilt-tying-tutorial-how-to-tie-a-quilt-with-yarn-or-embroidery-thread/
If you’re worried about quilting a larger quilt on your domestic machine, you could look into sending it to a longarm quilter. Here’s a list along with a link to a lot of information on what that entails – https://suzyquilts.com/ultimate-guide-to-longarm-quilters-in-the-usa-and-canada/
Do your corner setting units get centered on to the side HST pieces and sewn on ?
That’s right. If you look at Fig. 19 on pages 8-9 you’ll see that the last row of HSTs and the corner setting triangles are centered on each other and then centered to the corners of the quilt.
What size are the background setting triangle in the Gather throw size?
That depends on the size you are making. For the throw, they are cut from a 5.5″ square.